Master User Input in React Native: TextInput, Forms, and Best Practices
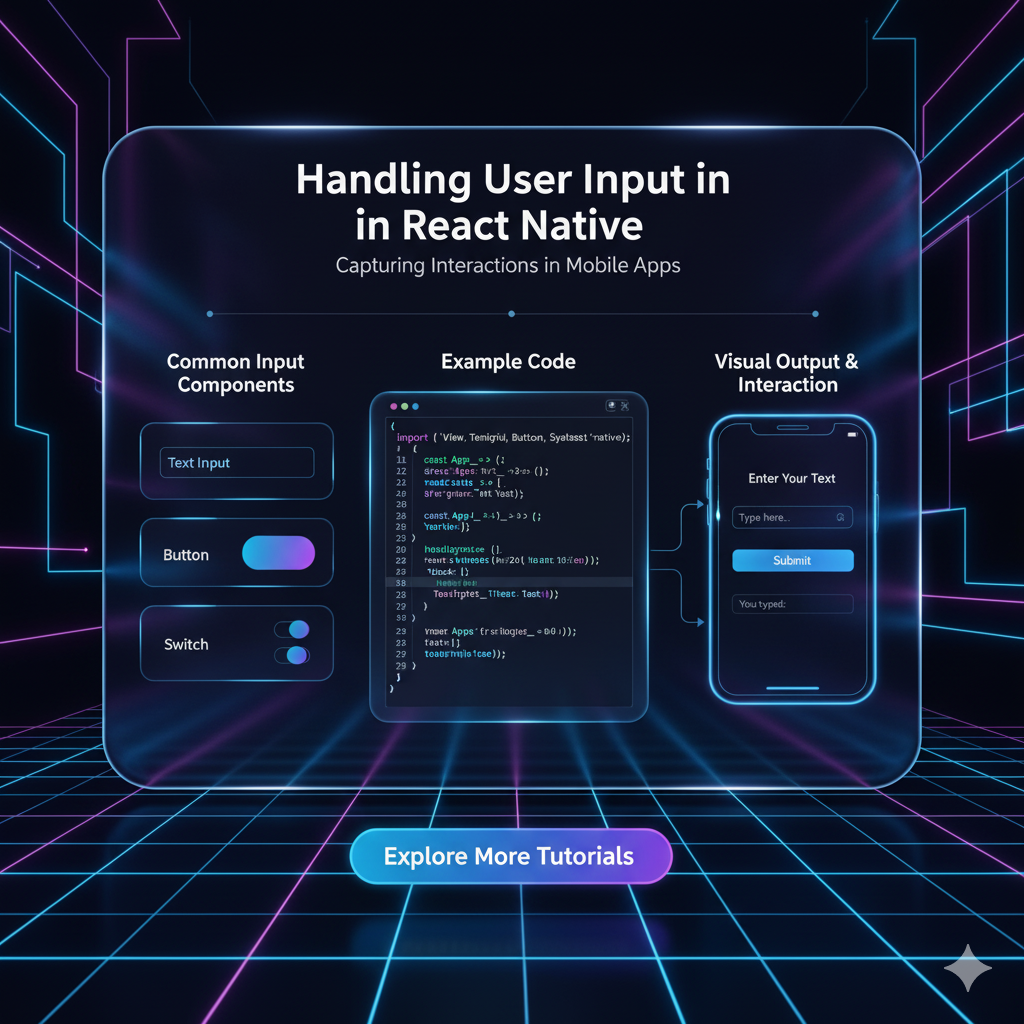
Stop fighting with React Native forms! Our in-depth guide covers TextInput, state management, validation, UX best practices, and libraries like Formik. Level up your mobile app development skills.
Let's be real for a second. How many times have you downloaded an app, tried to sign up, and just… given up? Maybe the keyboard covered the "Next" button, the error messages were confusing, or it felt like you were fighting the form just to type your email.
Spoiler alert: A bad input experience is a one-way ticket to high uninstall rates.
Handling user input is literally the heart of most mobile applications. From a simple login screen to a complex multi-step checkout process, if your app can't talk to the user, it's basically a fancy, static brochure.
So, how do you make this process buttery smooth in React Native? Buckle up, because we're going deep. This isn't just a "here's the TextInput component" post. We're talking state management, validation, UX polish, and the libraries that will save your sanity.
The MVP: Understanding the TextInput Component
Forget HTML's <input>. In React Native, your go-to guy is <TextInput>. It's your blank canvas, but it comes with its own set of quirks and superpowers.
At its most basic, it looks like this:
jsx
import { TextInput, View } from 'react-native';

const SimpleInput = () => {
  const [text, setText] = useState('');

  return (
    <View>
      <TextInput
        placeholder="What's on your mind?"
        value={text}
        onChangeText={setText} // This is key!
      />
    </View>
  );
};
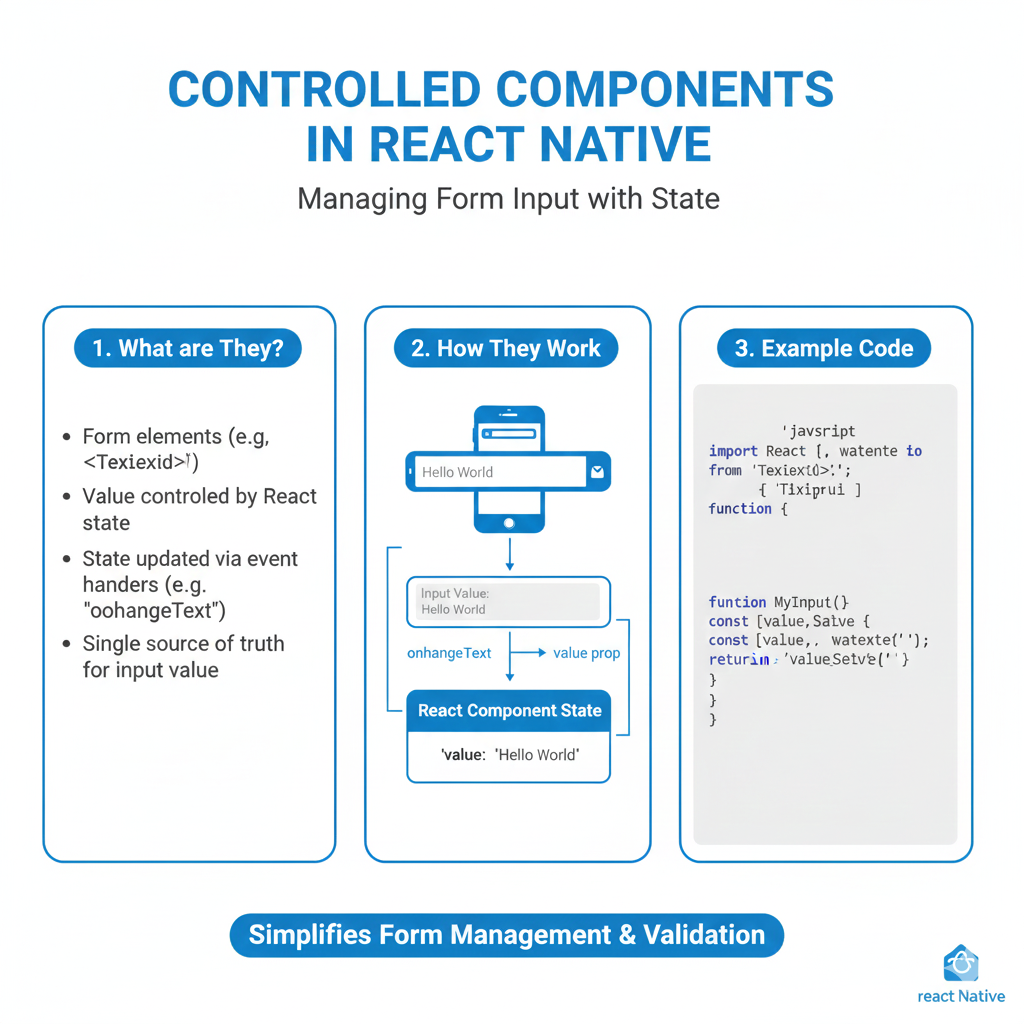
Seems straightforward, right? But notice the onChangeText prop. This is where the magic—and the complexity—starts. We're using React's useState hook to create a single source of truth for the input's value. This is Controlled Components 101, and it's non-negotiable for any serious form work.
Leveling Up: Making Inputs Actually Usable
A barebones TextInput is like a car with no seats. It works, but nobody wants to use it for long. Let's pimp it out with some essential props.
jsx
<TextInput
  placeholder="Enter your email"
  value={email}
  onChangeText={setEmail}
  keyboardType="email-address" // Brings up the @ and .com
  autoCapitalize="none"        // Crucial for emails and passwords
  autoCorrect={false}          // Again, emails don't need correcting
  secureTextEntry={isPassword} // For password fields
  multiline={true}             // For those long bio sections
  numberOfLines={4}
/>
Pro Tip: The keyboardType is your best friend for UX. Use decimal-pad for prices, number-pad for ages, and phone-pad for... you guessed it. It makes the user's job so much easier.
The Real-World Scenario: Building a Login Form
Alright, theory is cool, but let's build something you'll actually use. A login screen.
jsx
import { useState } from 'react';
import { View, TextInput, Text, TouchableOpacity, Alert } from 'react-native';

const LoginScreen = () => {
  const [email, setEmail] = useState('');
  const [password, setPassword] = useState('');
  const [isLoading, setIsLoading] = useState(false);

  const handleLogin = async () => {
    // Basic validation before we even try to hit an API
    if (!email.includes('@')) {
      Alert.alert('Invalid Email', 'Please enter a valid email address.');
      return;
    }
    if (password.length < 6) {
      Alert.alert('Weak Password', 'Password must be at least 6 characters.');
      return;
    }

    setIsLoading(true);
    // ... Here you would make your API call to your backend
    // Simulating an API call with a timeout
    setTimeout(() => {
      setIsLoading(false);
      Alert.alert('Success!', 'You are logged in!');
    }, 1500);
  };

  return (
    <View style={{ padding: 20 }}>
      <TextInput
        placeholder="Email Address"
        value={email}
        onChangeText={setEmail}
        keyboardType="email-address"
        autoCapitalize="none"
        style={{ /* Your styles here */ }}
      />
      <TextInput
        placeholder="Password"
        value={password}
        onChangeText={setPassword}
        secureTextEntry
        style={{ /* Your styles here */ }}
      />
      <TouchableOpacity onPress={handleLogin} disabled={isLoading}>
        <Text>{isLoading ? 'Logging in...' : 'Log In'}</Text>
      </TouchableOpacity>
    </View>
  );
};
This is a solid start. But you see that validation? It's already getting a bit messy. Imagine a full sign-up form with 10 fields. Your handleLogin function would become a monster. This is where we need to talk about...
Taming Complexity: Form State and Validation
When your forms grow beyond a couple of fields, managing everything with individual useState hooks becomes a nightmare. This is the moment you graduate to using a form library. The most popular one in the React Native ecosystem is Formik, often paired with a validation library like Yup.
Why Formik is a Game-Changer:
Centralized State: It manages the state of all your form fields in one place.
Handling Submission: It provides a streamlined way to handle form submission.
Validation Made Easy: It integrates seamlessly with Yup for declarative validation.
Touched and Errors: It automatically tracks which fields have been "touched" and their error states, making it easy to show relevant errors.
Let's rebuild our login form with Formik and Yup:
jsx
import { Formik } from 'formik';
import * as Yup from 'yup';

// Define our validation schema with Yup
const LoginSchema = Yup.object().shape({
  email: Yup.string()
    .email('Invalid email address')
    .required('Email is required'),
  password: Yup.string()
    .min(6, 'Password must be at least 6 characters')
    .required('Password is required'),
});

const LoginScreenWithFormik = () => {
  const handleFormSubmit = (values) => {
    console.log('Form Values:', values); // { email: '...', password: '...' }
    // Your API call goes here
  };

  return (
    <Formik
      initialValues={{ email: '', password: '' }}
      validationSchema={LoginSchema}
      onSubmit={handleFormSubmit}
    >
      {({ handleChange, handleBlur, handleSubmit, values, errors, touched }) => (
        <View>
          <TextInput
            placeholder="Email"
            onChangeText={handleChange('email')}
            onBlur={handleBlur('email')} // Tracks when a field is touched
            value={values.email}
            keyboardType="email-address"
          />
          {/* Show error only if the field has been touched AND has an error */}
          {touched.email && errors.email && <Text style={{color: 'red'}}>{errors.email}</Text>}

          <TextInput
            placeholder="Password"
            onChangeText={handleChange('password')}
            onBlur={handleBlur('password')}
            value={values.password}
            secureTextEntry
          />
          {touched.password && errors.password && <Text style={{color: 'red'}}>{errors.password}</Text>}

          <Button onPress={handleSubmit} title="Submit" />
        </View>
      )}
    </Formik>
  );
};
See how much cleaner that is? The validation logic is declared separately, and Formik handles the orchestration. This is how professional, scalable forms are built.
Want to build industry-standard applications like this? To learn professional software development courses such as Python Programming, Full Stack Development, and MERN Stack, visit and enroll today at codercrafter.in. Our project-based curriculum ensures you're building real-world features from day one.
Best Practices You Can't Ignore (The UX Gold)
The Right Keyboard: We said it before, but it's worth repeating. Use
keyboardTypeandautoCapitalizeappropriately. It's a tiny detail with a massive impact.Clear Error Messages: Don't just say "Error." Tell the user what went wrong and how to fix it. "Invalid email" is better than nothing, but "Please include an '@' in the email address" is best.
Disable the Submit Button: Use a
isLoadingor!isValidstate to disable the submit button while a request is in flight or the form is invalid. This prevents duplicate submissions and guides the user.Manage the Keyboard: Use components like
KeyboardAvoidingViewto ensure your inputs aren't hidden by the keyboard. Nothing is more frustrating than typing blind.jsx
<KeyboardAvoidingView behavior="padding" style={{ flex: 1 }}>
  {/* Your form goes here */}
</KeyboardAvoidingView>
Use
onBlurfor Validation: Validate on form submission, but also consider validating a field when the user leaves it (onBlur). This gives immediate feedback without being overly aggressive like validating on every keystroke.
FAQs: Stuff You're Probably Wondering
Q: Formik or React Hook Form?
A: Great question. Formik is the established king, but React Hook Form is a fantastic, performance-focused newcomer that's gained huge traction. It often results in less re-rendering. For new projects, it's worth evaluating both.
Q: How do I create a custom input, like a picker or a slider?
A: The principle is the same! You create a controlled component. Your custom component will take a value prop and an onChange (or similar) callback prop. When the user interacts with your slider, you call onChange with the new value, updating the state in the parent form.
Q: My form is so slow with many fields! Help!
A: This is a common pitfall with individual useState hooks. This is exactly why libraries like Formik and React Hook Form are optimized for performance. They minimize re-renders by batching updates and using more efficient patterns.
Conclusion: You're Now a Form Guru
Handling user input in React Native is a journey. You start with a simple TextInput and useState, and as your app grows, you level up to powerful libraries and sophisticated UX patterns.
Remember the core principles:
Always use controlled components.
Validate user input clearly and helpfully.
Prioritize the user's experience with every keystroke.
Mastering forms is a huge step towards building apps that people don't just use, but actually enjoy using. And that's the kind of skill that sets you apart as a developer.
If you're serious about taking your React Native and full-stack skills to the next level, CoderCrafter offers immersive, mentor-led programs designed to make you job-ready. To learn professional software development courses such as Python Programming, Full Stack Development, and MERN Stack, visit and enroll today at codercrafter.in. Let's build something amazing together
