React Native Components: Your A-Z Guide from Basic to Advanced
Master React Native components! This in-depth guide covers everything from Core Components and JSX to Hooks, Custom Components, and advanced performance patterns. Build amazing mobile apps.
Alright, let's cut to the chase. You want to build a mobile app. The idea is fire, the design is ready in Figma, but the thought of learning both Swift and Kotlin makes you want to close your laptop and take a nap.
Enter React Native. It’s the game-changer that lets you use your web dev superpower (JavaScript/React) to build truly native mobile apps for iOS and Android. One codebase to rule them all. And at the heart of this entire universe? Components.
Think of components as LEGO bricks. You have small, simple bricks (a button, a text label), you snap them together to build bigger structures (a navigation header, a product card), and eventually, you've built a freaking castle (your entire app).
This guide is your deep dive into the world of React Native components. We're going from "what's a component?" to building sophisticated, performant pieces of your app. Buckle up!
Part 1: The Absolute Basics - Your First Building Blocks
What Even is a Component?
In simple terms, a component is a piece of code that returns a piece of your UI. It's a JavaScript function or class that decides what gets rendered on the screen. The beauty is in reusability. Write once, use everywhere.
JSX: The Secret Sauce
You'll see HTML-like code inside your JavaScript. That's JSX. Don't overthink it. It's just a syntactic sugar that makes writing component templates way easier.
jsx
// This is JSX. It looks like HTML, but it's inside JavaScript.
function WelcomeBanner() {
  return <Text>Hello, World!</Text>;
}
Meet the Core Components: The React Native Starter Pack
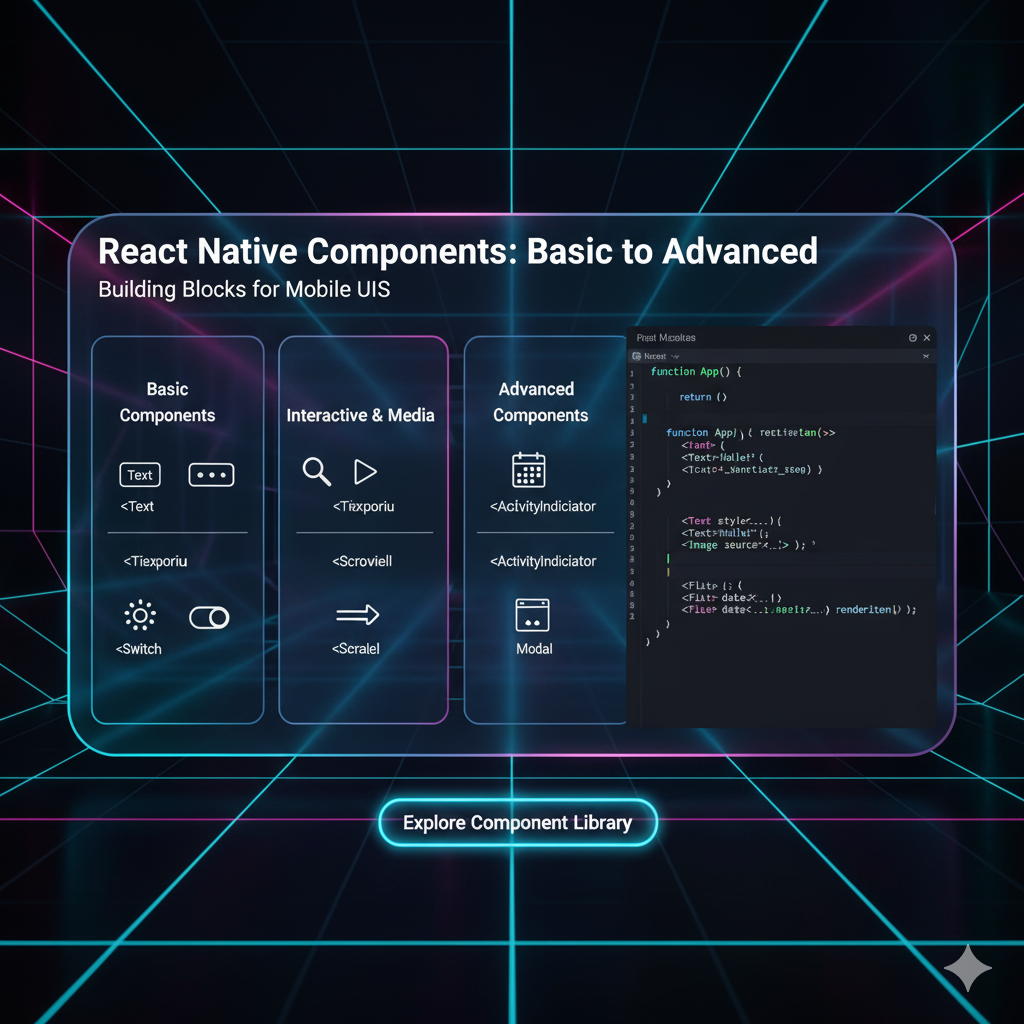
React Native doesn't use <div>, <p>, or <span>. It provides its own set of cross-platform components that compile to native views. Here are the OGs you'll use every single day:
<View>: The new<div>. It's a container for layout and styling. Everything that's a container is probably aView.<Text>: The only way to get text on the screen. You can't put plain text directly inside aView; it must be wrapped in a<Text>component.<Image>: How you display images. It's a bit more involved than HTML's<img>tag, requiring you to specify a source explicitly.<ScrollView>: A scrollable container. Perfect for lists of limited length or content that might overflow the screen.<TextInput>: The user's gateway to typing. Your classic input field.
Let's Build a Simple Profile Card
Let's use these core components to build something real.
jsx
import React from 'react';
import { View, Text, Image, StyleSheet } from 'react-native';

const ProfileCard = () => {
  return (
    <View style={styles.card}>
      <Image
        source={{ uri: 'https://i.pravatar.cc/150?img=12' }}
        style={styles.profileImage}
      />
      <View style={styles.textContainer}>
        <Text style={styles.name}>Alex Morgan</Text>
        <Text style={styles.bio}>Senior Dev | Coffee Enthusiast | Building the future one component at a time.</Text>
      </View>
    </View>
  );
};

// Styling with StyleSheet (like CSS-in-JS)
const styles = StyleSheet.create({
  card: {
    backgroundColor: '#fff',
    borderRadius: 12,
    padding: 16,
    margin: 10,
    shadowColor: '#000',
    shadowOffset: { width: 0, height: 2 },
    shadowOpacity: 0.1,
    shadowRadius: 6,
    elevation: 3, // For Android shadow
  },
  profileImage: {
    width: 70,
    height: 70,
    borderRadius: 35,
    marginBottom: 12,
  },
  name: {
    fontSize: 20,
    fontWeight: 'bold',
    color: '#333',
  },
  bio: {
    fontSize: 14,
    color: '#666',
    marginTop: 4,
  },
});

export default ProfileCard;
Boom! You just built a reusable ProfileCard component. See how we composed View, Text, and Image to create something more complex?
Part 2: Leveling Up - Making Components Dynamic and Interactive
Static components are cool, but apps need to do things. This is where props and state come in.
Props: Passing Data Down
Props (short for properties) are like arguments to a function. They let you pass data from a parent component to a child component, making it dynamic.
Let's make our ProfileCard reusable by passing the name and bio as props.
jsx
// The Child Component (Receives props)
const ProfileCard = ({ name, bio, imageUrl }) => {
  return (
    <View style={styles.card}>
      <Image source={{ uri: imageUrl }} style={styles.profileImage} />
      <View style={styles.textContainer}>
        <Text style={styles.name}>{name}</Text>
        <Text style={styles.bio}>{bio}</Text>
      </View>
    </View>
  );
};

// The Parent Component (Passes props)
const App = () => {
  return (
    <View>
      <ProfileCard
        name="Sam Rivera"
        bio="Loves hiking and open-source code."
        imageUrl="https://i.pravatar.cc/150?img=32"
      />
      <ProfileCard
        name="Jordan Lee"
        bio="UX Designer & Frontend Dev."
        imageUrl="https://i.pravatar.cc/150?img=45"
      />
    </View>
  );
};
State: The Component's Memory
While props are passed down from the outside, state is managed from within the component. It's data that changes over time, usually in response to user actions. The modern way to handle state is with Hooks, specifically useState.
Let's build a simple "Like" button to demonstrate.
jsx
import React, { useState } from 'react';
import { View, Text, TouchableOpacity } from 'react-native';

const LikeButton = () => {
  // useState hook: [currentValue, setterFunction] = useState(initialValue)
  const [isLiked, setIsLiked] = useState(false);
  const [likeCount, setLikeCount] = useState(0);

  const handlePress = () => {
    const newLikedState = !isLiked;
    setIsLiked(newLikedState);
    // Update the count based on the new state, not the current one
    setLikeCount(newLikedState ? likeCount + 1 : likeCount - 1);
  };

  return (
    <TouchableOpacity onPress={handlePress}>
      <View style={{ flexDirection: 'row', alignItems: 'center' }}>
        <Text>{isLiked ? '❤️' : '🤍'}</Text>
        <Text> {likeCount} Likes</Text>
      </View>
    </TouchableOpacity>
  );
};
TouchableOpacity is another core component! It's a wrapper for making things touchable, providing visual feedback when pressed.
Part 3: Advanced Territory - Building for Scale
As your app grows, you need to think about performance, maintainability, and complex interactions.
Custom Hooks: Logic Reusability King
Hooks let you "hook into" React state and lifecycle features from function components. You can even bundle stateful logic into your own Custom Hooks. This is next-level code organization.
Let's create a custom hook to fetch data from an API.
jsx
import { useState, useEffect } from 'react';

// Custom Hook - its name must start with 'use'
const useFetch = (url) => {
  const [data, setData] = useState(null);
  const [loading, setLoading] = useState(true);
  const [error, setError] = useState(null);

  useEffect(() => {
    const fetchData = async () => {
      try {
        const response = await fetch(url);
        const result = await response.json();
        setData(result);
      } catch (err) {
        setError(err.message);
      } finally {
        setLoading(false);
      }
    };

    fetchData();
  }, [url]); // Re-run the effect if the URL changes

  return { data, loading, error };
};

// Using the custom hook in a component
const UserList = () => {
  const { data: users, loading, error } = useFetch('https://api.example.com/users');

  if (loading) return <Text>Loading users...</Text>;
  if (error) return <Text>Error: {error}</Text>;

  return (
    <View>
      {users.map(user => (
        <Text key={user.id}>{user.name}</Text>
      ))}
    </View>
  );
};
See how clean the UserList component became? All the messy fetch logic is neatly tucked away inside useFetch.
Performance: React.memo and useCallback
Unnecessary re-renders can slow down your app.
React.memo: A Higher-Order Component that memoizes your functional component. It will only re-render if its props change.useCallback: Memoizes a function itself, preventing it from being recreated on every render. Crucial when passing callbacks to optimized child components.
jsx
import React, { useState, useCallback } from 'react';

// Child component memoized with React.memo
const ExpensiveChildComponent = React.memo(({ onPress }) => {
  console.log("Child component re-rendered!");
  return <Button title="Click Me" onPress={onPress} />;
});

const ParentComponent = () => {
  const [count, setCount] = useState(0);

  // This function is recreated on every render without useCallback
  const handlePress = useCallback(() => {
    console.log('Pressed!');
  }, []); // Dependency array - function is recreated only if deps change

  return (
    <View>
      <Text>Count: {count}</Text>
      <Button title="Increment" onPress={() => setCount(c => c + 1)} />
      <ExpensiveChildComponent onPress={handlePress} />
    </View>
  );
};
In this example, clicking "Increment" won't cause ExpensiveChildComponent to re-render because its onPress prop (the handlePress function) is memoized with useCallback.
FAQs: Stuff You're Probably Wondering
Q1: Functional vs. Class Components? Which should I use?
A: The React community has fully embraced Functional Components with Hooks. They are simpler, cleaner, and offer all the capabilities Class Components used to be needed for. For all new projects, use Functional Components.
Q2: How do I navigate between screens?
A: You don't use a core component for this. You use a navigation library. React Navigation is the industry standard and a must-learn. It provides components like createStackNavigator, createBottomTabNavigator, etc.
Q3: My app feels slow. How can I optimize it?
A: 1. Use the Performance Monitor in your developer menu. 2. Virtualize long lists using FlatList or SectionList instead of ScrollView with a map function. 3. Implement React.memo, useMemo, and useCallback as shown above. 4. Optimize your images and avoid unnecessary logic in render.
Q4: Can I use my favorite state management library?
A: Absolutely. While useState and useContext are great for many apps, for complex global state, libraries like Redux Toolkit, Zustand, or MobX are very popular in the React Native ecosystem.
Conclusion: Your Journey Has Just Begun
You've just walked through the entire lifecycle of a React Native component—from a simple static brick to a dynamic, interactive, and performant piece of your app's UI. Mastering components is not just about knowing the syntax; it's about understanding the philosophy of composition, reusability, and data flow.
The concepts here—JSX, Core Components, Props, State, Hooks, and Performance optimizations—are the foundation of every great React Native app. Practice them, build small projects, break things, and then fix them. That's how you cement this knowledge.
But let's be real, following a guide is one thing; having an expert walk you through the nuances, answer your questions in real-time, and help you build a full-scale project is a whole different ball game.
If you're serious about turning these basics into a professional skill set that can land you a job or help you build your own startup's app, you need a structured path. To learn professional software development courses such as Python Programming, Full Stack Development, and the MERN Stack (which includes the React skills that power React Native!), visit and enroll today at codercrafter.in. We'll take you from curious beginner to job-ready developer.
