Build Your First React Native App: A 2025 Beginner's Guide
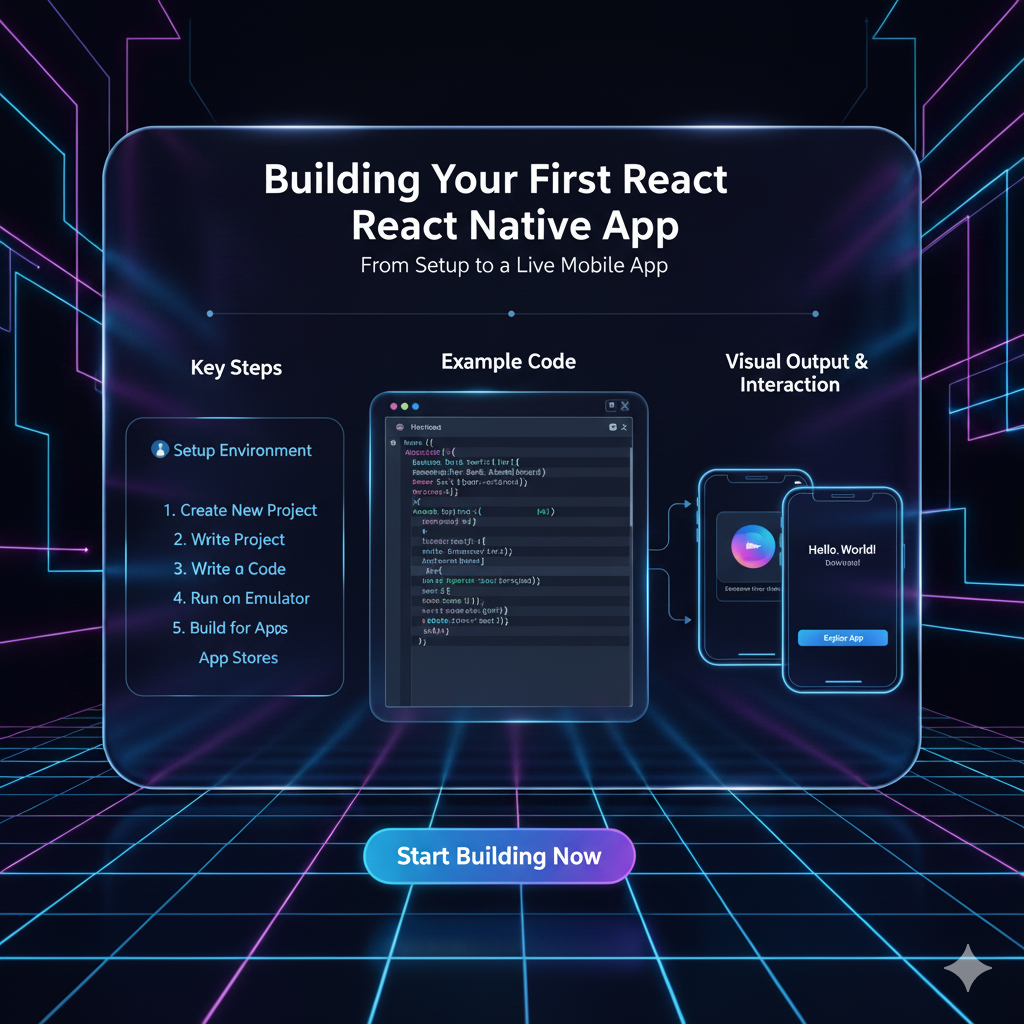
Ready to build mobile apps with JavaScript? Our step-by-step guide walks you through creating your first React Native app from scratch. Perfect for beginners. Start your dev journey today!
Alright, let's cut to the chase. You've heard the buzz. "Learn once, write anywhere." The promise of building slick, native-looking mobile apps for both iOS and Android using the JavaScript you already know? Sounds almost too good to be true, right?
Well, welcome to React Native. It’s the real deal, and it’s powering apps from Facebook and Instagram to Airbnb and Uber Eats. And guess what? Getting started is way less scary than it seems.
In this guide, we're not just going to talk about it; we're going to do it. We'll build a simple but legit app from the ground up. No prior native development knowledge needed. If you're comfortable with basic JavaScript and React concepts, you're golden.
So, grab your favorite code editor, and let's dive in.
First Things First: What Exactly is React Native?
In simple terms, React Native is a framework that lets you build truly native mobile applications using JavaScript and React.
Let's break that down because it's important:
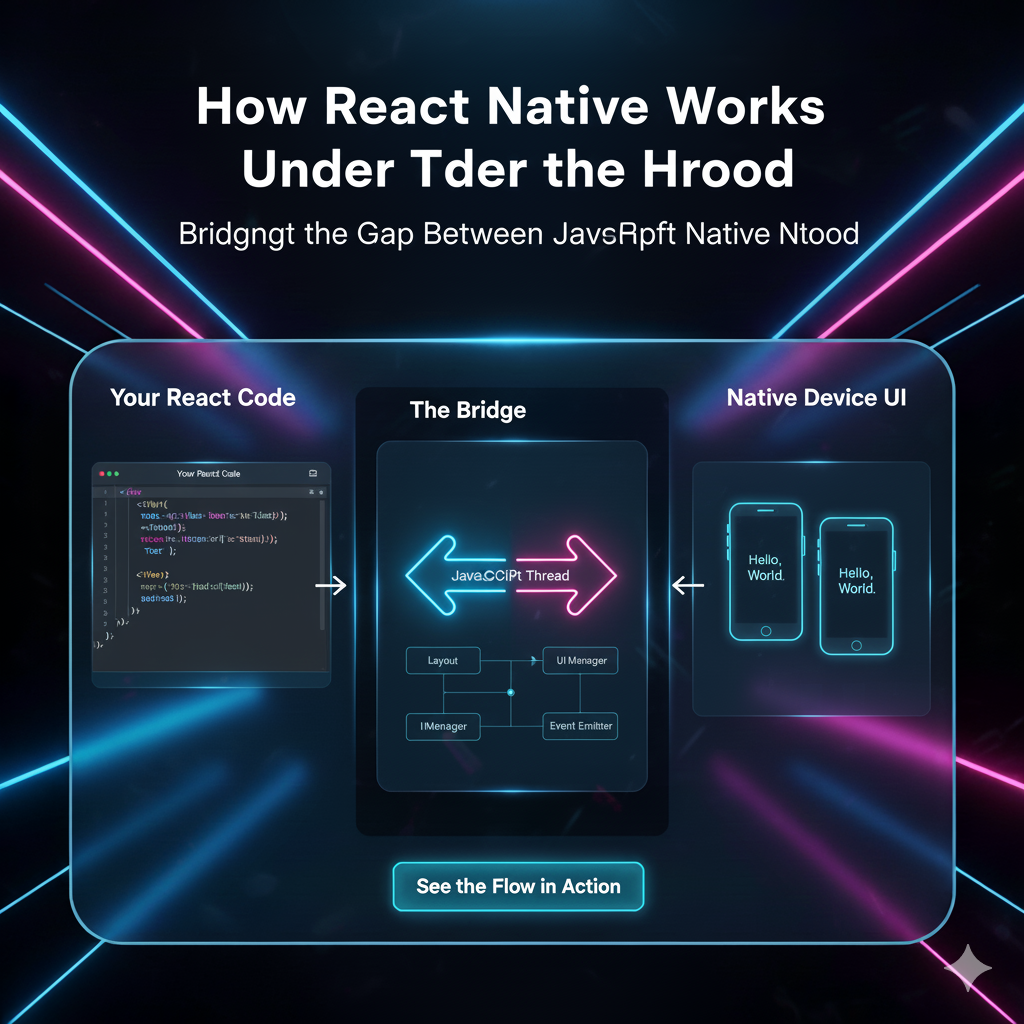
It's not a "web view". Unlike older solutions that just wrapped a website in an app container (a "web view"), React Native actually translates your JavaScript components into native UI elements. When you use a
<View>component, it becomes a nativeUIViewon iOS and anandroid.viewon Android. When you use a<Text>component, it becomes a nativeUILabelandandroid.widget.TextView. This is why React Native apps feel native—they are using the actual building blocks of the platform.You use JavaScript/React. This is the killer feature. You get to use the same declarative, component-based mental model that made React a superstar for the web. You manage state with
useState, perform side effects withuseEffect, and structure your app with reusable components.
Real-World Use Case: Imagine you're a startup that needs to launch on both iOS and Android quickly, with a limited budget and team. Instead of hiring separate Swift and Kotlin developers, you can have one team of JavaScript/React devs build the entire app for both platforms. The time and cost savings are massive.
Setting Up Your Dev Environment: Choose Your Own Adventure
This is the part that often trips people up, but it's gotten much simpler. You have two main paths:
Option 1: The Expo Go Route (Recommended for Beginners)
Expo is a framework and a platform built around React Native. It abstracts away the native code and lets you start writing your app immediately.
Pros: Zero configuration needed. You can run your app on your physical phone using the Expo Go app instantly. It's incredibly fast to get started.
Cons: You have limited access to some ultra-specialized native APIs without jumping through a few extra hoops (though it covers 99% of use cases).
Option 2: The React Native CLI Route (For Full Control)
This is the "bare bones" setup, giving you direct access to the native (Xcode/Android Studio) projects.
Pros: Full control and access to every native API from day one. Better for apps that require heavy, custom native functionality.
Cons: Setup is more complex, requires installing Xcode and/or Android Studio, and can be daunting for beginners.
For this tutorial, we're going with Expo. It's the fastest way to see results and stay motivated.
Step-by-Step Expo Setup:
Install Node.js: If you don't have it, grab the LTS version from nodejs.org.
Install the Expo CLI: Open your terminal and run:
bash
npm install -g expo-cliCreate a New Project: Navigate to where you want your project to live and run:
bash
npx create-expo-app MyFirstNativeApp(You can name it whatever you want instead of
MyFirstNativeApp).Navigate and Start:
bash
cd MyFirstNativeApp
npm start
This will fire up the Expo Dev Tools in your terminal, showing a QR code.
Run on Your Phone:
Install the Expo Go app on your iOS or Android phone.
On iOS, open the Camera app and scan the QR code. On Android, open the Expo Go app and scan the QR code from there.
Boom! The default app should now be running live on your actual device. This "hot reloading" is your new best friend; any change you make in the code will reflect on your phone almost instantly.
Building Our First App: "Goal Tracker"
Let's build something more useful than a simple "Hello World." We'll make a "Goal Tracker" app where you can add and delete daily goals.
Step 1: Understanding the Project Structure
Open the project folder in your code editor. You'll see something like this:
text
MyFirstNativeApp/
├── assets/
├── node_modules/
├── App.js
├── app.json
├── package.json
└── ... (other config files)
The heart of our app is the App.js file. This is our root component.
Step 2: Diving into the Code (Let's Get Our Hands Dirty)
Open App.js. You'll see some starter code. Let's replace it entirely with our Goal Tracker app. We'll build it step-by-step.
First, we need to import the components we'll need from React Native.
javascript
// App.js
import React, { useState } from 'react';
import {
  StyleSheet,
  View,
  Text,
  TextInput,
  Button,
  FlatList,
  TouchableOpacity
} from 'react-native';useState: The React hook for managing state.View: The fundamental building block, similar to a non-scrolling<div>.Text: Used for displaying any and all text.TextInput: The user input field, like<input type="text">.Button: A simple, pressable button component.FlatList: A performant way to render scrollable lists.TouchableOpacity: A wrapper for making any component touchable (it dims on press).
Step 3: Building the Main App Component
Now, let's create our App component with some state.
javascript
export default function App() {
  // State for the current goal being typed
  const [enteredGoal, setEnteredGoal] = useState('');
  // State for the list of all goals
  const [goals, setGoals] = useState([]);

  // Function to handle the goal input text
  const goalInputHandler = (enteredText) => {
    setEnteredGoal(enteredText);
  };

  // Function to add a new goal to the list
  const addGoalHandler = () => {
    if (enteredGoal.trim().length === 0) {
      return; // Don't add empty goals
    }
    setGoals((currentGoals) => [
      ...currentGoals,
      { id: Math.random().toString(), value: enteredGoal }, // Simple ID for demo
    ]);
    setEnteredGoal(''); // Clear the input
  };

  // Function to delete a goal
  const deleteGoalHandler = (goalId) => {
    setGoals((currentGoals) => {
      return currentGoals.filter((goal) => goal.id !== goalId);
    });
  };

  return (
    <View style={styles.screen}>
      <View style={styles.inputContainer}>
        <TextInput
          placeholder="What's your goal for today?"
          style={styles.textInput}
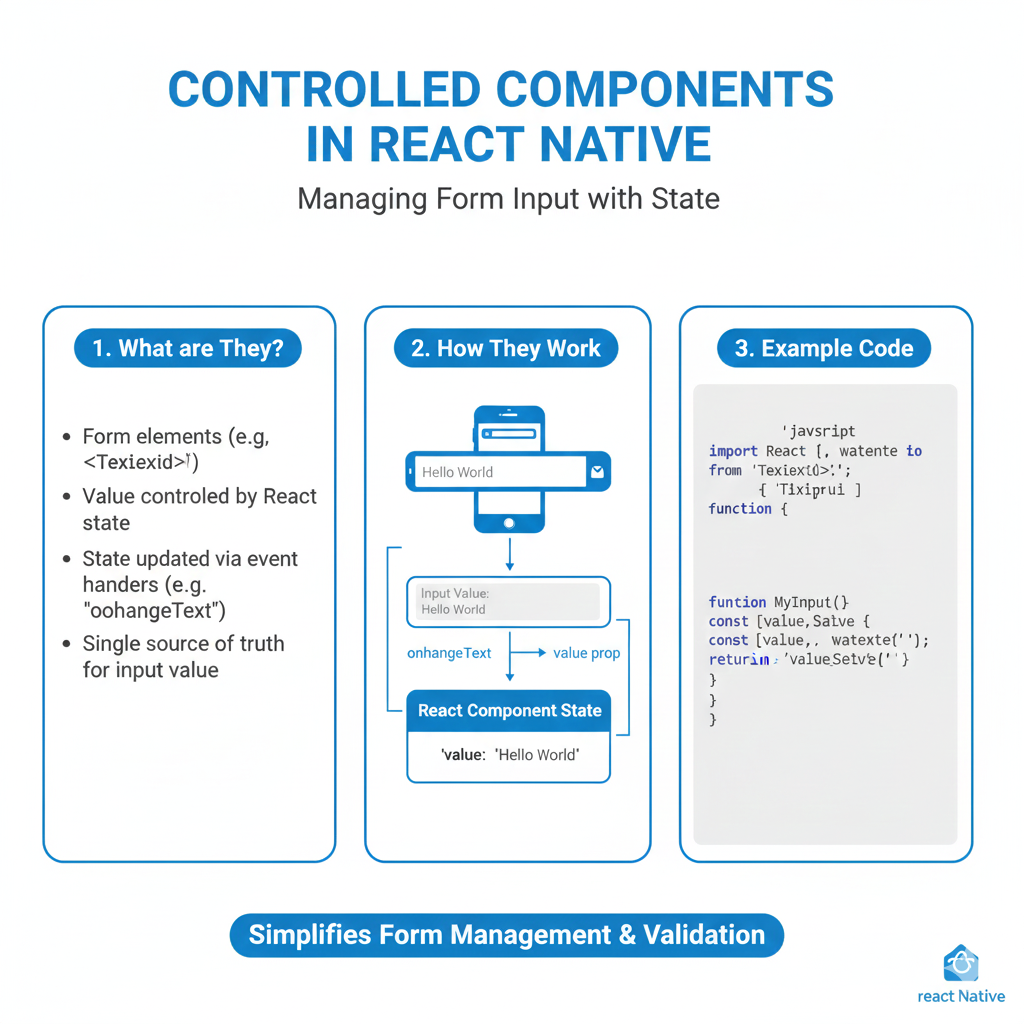
          onChangeText={goalInputHandler}
          value={enteredGoal}
        />
        <Button title="ADD" onPress={addGoalHandler} />
      </View>

      {/* This is our list of goals */}
      <FlatList
        data={goals}
        keyExtractor={(item) => item.id}
        renderItem={({ item }) => (
          <TouchableOpacity onPress={() => deleteGoalHandler(item.id)}>
            <View style={styles.listItem}>
              <Text>{item.value}</Text>
            </View>
          </TouchableOpacity>
        )}
      />
    </View>
  );
}
Step 4: Making It Look Good with Stylesheet
React Native uses a CSS-in-JS approach with a StyleSheet API. It looks like CSS, but it's not exactly the same (e.g., backgroundColor instead of background-color).
Add this StyleSheet at the bottom of your App.js:
javascript
const styles = StyleSheet.create({
  screen: {
    padding: 50,
    flex: 1, // This is crucial - it lets the view take up the entire screen
  },
  inputContainer: {
    flexDirection: 'row',
    justifyContent: 'space-between',
    alignItems: 'center',
    marginBottom: 20,
  },
  textInput: {
    borderBottomColor: 'black',
    borderBottomWidth: 1,
    padding: 10,
    width: '70%',
  },
  listItem: {
    padding: 15,
    marginVertical: 10,
    backgroundColor: '#f8f8f8',
    borderColor: '#eee',
    borderWidth: 1,
    borderRadius: 10, // Rounded corners!
  },
});
Save the file. Watch your phone. You now have a fully functional (albeit simple) mobile app! You can type goals, add them, and tap to delete them. How cool is that?
Best Practices to Sound Like a Pro from Day One
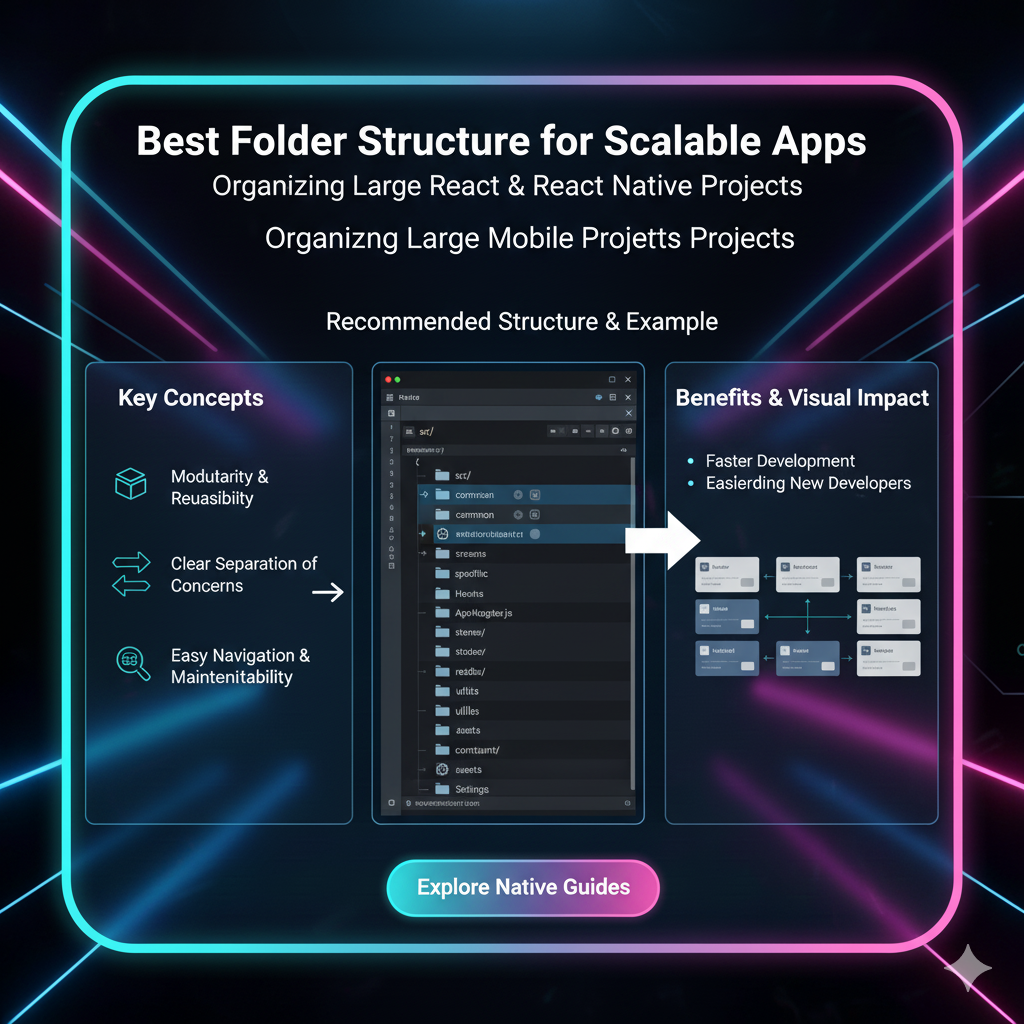
Componentize Everything: Don't put everything in
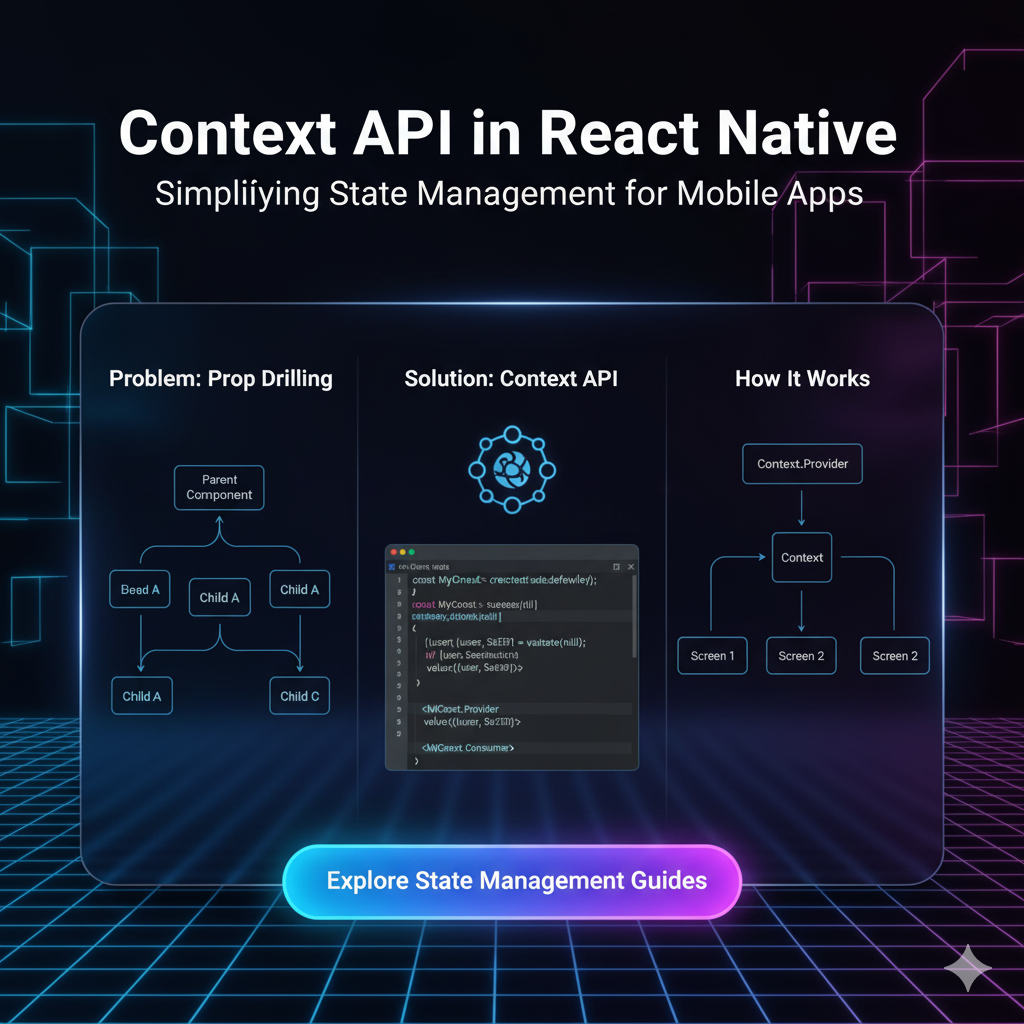
App.js. If a piece of UI is reusable or complex, make it its own component (e.g.,GoalItem.js).Manage State Properly: For simpler apps,
useStateanduseContextare enough. For complex apps, look into state management libraries like Redux Toolkit or Zustand.Write Platform-Specific Code Sparingly: You can detect the platform with
Platform.OSand load different components or styles. But the goal is to share as much code as possible.Optimize Lists with
FlatListorSectionList: Never usemapwith aScrollViewfor long lists.FlatListonly renders items that are on (or about to be on) the screen, which is super performant.Use SafeAreaView: On iPhones with notches, wrap your top-level views in a
<SafeAreaView>to ensure content isn't hidden behind the notch.
FAQs: Stuff You're Probably Wondering
Q: Can I use React Native for web apps too?
A: Yes! With projects like react-native-web, you can compile your React Native components to run on the web. It's how Twitter built their mobile web site.
Q: What about apps that need heavy 3D graphics or complex animations?
A: React Native is fantastic for most business and utility apps. For graphics-intensive apps (like games), you'd still typically use native technologies (Swift/Kotlin) or game engines like Unity. However, libraries like react-native-reanimated make very complex animations possible.
Q: Is it hard to add a native module that Expo doesn't support?
A: It requires a "ejecting" step (called "prebuilding" in Expo) to get access to the native code. It's more advanced, but well-documented. Most common native modules are already available as community packages.
Q: How do I publish my app to the App Store and Google Play?
A: Expo makes this relatively straightforward with their expo build commands, which create the production-ready ipa (iOS) and apk (Android) files. You then submit these to the respective stores, which is a process in itself involving developer accounts and app store guidelines.
Conclusion: Your Journey Starts Now
Look at what you just did. You set up a modern mobile development environment and built a functional, cross-platform app. The core concepts—components, JSX, state, props—are the same React concepts that power the modern web. The learning curve from React to React Native is surprisingly gentle.
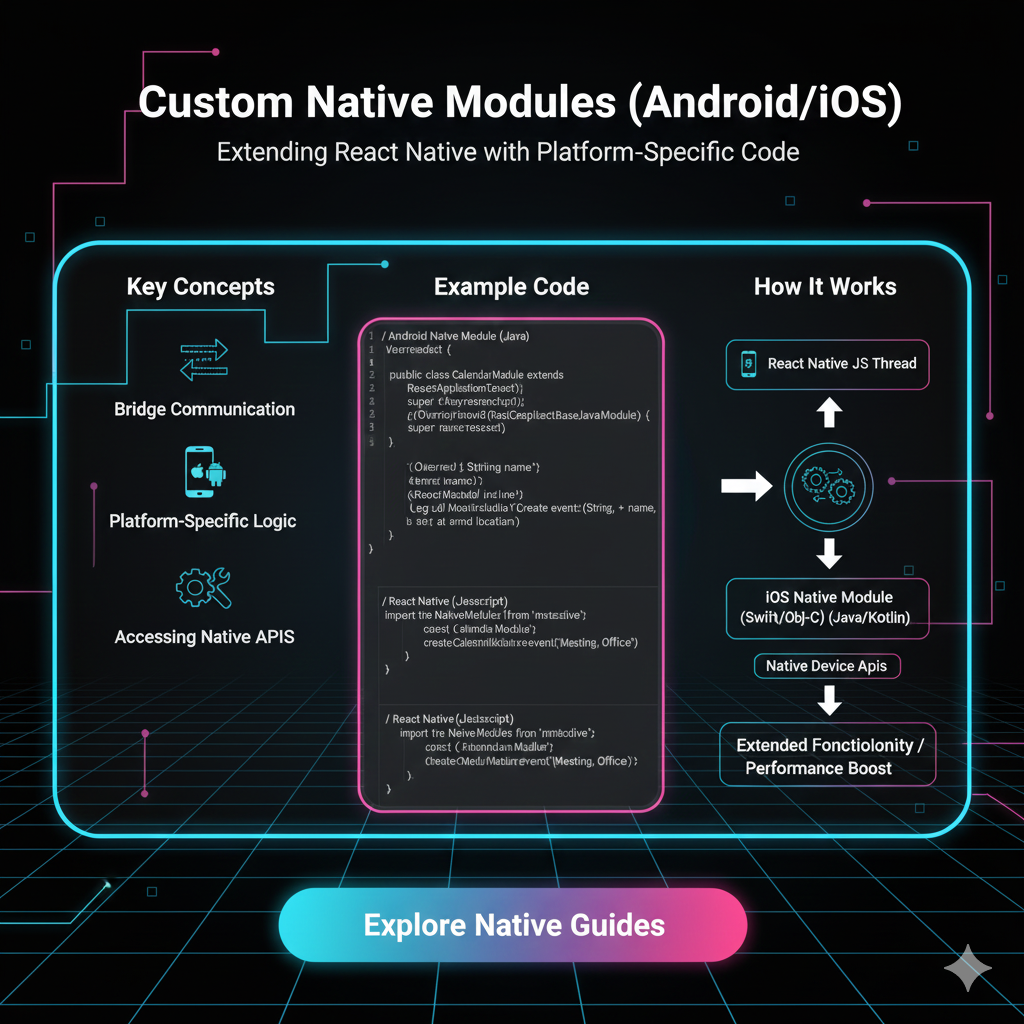
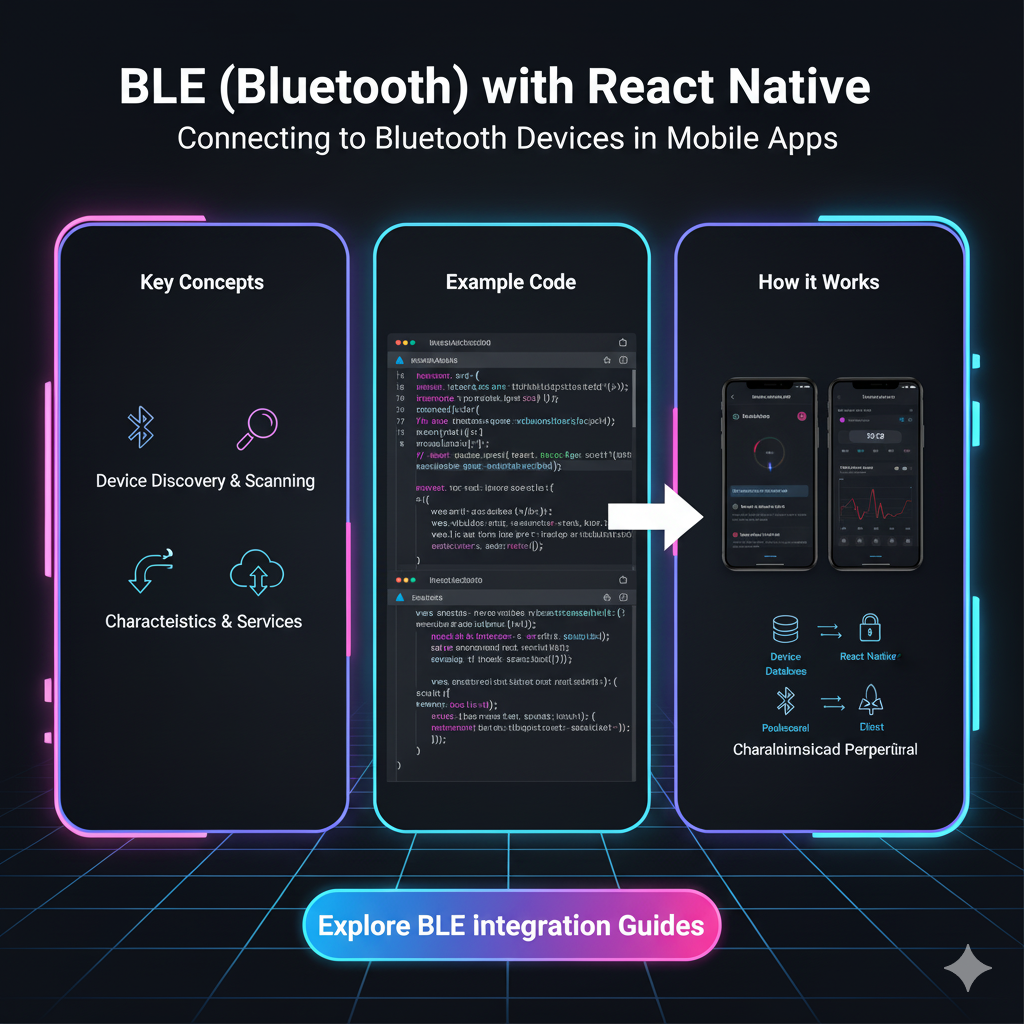
This is just the tip of the iceberg. The real magic happens when you start integrating with device APIs: using the camera, getting the user's location, handling gestures, and adding beautiful navigation.
The demand for developers who can build high-quality mobile experiences is skyrocketing. Adding React Native to your skillset doesn't just make you a web developer; it makes you a cross-platform developer, and that is a powerful place to be.
Feeling inspired to go from building a simple goal tracker to creating complex, real-world applications? This is where structured learning makes all the difference.
To learn professional software development courses that take you from foundational languages like Python Programming to advanced, in-demand frameworks like Full Stack Development and the MERN Stack, visit and enroll today at codercrafter.in. Our project-based curriculum and expert mentorship are designed to turn your curiosity into a career.
