React Native Folder Structure 2025: A No-BS Guide to Scalable Apps

Tired of messy React Native projects? Our in-depth guide breaks down the perfect folder structure for scalability, team collaboration, and maintainability. Learn best practices and see real-world examples.
Let's be real. When you first fire up a new React Native project with npx react-native init MyAwesomeApp, you're greeted with a... well, a bit of a mess. There are folders like android/, ios/, and node_modules/, and a bunch of files scattered at the root. It’s exciting, but also low-key terrifying. Where does everything go? How do you stop your project from turning into a digital junk drawer in two months?
You’re not alone. Figuring out a solid React Native folder structure is one of the first and most crucial steps from being a beginner to building production-ready, scalable apps. A good structure isn't about being pedantic; it's about sanity. It's about finding files in seconds, not minutes. It's about onboarding new developers without a headache. It's about making your future self thank your past self.
In this deep dive, we're going to tear apart the default structure and build it back up into something beautiful, scalable, and logical. Grab your coffee, and let's get into it.
Why Bother? The "Why" Before the "How"
Before we start creating folders willy-nilly, let's understand the why.
Scalability: Your app might start with 5 screens, but what about when it has 50? A flat structure where everything is in one folder will become a nightmare.
Maintainability: When you need to fix a bug or add a feature, you don't want to be searching through 100 files. A clear structure tells you exactly where to look.
Team Collaboration: A standardized structure is like a common language for your team. Everyone knows where to put new components, utilities, or assets.
Separation of Concerns: Keeping your navigation logic separate from your UI components and your business logic makes your code easier to test and reason about.
Think of it like building a house. You wouldn't just dump all your tools, wood, and furniture into one big pile. You have a garage for tools, a kitchen for appliances, and a bedroom for your bed. Your codebase deserves the same level of organization.
Deconstructing the Default: What's All This Stuff?
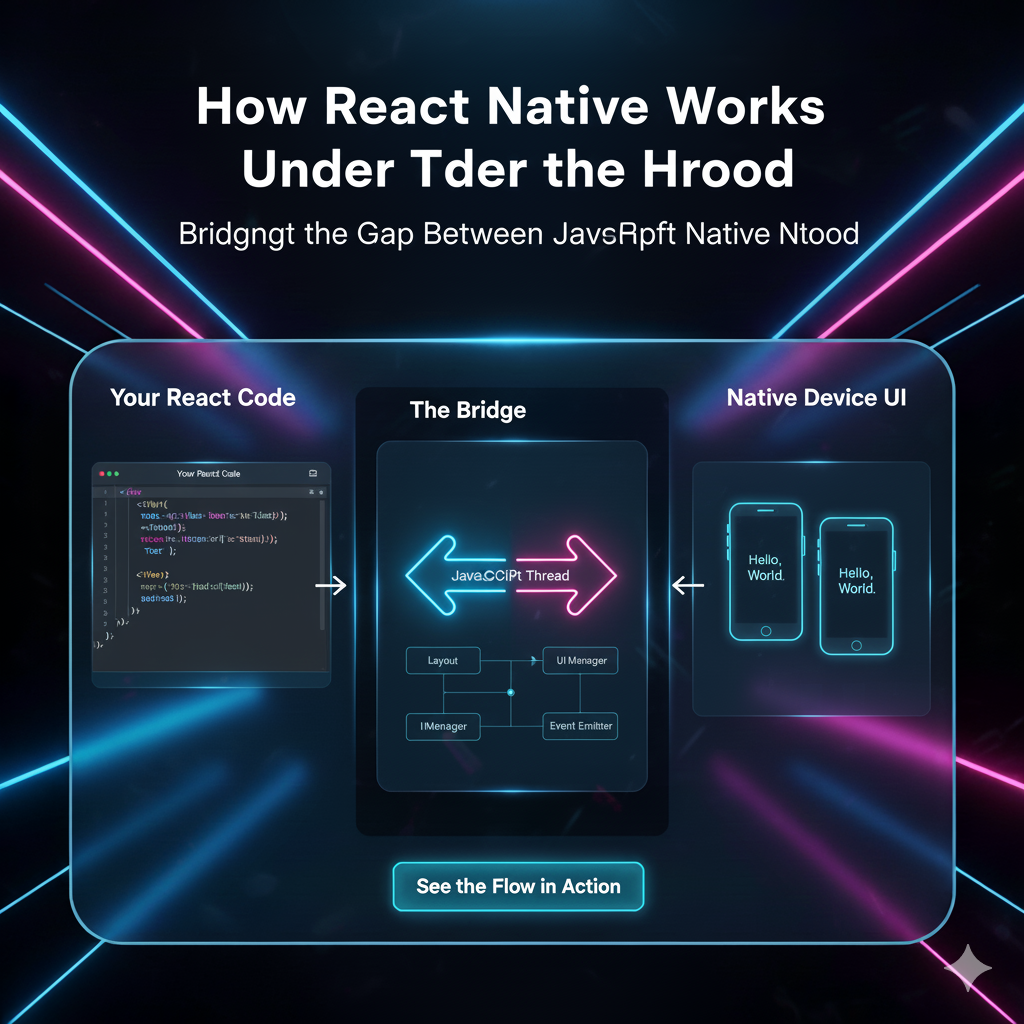
When you run npx react-native init MyApp, you get a bunch of things. Let's quickly decode the essentials:
/android&/ios: These are native kingdoms. You generally don't touch these unless you're adding a native module or dealing with platform-specific configurations. Consider them the engine rooms for their respective platforms./node_modules: This is where all your npm packages live. You never, ever commit this to git. It's massive and is automatically rebuilt when someone runsnpm install.index.js&App.js: The entry points.index.jsis the first file to run, and it typically registers your mainAppcomponent. This is your app's starting line.
Okay, cool. But this doesn't tell us how to organize our own code. That's where we take the wheel.
Building Your Dream Structure: A Feature-Based Approach
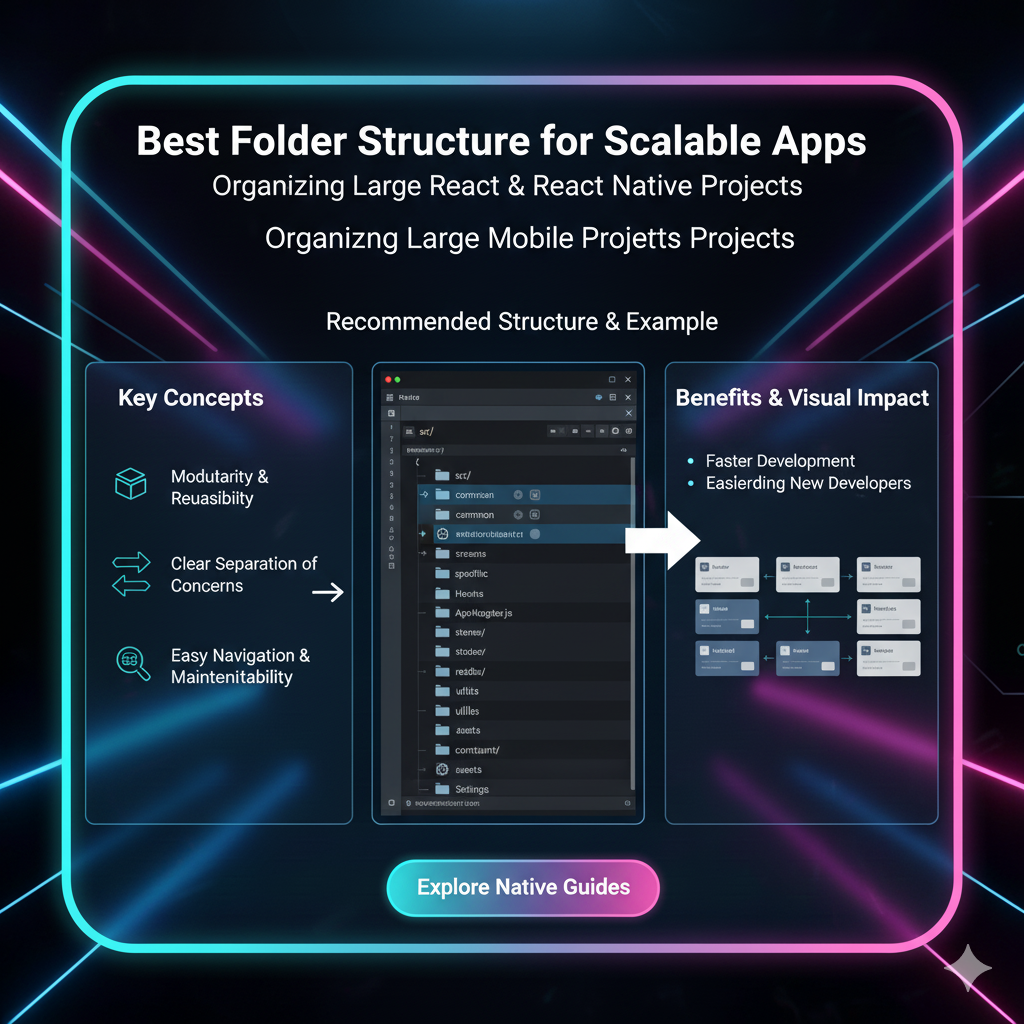
While there's no one-size-fits-all solution, the following structure is a modern, battle-tested favorite for mid to large-sized apps. It's often called a feature-based or domain-driven structure.
Here’s what it looks like:
text
MyAwesomeApp/
├── android/                 (Platform-specific - Auto-generated)
├── ios/                    (Platform-specific - Auto-generated)
├── node_modules/           (Dependencies - Auto-generated)
│
├── src/                    (--- YOUR CODE LIVES HERE ---)
│   │
│   ├── assets/             (Static files)
│   │   ├── images/
│   │   ├── icons/
│   │   └── fonts/
│   │
│   ├── components/         (Reusable UI building blocks)
│   │   ├── common/         (Button, Input, Text - used everywhere)
│   │   └── feature-specific/ (e.g., ProductCard, ProfileHeader)
│   │
│   ├── constants/          (Global values that don't change)
│   │   └── index.js        (Colors, AppStrings, etc.)
│   │
│   ├── contexts/           (React Context API files for state management)
│   │   └── AuthContext.js
│   │
│   ├── hooks/              (Custom React hooks)
│   │   └── useFetch.js
│   │
│   ├── navigation/         (All your routing logic)
│   │   ├── AppNavigator.js
│   │   └── BottomTabNavigator.js
│   │
│   ├── screens/            (Top-level components for each page)
│   │   ├── HomeScreen/
│   │   ├── ProfileScreen/
│   │   └── SettingsScreen/
│   │
│   ├── services/           (API calls and external communication)
│   │   └── api.js
│   │
│   ├── store/              (Redux store, slices, etc. if using Redux Toolkit)
│   │   ├── index.js
│   │   └── slices/
│   │
│   ├── utils/              (Helper functions and utilities)
│   │   └── helpers.js
│   │
│   └── App.js              (Main App component)
│
├── package.json
└── index.js                (App entry point)
Let's break down the key folders inside /src:
1. /assets - Your App's Closet
This is for all your static media. Keeping them in one place makes them easy to manage and reference. No more ../../../assets/image.png from deep within a folder.
2. /components - The LEGO Bricks
This is your UI toolkit. The common/ subfolder is for truly global components like Button, Input, or Modal that are used across the entire app. Then, you can have folders for components that are more specific to a feature, like ProductCard, which is primarily used in the product listing screen.
3. /screens - The Actual Pages
Each screen (or page) of your app gets its own folder here. Why a folder and not just a .js file? Because a HomeScreen might have its own styles, assets, and sub-components that are only relevant to it. Bundling them together keeps things tidy.
text
/HomeScreen
    ├── index.js       (The main screen component)
    ├── styles.js      (StyleSheet for this screen)
    └── components/    (Sub-components only used here)
4. /navigation - The Map of Your App
All your stack navigators, tab navigators, and routing logic live here. Centralizing your navigation makes it incredibly easy to understand the flow of your entire app at a glance.
5. /services - The Messenger
This folder is for all your external communication, primarily API calls. You might have an api.js that sets up Axios or Fetch interceptors, and other files for specific services like authService.js or userService.js.
6. /utils & /constants - The Helpers
/utils is for your helper functions: formatting dates, validating emails, etc. /constants is for things like your app's primary color hex code, text labels, or configuration keys. This prevents "magic strings" from being scattered throughout your code.
Real-World Use Case: Building a Social Media App
Imagine you're building "InstaFake," a Instagram clone.
/screens: You'd haveFeedScreen,ProfileScreen,CreatePostScreen,SearchScreen./components/common:IconButton,StoryCircle,PostGrid./components/feature-specific:Post(a complex component with header, image, and actions),CommentItem./services:apiService.js(base configuration),postService.js(with functions likegetPosts(),likePost(id)),userService.js./constants:AppColors.js(holding your brand palette),AppStrings.js.
This structure makes it obvious where a new feature, like "Direct Messages," would go. You'd create a DMScreen/ in /screens and related components in /components.
Best Practices to Live By
Be Consistent: The most important rule. Pick a structure and stick with it across the project.
Keep it Flat, Avoid Deep Nesting: Don't create
src/components/common/buttons/primary/index.js. It's overkill.src/components/common/PrimaryButton.jsis often just fine.Use
index.jsFiles Wisely: Anindex.jsin a folder can simply export the main file, so you can import withimport HomeScreen from '../screens/HomeScreen'instead of'../screens/HomeScreen/HomeScreen'.Name Files Clearly: Use PascalCase for components (
Button.js) and camelCase for utilities and hooks (formatDate.js,useFetch.js).
Structuring an app like this is a fundamental skill that separates hobbyists from professionals. It’s the kind of disciplined thinking we instill in our students at Coder Crafter. To learn professional software development courses such as Python Programming, Full Stack Development, and the MERN Stack, visit and enroll today at codercrafter.in. Our project-based curriculum ensures you not only know the syntax but also how to build software that's built to last.
FAQs (Frequently Asked Questions)
Q1: Is this the only correct structure?
Nope! It's a highly effective one. For very small projects, a simpler structure might work. The key is intentionality.
Q2: Where do I put my Redux or Zustand store?
The /store folder is perfect for that. If you're using Redux Toolkit, you'd have your store.js and a /slices folder inside it.
Q3: How do I handle theming and global styles?
The /constants folder is a great place for a Theme.js file that exports your spacing, colors, and typography scales. You can then use React Context (in /contexts) to make it available throughout the app.
Q4: My project is already a mess. How do I refactor?
Start small. Pick one new component or screen and put it in the new structure. Gradually migrate parts of your app. It's a marathon, not a sprint. Use your IDE's refactoring tools to update import paths automatically.
Conclusion: Your Blueprint for Success
A well-thought-out React Native folder structure is not just busywork. It's the blueprint for your application's future. It reduces cognitive load, accelerates development, and makes your codebase resilient to change.
Start your next project with this structure, or begin refactoring your current one. The initial effort will pay for itself a hundred times over. Your team (and your future self) will be grateful.
Remember, great developers don't just write code that works; they write code that lasts.
