JSX in React Native: Your No-BS Guide to Building Mobile UIs

Confused by JSX in React Native? This definitive guide breaks it down in simple terms. Learn what it is, how to use it, best practices, and common pitfalls with real code examples. Level up your mobile dev skills!
Let's be real. When you first dive into React Native, you see code that looks like HTML chilling right inside your JavaScript. And your first thought is probably, "Wait, is this even legal? What kind of sorcery is this?"
That sorcery, my friend, is called JSX.
And no, it's not magic. It's just a powerful, slightly opinionated way to write your app's user interface. If you've been struggling to wrap your head around it, you've landed in the right place. This isn't just another dry documentation page. This is a full-blown, in-depth guide that will take you from "JSX-what?" to "JSX-got-it!" by the end.
We'll break down what it is, why it's a game-changer, how to use it without pulling your hair out, and the best practices to make your code clean and professional. Buckle up!
So, What Exactly is JSX?
In the simplest terms, JSX is a syntax extension for JavaScript that lets you write HTML-like code inside your JavaScript files.
Think of it as a super-readable template language that has the full power of JavaScript behind it. It's not a separate templating language you have to learn; it's JavaScript in a fancy dress.
When you write something like this in a React Native component:
jsx
import { Text, View } from 'react-native';

const WelcomeMessage = () => {
  return (
    <View style={{ padding: 20 }}>
      <Text style={{ fontSize: 24, fontWeight: 'bold' }}>Hello, World!</Text>
      <Text>Welcome to your first JSX component.</Text>
    </View>
  );
};

export default WelcomeMessage;
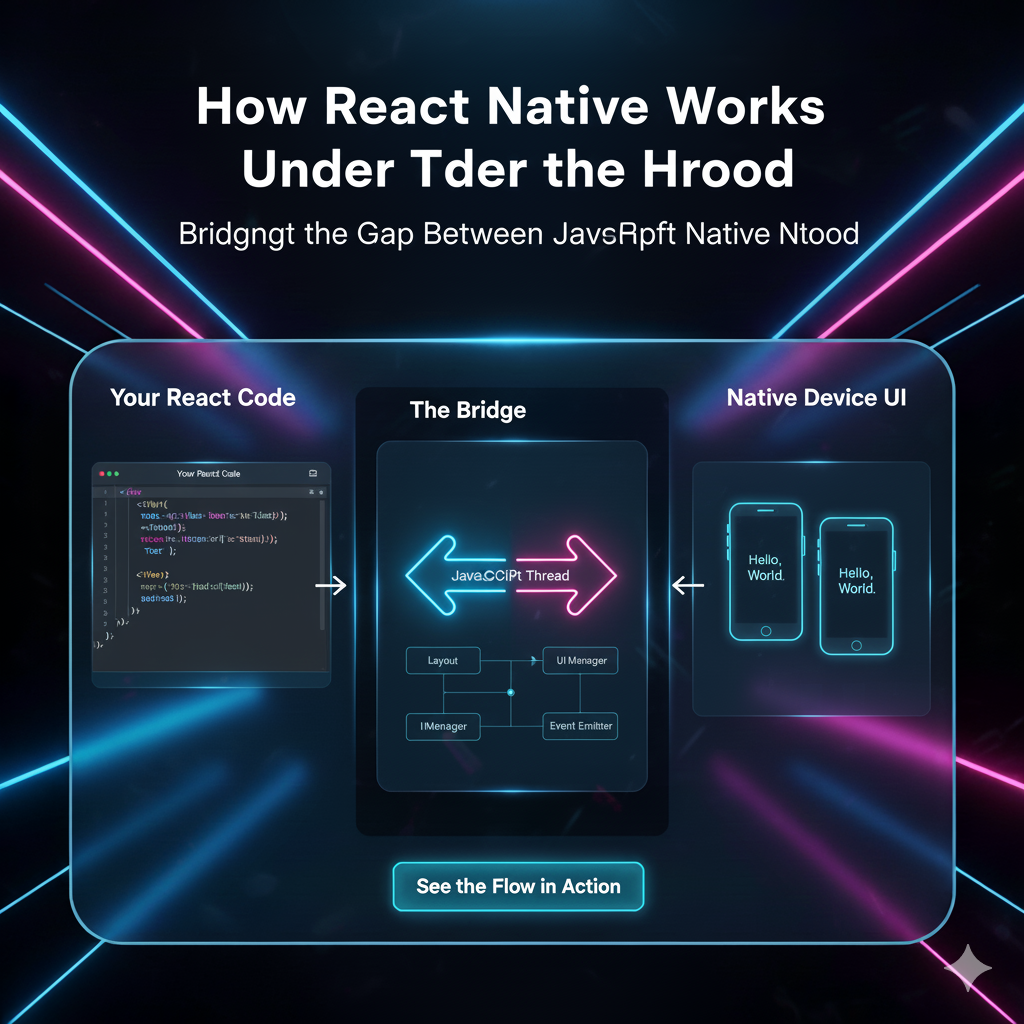
That <View>, <Text>, and style={{ ... }} stuff? That's all JSX. Under the hood, tools like Babel (which comes bundled with React Native) transform this readable JSX code into regular JavaScript function calls that the React Native engine understands.
The above code gets compiled down to something like this:
javascript
import { Text, View } from 'react-native';
import React from 'react';

const WelcomeMessage = () => {
  return React.createElement(
    View,
    { style: { padding: 20 } },
    React.createElement(
      Text,
      { style: { fontSize: 24, fontWeight: 'bold' } },
      'Hello, World!'
    ),
    React.createElement(Text, null, 'Welcome to your first JSX component.')
  );
};

export default WelcomeMessage;
Yikes, right? Which one would you rather write and, more importantly, read? The JSX version is infinitely cleaner and more intuitive. This is the core reason JSX exists.
Why Bother with JSX? The "Aha!" Moment
You might be thinking, "Okay, cool, but why not just use plain JavaScript?" Here’s the deal:
It's Visual and Declarative: JSX allows you to describe what your UI should look like based on your current data. Instead of telling the computer how to build the UI step-by-step (imperative), you just declare the final structure. This makes your code more predictable and easier to debug. You look at the JSX, and you can picture the screen.
JavaScript Power Unleashed: Because it's just JavaScript under the hood, you can embed any JavaScript expression inside your JSX using curly braces
{ }. This is where the real power lies. You can inject variables, run functions, and use array methods like.map()to create dynamic lists. We'll see examples of this in a sec.It Catches Mistakes Early: JSX is stricter than HTML. If you miss a closing tag, the compiler will throw an error immediately during development, rather than you discovering a weird visual bug later on your phone. It acts as a first line of defense.
JSX in Action: Real-World Use Cases
Enough theory. Let's see how JSX is used to build real, dynamic mobile app interfaces.
1. Embedding Variables and Expressions
This is the most common use case. You have some data, and you want to display it.
jsx
import { Text, View } from 'react-native';

const UserProfile = () => {
  const userName = "Aisha";
  const userLevel = 42;

  return (
    <View>
      <Text>Welcome back, {userName}!</Text>
      <Text>Your current level is: {userLevel}</Text>
      {/* You can even do math inside! */}
      <Text>Next level in: {100 - userLevel} points</Text>
    </View>
  );
};
2. Conditional Rendering: Showing Stuff Based on State
Apps aren't static. You need to show/hide elements based on what's happening. JSX makes this elegant.
Using the && Operator (Great for simple show/hide):
jsx
import { Text, View, Button } from 'react-native';

const NotificationScreen = () => {
  const hasUnreadNotifications = true;

  return (
    <View>
      <Text>Your Notifications</Text>
      {hasUnreadNotifications && (
        <Text style={{ color: 'red' }}>You have new messages!</Text>
      )}
      <Button title="Mark as Read" />
    </View>
  );
};
Using Ternary Operator (Great for either/or scenarios):
jsx
import { Text, View, ActivityIndicator } from 'react-native';

const DataScreen = () => {
  const isLoading = false;
  const data = { title: "Fetched Data!" };

  return (
    <View>
      {isLoading ? (
        <ActivityIndicator size="large" color="#0000ff" />
      ) : (
        <Text>{data.title}</Text>
      )}
    </View>
  );
};
3. Rendering Lists with .map()
This is a cornerstone of modern app development. You have an array of data (e.g., chat messages, products, todos) and you need to render a component for each item.
jsx
import { Text, View, FlatList } from 'react-native';

const TodoList = () => {
  const todos = [
    { id: '1', text: 'Learn JSX' },
    { id: '2', text: 'Build a React Native app' },
    { id: '3', text: 'Profit!' },
  ];

  return (
    <View>
      <Text>My Todo List:</Text>
      {/* For simple lists, you can use map directly. */}
      {todos.map((item) => (
        <Text key={item.id}>- {item.text}</Text>
      ))}

      {/* For long, performant lists, you'd use FlatList. */}
      {/* <FlatList
        data={todos}
        keyExtractor={(item) => item.id}
        renderItem={({ item }) => <Text>- {item.text}</Text>}
      /> */}
    </View>
  );
};
Notice the key prop? It's a crucial JSX concept. When rendering lists, React Native needs a unique identifier for each item to efficiently track changes, additions, and removals. Always provide a stable, unique key.
JSX Gotchas and Best Practices (The Pro Moves)
To write clean, error-free JSX, keep these in mind.
One Parent Element to Rule Them All: A component can only return one top-level JSX element. You can't return two sibling
<Text>tags. The solution? Wrap them in a<View>or use the special<>...</>Fragment tag, which doesn't add extra nodes to the DOM.jsx
// ❌ This will break
const BrokenComponent = () => {
  return (
    <Text>Hello</Text>
    <Text>World</Text>
  );
};

// ✅ This works perfectly
const FixedComponent = () => {
  return (
    <View>
      <Text>Hello</Text>
      <Text>World</Text>
    </View>
  );
};

// ✅ This also works (using Fragments)
const FragmentComponent = () => {
  return (
    <>
      <Text>Hello</Text>
      <Text>World</Text>
    </>
  );
};
Close Every Tag, Always: In HTML, you might get away with a lone
<br>or<img>. In JSX, you must close every single tag. Self-closing tags like<Image />or<TextInput />must end with a/.jsx
// ❌ Nope <Image source={...}> <br> // ✅ Yes <Image source={...} /> <br />classNameis so Web... Usestyle: In HTML/React for web, you useclassorclassName. In React Native, you apply styles directly using thestyleprop, which takes a JavaScript object.jsx
<View style={{ backgroundColor: 'pink', padding: 10 }}> <Text style={{ fontSize: 16 }}>This is a styled box.</Text> </View>onClick? Nah,onPress: Event handlers are different. Instead ofonClick, you'll useonPresson components like<TouchableOpacity>,<Button>, etc.
FAQs: Your JSX Questions, Answered
Q1: Is JSX mandatory for React Native?
Technically, no. You can use the React.createElement API directly. But it's so verbose and hard to maintain that literally everyone uses JSX. It's the de-facto standard.
Q2: Why can't I use HTML tags like <div> or <p>?
React Native doesn't use a web view. It renders to native iOS and Android components. So, instead of <div>, we have <View> (a container). Instead of <p>, we have <Text> (for displaying text). These are core components provided by the library.
Q3: I'm getting a "Adjacent JSX elements must be wrapped in an enclosing tag" error. Help!
This is the "one parent element" rule in action. Find the component where you're returning two top-level elements and wrap them in a <View> or a Fragment <> </>.
Q4: How is this different from Flutter's Widgets?
The concept is similar (declarative UI), but the syntax is different. Flutter uses objects and methods in Dart (e.g., Text('Hello')), while React Native uses JSX, which feels more like writing markup. It's largely a matter of preference, but if you come from a web background, JSX feels like home.
Mastering JSX is your first major step towards becoming proficient in React Native. It's the language you'll use to describe every screen, button, and piece of text in your app. The learning curve is small, but the payoff is massive.
Conclusion: You're Now a JSX Pro
So, there you have it. JSX isn't some esoteric, complicated feature—it's a simple, powerful tool that makes building mobile UIs a breeze. You've learned what it is, why it's awesome, how to make your UI dynamic with JavaScript, and the key best practices to avoid common pitfalls.
Remember, the best way to solidify this knowledge is to build something. Open your code editor, create a new component, and start playing around. Try rendering a list of your favorite movies, create a profile card that changes based on a variable, or conditionally show a loading spinner.
The world of mobile development is at your fingertips. And if you're looking to go from "getting it" to "getting hired," you need a structured path.
To learn professional software development courses such as Python Programming, Full Stack Development, and MERN Stack, visit and enroll today at codercrafter.in. Our project-based curriculum is designed to take you from beginner to industry-ready, teaching you not just React Native, but the entire ecosystem around it.
