Spice Up Your App: A No-BS Guide to Rive Animations Integration
Spice Up Your App: A No-BS Guide to Rive Animations Integration

Spice Up Your App: A No-BS Guide to Rive Animations Integration
Spice Up Your App: Your Ultimate Guide to Rive Animations Integration
Let's be real for a second. We've all been there. You're browsing an app or a website, and you click a button. It just... sits there. Lifeless. Or maybe it has a janky, low-effort animation that feels like it's from 2010. It’s a vibe killer, right?
In today's digital landscape, users don't just want functionality; they want an experience. They crave smooth, responsive, and delightful interactions that feel alive. This is where static GIFs and autoplaying videos fall flat. They're heavy, they're not interactive, and honestly, they're a bit basic.
Enter Rive.
If you're a developer or designer and you haven't heard of Rive yet, buckle up. You're about to have your mind blown. And if you have heard of it but haven't dived in, consider this your sign.
In this deep dive, we're going to break down everything you need to know about Rive Animations Integration – from what it actually is, to how you can slap it into your projects and make your UI look like it was crafted by a Silicon Valley design guru.
So, What the Heck is Rive Anyway?
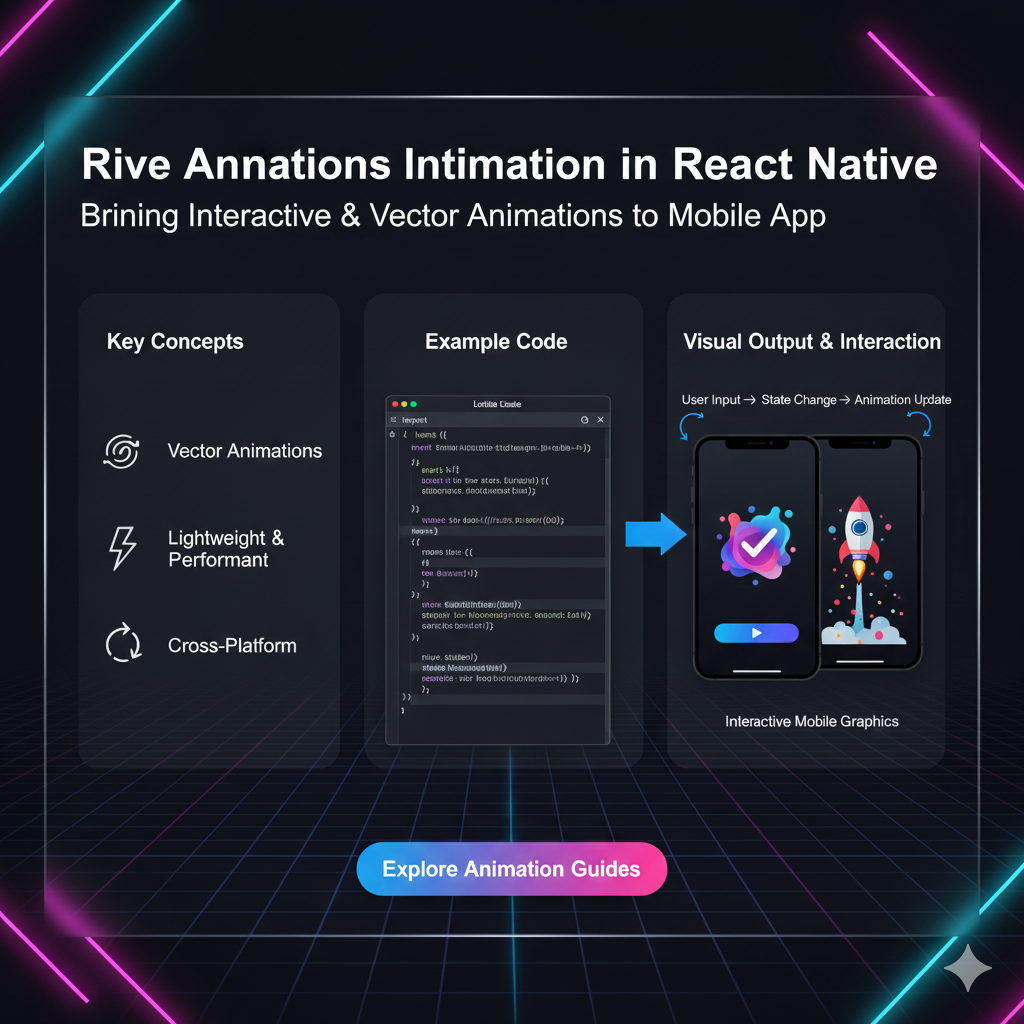
In simple terms, Rive is a powerful design and animation tool that lets you create and ship interactive animations to any platform. Think of it as the lovechild of Adobe After Effects and a modern game engine, but built specifically for app and web interfaces.
The old way: A designer creates an animation in After Effects, exports a massive MP4 file or a pixelated GIF, and the developer struggles to make it work, sacrificing performance and interactivity.
The Rive way: A designer creates a vector-based, interactive animation in Rive's editor. They export a single, tiny .riv file. The developer drops this file into their project, uses Rive's runtime to control it with code, and boom – you have a buttery-smooth, scalable, and fully interactive animation running at 60 FPS.
The Core Magic: State Machines
The real game-changer with Rive is its State Machine. This isn't just a timeline animation. A State Machine lets you define different "states" for your animation (like idle, hover, pressed, success) and the transitions between them. You can control these states with code based on user input.
For example, a button can:
Play an
idlebreathing animation.Transition to a
hoverstate when the mouse is over it.Play a
pressanimation when clicked.Transition to a
successcheckmark animation after an action is complete.
All of this from one single, small file. It’s pure magic.
Why Should You, as a Developer, Care?
Alright, let's get practical. Why go through the trouble of learning a new tool?
Performance is King: Rive animations are vector-based and run natively, meaning they are incredibly lightweight and silky smooth. Say goodbye to laggy GIFs and memory-hogging video files.
Interactivity is a Game-Changer: You're not just watching an animation; you're interacting with it. This opens up a whole new world of UX possibilities.
One File to Rule Them All: The same
.rivfile can be used on your website (via JavaScript), your iOS app (Swift), and your Android app (Kotlin/Java). This ensures design consistency across all platforms.It's Freaking Cool: Let's not underestimate the "wow" factor. A well-executed Rive animation can make your product feel premium and modern.
Real-World Use Cases: It's Not Just for Fancy Buttons
Sure, buttons are the classic example, but Rive's potential is massive.
Onboarding Flows: Instead of static images or slides, use interactive animations that respond to user swipes and taps to explain your app's features.
Custom Loaders & Progress Indicators: Ditch the boring spinning circle. Create branded, engaging loaders that keep users entertained while they wait.
Character Animation and Gamification: Animate a mascot that reacts to user actions. Celebrate a win, offer encouragement, or just add a touch of personality.
Complex Iconography: Have an icon that morphs based on state. A heart that fills up, a menu that transforms into a close button, or a download icon that shows progress.
Data Visualization: Animate charts and graphs to make data feel more dynamic and understandable.
Let's Get Our Hands Dirty: A Simple Integration Example (Web/JS)
Enough theory. Let's see how you'd actually get a Rive animation into a simple web project.
Step 1: Create or Get Your Rive File
First, you need a .riv file. You can create one in the Rive editor or download a community one for free.
Step 2: Set Up Your HTML
We'll use the official Rive JavaScript runtime.
html
<!DOCTYPE html>
<html>
<head>
    <title>My First Rive Animation</title>
    <style>
        #canvas {
            width: 400px;
            height: 400px;
        }
    </style>
</head>
<body>
    <!-- This is where the animation will live -->
    <canvas id="canvas"></canvas>

    <!-- Load the Rive runtime -->
    <script src="https://unpkg.com/@rive-app/canvas@latest"></script>
    <script src="app.js"></script>
</body>
</html>
Step 3: The JavaScript Magic (app.js)
This is where we bring the animation to life.
javascript
// app.js

// Initialize the Rive runtime
const rive = new rive.Rive({
    // Path to your .riv file
    src: './my_awesome_animation.riv',
    // The canvas element we defined in our HTML
    canvas: document.getElementById('canvas'),
    // Specify the State Machine you want to use (find its name in the Rive editor)
    stateMachines: 'Button State Machine',
    // Automatically play the animation
    autoplay: true,
    // Callback for when the file is loaded and ready
    onLoad: () => {
        console.log("Animation loaded successfully!");
        // Now you can interact with the animation
        const inputs = rive.stateMachineInputs('Button State Machine');
        // Find the input named 'isPressed' from your state machine
        const isPressedInput = inputs.find(input => input.name === 'isPressed');

        // Add a click listener to the canvas to trigger the press
        document.getElementById('canvas').addEventListener('click', () => {
            isPressedInput.fire();
        });
    },
});
And that's it! You now have an interactive button animation on your webpage. Clicking the canvas will fire the isPressed input and trigger the corresponding animation state.
This is just the tip of the iceberg. To learn professional software development courses such as Python Programming, Full Stack Development, and MERN Stack, which cover advanced topics like integrating complex APIs and building dynamic UIs, visit and enroll today at codercrafter.in. Our project-based curriculum ensures you learn by building real-world applications.
Best Practices for a Flawless Experience
Keep it Simple, Smarty (KISS): Don't over-animate. Animation should enhance the experience, not distract from it.
Optimize Your Artboards: Design at the size you intend to use. Don't create a massive animation and scale it down in the code.
Leverage State Machines Wisely: Plan your states and transitions logically. A messy state machine is a nightmare to debug.
Mind the File Size: While Rive files are small, complex animations with many assets can still get bulky. Keep an eye on the final export size.
Test on Real Devices: Always test your animations on the actual devices your users will have. Performance can vary.
FAQs: Your Burning Questions, Answered
Q: Is Rive free to use?
A: Yes! Rive has a very generous free tier that is perfect for most individual developers, freelancers, and small teams. They offer paid plans for advanced features and collaboration.
Q: How does it compare to Lottie?
A: Lottie was the king, and it's still great. But Rive is often seen as the next evolution. The key differentiator is interactivity. Lottie is mostly for playback of complex animations, while Rive is built for interaction.
Q: What's the learning curve like?
A: If you're familiar with design and animation concepts (layers, keyframes), you'll pick up the Rive editor quickly. For developers, the APIs are well-documented and intuitive. It's definitely manageable.
Q: Can I use Rive with React, Vue, etc.?
A: Absolutely! Rive provides official and community-run libraries for major frameworks like React, Vue.js, Flutter, and more. Integrating it into your modern tech stack is a breeze.
Q: Is it good for game development?
A: For complex 3D games, you'd still use engines like Unity or Unreal. But for UI elements within a game or for simple 2D hyper-casual games, Rive is a fantastic choice.
Conclusion: The Future is Interactive
Rive isn't just another animation tool; it's a paradigm shift in how we think about user interfaces. It bridges the gap between design and development in a way that was previously only possible in high-end game development.
By integrating Rive, you're not just adding "animations" – you're adding feelings. You're creating a product that users don't just use, but they enjoy using.
The barrier to entry is lower than you think, and the payoff in terms of user engagement and product polish is immense. So, what are you waiting for? Head over to rive.app, download the editor, and start playing.
Ready to build the next generation of stunning, interactive web and mobile applications? The foundation starts with solid coding skills. At CoderCrafter.in, we don't just teach syntax; we teach you how to think like a software engineer. To learn professional software development courses such as Python Programming, Full Stack Development, and MERN Stack, visit and enroll today at codercrafter.in. Let's build the future, together.
