React Native & Expo Router in 2025: The Ultimate Cross-Platform Guide
Building mobile apps in 2025? Dive deep into React Native with Expo Router. Learn setup, file-based routing, best practices, and why it's a game-changer for developers. Level up your skills at CoderCrafter.in!
Let's be real. The world of mobile development can feel like a constant battle. Do you learn Swift and Kotlin? Do you deal with the nightmare of native build tools? Or do you go for a cross-platform framework that feels... janky?
For a long time, that was the dilemma. But in 2025, the game has fundamentally changed. The combination of React Native and the Expo Router has evolved from a "good option" to a first-class, powerhouse stack for building production-ready apps.
If you're a developer looking to build for iOS and Android without losing your sanity, you're in the right place. This isn't just a surface-level overview. We're going deep on what makes this duo so powerful, how it works, and why you should be betting on it for your next project.
The 2025 Stack: A Quick Refresher
Before we dive into the nitty-gritty, let's get everyone on the same page.
What is React Native?
Imagine you could use your web development skills (hello, JavaScript and React!) to build actual, native mobile apps. That's React Native in a nutshell. It’s a framework created by Meta (formerly Facebook) that lets you write one codebase that runs on both iOS and Android, delivering a truly native look and feel. No more "web views" pretending to be an app.
What is Expo?
Think of Expo as the ultimate wingman for React Native. In the past, React Native setup could be a pain, requiring Xcode, Android Studio, and a lot of configuration. Expo swoops in and simplifies everything. It provides a managed workflow—a set of tools and services that handle the heavy lifting of building, deploying, and updating your app. It's like having a DevOps team in your pocket.
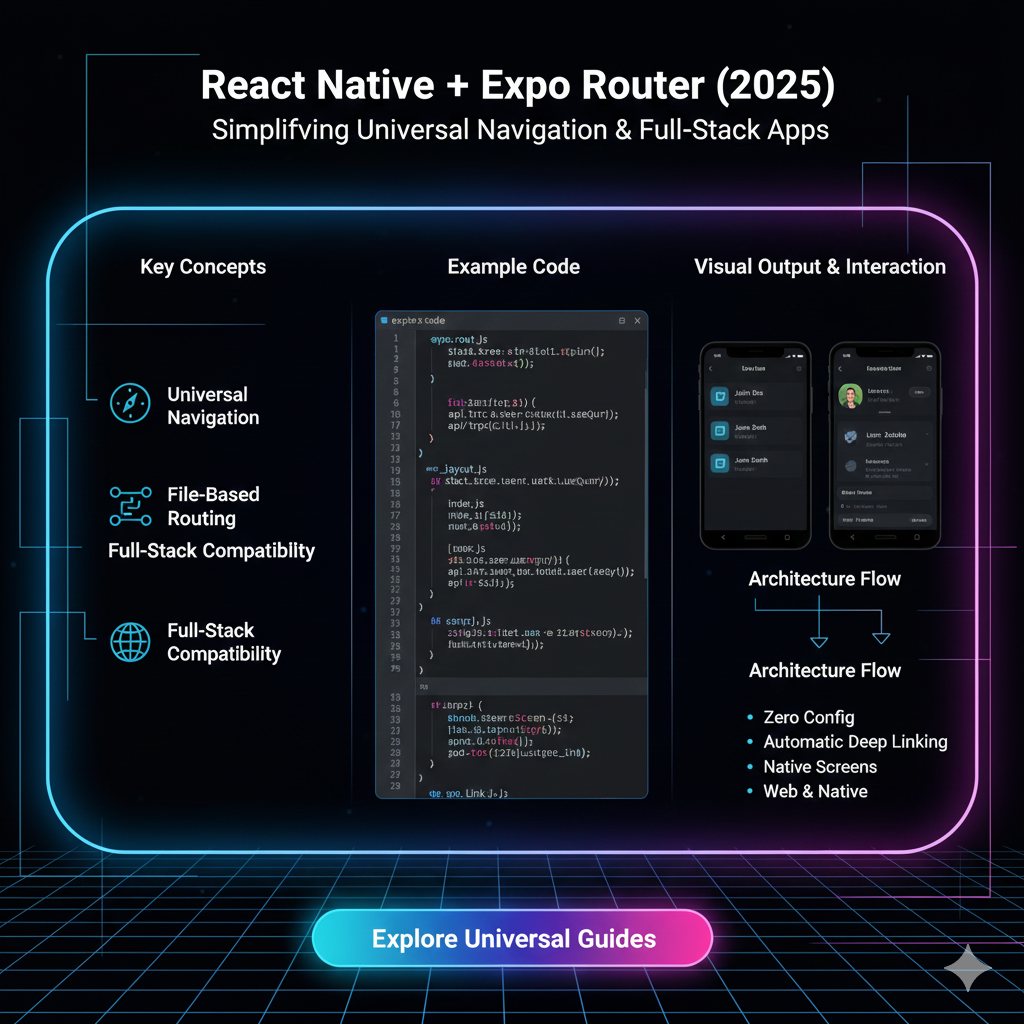
And the Star of the Show: Expo Router
This is Expo's official, file-based navigation library for React Native. If you've ever used Next.js or SvelteKit, this will feel incredibly familiar. It brings the simplicity and power of file-based routing to mobile apps, and it's an absolute game-changer.
Why Expo Router is a Total Game-Changer
So, what's the big deal? Why is everyone, from indie hackers to large teams, switching to Expo Router?
File-Based Routing is Just... Better: You create a folder structure in your
appdirectory, and poof, your routes are defined. Create a file calledapp/profile.tsx? You now have a/profileroute. It’s intuitive, reduces boilerplate code, and makes the structure of your app visually obvious.Native Navigation by Default: Expo Router isn't a JavaScript-based navigator. It's built on top of native navigation primitives, which means your app feels buttery smooth. Transitions, gestures, and performance are all top-tier, right out of the box.
Deep Linking for Free: Want users to go straight to a specific screen when they tap a notification or a link? That's a deep link. With Expo Router, this is automatic. The route
app/settings/notifications.tsxis automatically accessible via theyourapp://settings/notificationsdeep link. It's magic.Server-Side Rendering (SSR) & Static Site Generation (SSG): Wait, for a mobile app? Yes! Expo Router enables pre-rendering of your app's screens. This is huge for:
Loading Performance: The initial screen can be rendered instantly.
Sharing: When a link to your app is shared on social media, you can pre-render a rich preview, just like a website.
Let's Build: A Real-World Example
Enough theory. Let's see what this looks like in practice. Imagine we're building a simple social app, "QuickPost."
Our App Structure:
text
my-quickpost-app/
├── app/
│   ├── _layout.tsx       # Root layout (tabs)
│   ├── index.tsx         # Home screen (feed)
│   ├── search.tsx        # Search screen
│   ├── create.tsx        # Create a new post
│   └── profile/
│       ├── _layout.tsx   # Layout for the profile tab
│       ├── index.tsx     # Main profile page
│       └── settings.tsx  # Profile settings page
└── package.json
Code Snippets to Get the Vibe:
Root Layout (
app/_layout.tsx): This sets up our bottom tab navigator.jsx
import { Tabs } from 'expo-router';
import { Ionicons } from '@expo/vector-icons';

export default function TabLayout() {
  return (
    <Tabs screenOptions={{ headerShown: false }}>
      <Tabs.Screen
        name="index"
        options={{
          title: 'Feed',
          tabBarIcon: ({ color, size }) => (
            <Ionicons name="home" size={size} color={color} />
          ),
        }}
      />
      <Tabs.Screen
        name="create"
        options={{
          title: 'Create',
          tabBarIcon: ({ color, size }) => (
            <Ionicons name="add-circle" size={size} color={color} />
          ),
        }}
      />
      <Tabs.Screen
        name="profile"
        options={{
          title: 'Profile',
          tabBarIcon: ({ color, size }) => (
            <Ionicons name="person" size={size} color={color} />
          ),
        }}
      />
    </Tabs>
  );
}
See how clean that is? No complicated navigator setup.
Navigating Between Screens: To navigate from the Feed to a specific post, you'd use the
routerobject.jsx
import { View, Text, Pressable } from 'react-native';
import { useRouter } from 'expo-router';

export default function FeedPost({ postId, title }) {
  const router = useRouter();

  return (
    <Pressable onPress={() => router.push(`/post/${postId}`)}>
      <View>
        <Text>{title}</Text>
      </View>
    </Pressable>
  );
}
The
router.pushmethod feels just likeuseNavigatefrom React Router. Simple.
Best Practices for 2025 and Beyond
To write clean, maintainable, and scalable apps with this stack, follow these golden rules:
Organize by Feature, Not File Type: Don't have a giant
componentsfolder and ascreensfolder. Group related files together. For example, all profile-related components, hooks, and screens can live in theapp/profiledirectory.Leverage TypeScript: The Expo ecosystem has first-class TypeScript support. It catches errors early and provides fantastic autocomplete, especially for your routes. Use it.
Use Expo Application Services (EAS): This is Expo's cloud build service. In 2025, manually building APKs and IPAs is a waste of time. EAS Build handles it for you in the cloud, and EAS Update lets you push bug fixes directly to users without going through the app stores (for non-breaking changes).
Plan Your Authentication Flow: Use a nested layout for authenticated screens. Your root
_layout.tsxcan check if a user is logged in and render either the login screen or the main app tabs.
Mastering these architectural patterns is crucial for professional development. To learn professional software development courses such as Python Programming, Full Stack Development, and MERN Stack, visit and enroll today at codercrafter.in. Our curated curriculum is designed to take you from basics to building complex, real-world applications.
FAQs: Your Questions, Answered
Q: Is Expo Router ready for large, complex production apps?
A: Absolutely. It's being used by thousands of apps in production, including by large enterprises. The stability and feature set in 2025 are rock-solid.
Q: What's the catch? Am I locked into the Expo ecosystem?
A: This was a bigger concern in the past. Today, with "prebuild," you can eject from the managed workflow at any time. You get the full source code for your iOS and Android projects, giving you complete control. The "lock-in" fear is largely a myth now.
Q: How does handling work on Web?
A: Brilliantly. Expo Router automatically handles the differences between mobile and web. A router.push on mobile does a native navigation, while on web it becomes a client-side navigation, just like a SPA. It abstracts the platform differences away.
Q: Can I use it with state management libraries like Redux or Zustand?
A: 100%. Expo Router is just for navigation. It works seamlessly with any state management solution you prefer. Zustand is a particularly popular choice in the community for its simplicity.


