Mastering File Uploads with Fetch API: Complete 2025 Guide
Learn how to handle file uploads with JavaScript Fetch API. Step-by-step guide with code examples, best practices, and real-world applications for modern web development.
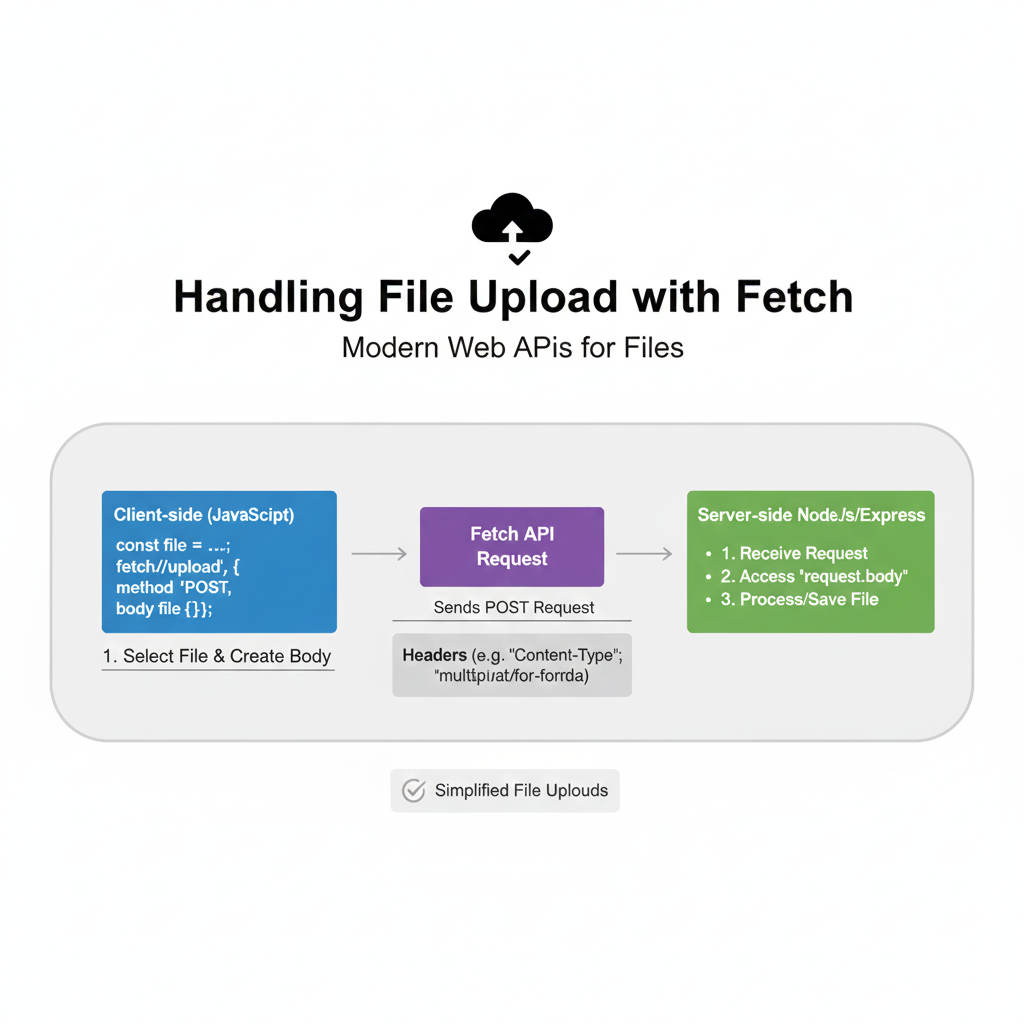
Hey there, fellow developers! 👋 Let's talk about something we deal with constantly but might not have fully mastered: handling file uploads in modern web applications using the Fetch API. If you've ever struggled with getting that perfect image upload to work or wondered why your PDF upload fails silently, you're in the right place.
Wait, What's Fetch Again?
Quick refresher time! The Fetch API is JavaScript's modern, promise-based way to make HTTP requests. It's cleaner and more powerful than the old XMLHttpRequest, and it's built right into modern browsers.
javascript
// The basic vibe
fetch('https://api.example.com/data')
  .then(response => response.json())
  .then(data => console.log(data))
  .catch(error => console.error('Oops:', error));
But here's where it gets interesting—Fetch isn't just for GET requests. It's incredibly capable for sending data too, including files.
Why Use Fetch for File Uploads?
You might be thinking, "Can't I just use a form?" Sure, but with Fetch:
You get fine-grained control over the request
You can show upload progress (with a bit of extra work)
You can handle responses without page reloads
You get to work with promises instead of callback hell
The Real-World Scenario: Let's Build Something
Picture this: You're building a social media app where users can upload profile pictures. Here's exactly how you'd do it with Fetch.
Step 1: The HTML Setup
html
<div class="upload-section">
  <input type="file" id="profileImage" accept="image/*" />
  <button id="uploadBtn">Upload That Pic! 🚀</button>
  <div class="progress-bar" style="display: none;">
    <div class="progress-fill"></div>
  </div>
</div>
Step 2: JavaScript Magic
javascript
const fileInput = document.getElementById('profileImage');
const uploadBtn = document.getElementById('uploadBtn');
const progressBar = document.querySelector('.progress-bar');
const progressFill = document.querySelector('.progress-fill');

uploadBtn.addEventListener('click', async () => {
  const file = fileInput.files[0];

  if (!file) {
    alert('Hey, choose a file first! 📁');
    return;
  }

  // Check file size (let's say max 5MB)
  if (file.size > 5 * 1024 * 1024) {
    alert('File too big! Keep it under 5MB.');
    return;
  }

  // Prepare the form data
  const formData = new FormData();
  formData.append('profile_image', file);
  formData.append('user_id', 'current_user_123'); // Usually from auth

  // Show progress bar
  progressBar.style.display = 'block';

  try {
    const response = await fetch('https://yourapi.com/upload', {
      method: 'POST',
      body: formData,
      // Note: Don't set Content-Type header for FormData!
      // Let the browser set it with the boundary
    });

    if (!response.ok) {
      throw new Error(`Upload failed: ${response.status}`);
    }

    const result = await response.json();
    console.log('Success!', result);
    alert('Image uploaded successfully! 🎉');

  } catch (error) {
    console.error('Upload error:', error);
    alert('Upload failed. Try again?');
  } finally {
    progressBar.style.display = 'none';
  }
});
Level Up: Adding Upload Progress
Here's a pro tip—Fetch doesn't natively support progress tracking, but we can work around it:
javascript
// Using the XMLHttpRequest for progress (sometimes you gotta mix)
function uploadWithProgress(file, onProgress) {
  return new Promise((resolve, reject) => {
    const xhr = new XMLHttpRequest();
    const formData = new FormData();
    formData.append('file', file);

    xhr.upload.onprogress = (event) => {
      if (event.lengthComputable) {
        const percentComplete = (event.loaded / event.total) * 100;
        onProgress(Math.round(percentComplete));
      }
    };

    xhr.onload = () => resolve(xhr.responseText);
    xhr.onerror = () => reject(new Error('Upload failed'));

    xhr.open('POST', 'https://yourapi.com/upload');
    xhr.send(formData);
  });
}

// Or, in 2024, consider using the Fetch with streams
// (More advanced, but cutting-edge!)
Multiple Files? No Problem!
javascript
// Handling multiple file selections
fileInput.multiple = true; // Allow multiple in HTML

async function uploadMultipleFiles(files) {
  const formData = new FormData();

  // Append each file
  files.forEach((file, index) => {
    formData.append(`file_${index}`, file);
  });

  // Optional: Add metadata
  formData.append('upload_timestamp', Date.now());

  const response = await fetch('/api/upload-multiple', {
    method: 'POST',
    body: formData,
  });

  return response.json();
}
The Edge Cases (Where Things Get Real)
1. Handling Large Files
Consider chunking for files over 100MB:
Split file into chunks
Upload sequentially or in parallel
Reassemble on server
2. Network Issues & Retries
javascript
async function uploadWithRetry(file, maxRetries = 3) {
  for (let i = 0; i < maxRetries; i++) {
    try {
      return await uploadFile(file);
    } catch (error) {
      if (i === maxRetries - 1) throw error;
      console.log(`Retry ${i + 1}...`);
      await new Promise(resolve => setTimeout(resolve, 1000 * Math.pow(2, i))); // Exponential backoff
    }
  }
}
3. Security Considerations
Always validate file types on server (client validation is just UX)
Scan for malware if applicable
Implement rate limiting
Use HTTPS always
Real-World Use Cases You'll Actually Encounter
E-commerce Product Images - Multiple angles, thumbnail generation
Document Processing - PDFs, DOCs with server-side conversion
Social Media - Images, videos, with compression
Cloud Storage Apps - Like your own mini Google Drive
Profile Systems - With automatic cropping/resizing
Best Practices I've Learned the Hard Way
✅ Do:
Validate file size both client and server-side
Give users clear feedback (progress, success, errors)
Compress images before upload when possible
Use appropriate accept attributes (
accept="image/*, .pdf")Implement proper error handling with user-friendly messages
❌ Don't:
Trust client-side validation alone
Block the UI during upload (use async/await properly)
Forget about mobile users and their network conditions
Upload without user consent or clear indication
Your FAQs Answered
Q: Can I upload files without FormData?
A: Technically yes, but FormData handles multipart/form-data encoding automatically. You could use FileReader and base64, but it's less efficient.
Q: How do I handle different file types?
A: Check the file object's type property: file.type.includes('image') or file.type === 'application/pdf'
Q: What about CORS?
A: Ensure your server sends proper CORS headers: Access-Control-Allow-Origin and Access-Control-Allow-Methods
Q: Maximum file size with Fetch?
A: There's no hard limit in Fetch itself, but browsers and servers have limits. Typically 1GB is practical maximum, but chunk larger files.
Q: Can I cancel an upload?
A: With Fetch alone, not easily. Consider using AbortController or stick with XMLHttpRequest for cancellable uploads.
The Server Side (Quick Node.js Example)
javascript
// Express.js example
const express = require('express');
const multer = require('multer');
const app = express();

const upload = multer({ dest: 'uploads/', limits: { fileSize: 5 * 1024 * 1024 } });

app.post('/upload', upload.single('profile_image'), (req, res) => {
  // req.file contains the uploaded file info
  res.json({
    success: true,
    filename: req.file.filename,
    path: `/uploads/${req.file.filename}`
  });
});
Wrapping It Up
File uploads with Fetch are powerful, flexible, and modern. They give you the control you need for today's sophisticated web applications. Yes, there are some gotchas (looking at you, progress tracking), but the benefits outweigh the challenges.
Start with simple uploads, add progress indicators, implement proper error handling, and before you know it, you'll be handling file uploads like a pro.
Ready to level up your development skills? This is just scratching the surface of what you can do with modern JavaScript. To learn professional software development courses such as Python Programming, Full Stack Development, and MERN Stack, visit and enroll today at codercrafter.in. We take you from basics to building production-ready applications with hands-on projects.
Speaking of hands-on, why not try implementing a color converter tool next? You could build something similar to our CMYK to RGB converter to practice your newly minted skills!
Got questions or cool file upload implementations? Drop them in the comments below!


