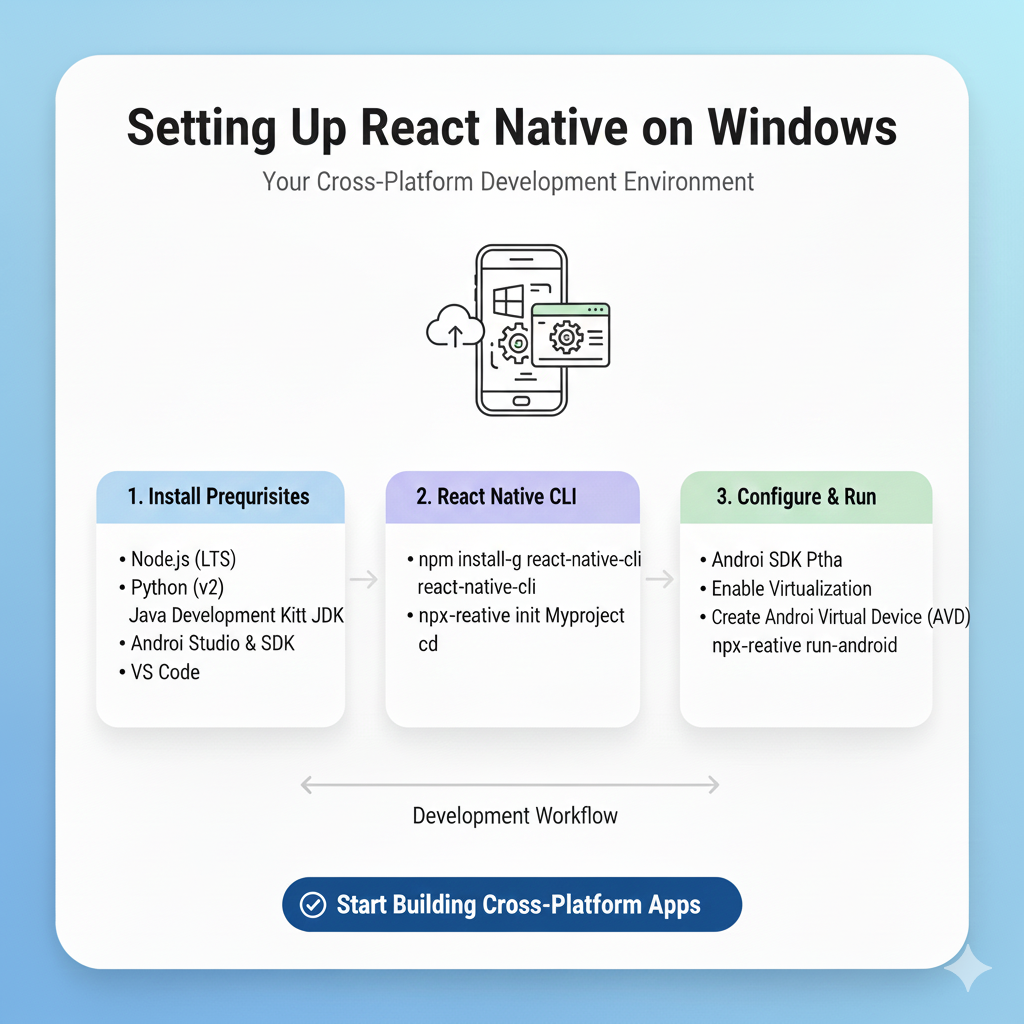
How to Set Up React Native on Windows: A 2025 Beginner's Guide
Struggling to set up React Native on Windows? This step-by-step guide walks you through everything from Node.js to your first mobile app. No fluff, just working code.
Let's be real: setting up a developer environment can be the absolute worst. You're buzzing with ideas for that killer mobile app, ready to code the next big thing, and then... you hit a wall of confusing errors, version mismatches, and cryptic terminal messages. It’s enough to kill your vibe before you even write "Hello World."
If that sounds familiar, you’re in the right place. This guide is for the builders, the dreamers, and the slightly frustrated future mobile devs who just want to get React Native running on their Windows machine without wanting to throw their laptop out the window.
We’re going to walk through this step-by-step, together. I’ll explain the why behind the what, so you’re not just copying commands blindly. By the end, you’ll have a slick development environment and a running app on both an emulator and your physical phone. Let's dive in.
What is React Native, Anyway? (And Why Should You Care?)
In a nutshell, React Native is a framework that lets you build truly native mobile apps using JavaScript and React. Think of it like this: instead of learning Java/Kotlin for Android and Swift for iOS, you write one codebase in a language you might already know (JavaScript) and it compiles to native components for both platforms. It’s not a "web app in a box" – it uses actual native views, so performance and feel are legit.
Real-World Giants Using It: Facebook (obviously), Instagram, Airbnb (for a while), Shopify, Discord, and Bloomberg. If it's good enough for them, it's probably good enough for your side project.
The Windows Reality Check: The setup on Windows has a reputation for being trickier than on macOS, mainly because of the iOS simulator. But don't sweat it – we'll use powerful tools to smooth everything over. The key is a structured approach.
Pre-Setup: Gear Up Your Machine
Before we install anything, let's make sure your PC is ready. You'll need:
Windows 10 or 11: The fresher, the better.
Administrator Access: You'll need to run some commands as an admin.
At least 8GB of RAM: 16GB is the sweet spot for comfortable development.
Storage Space: Make sure you have 10-15GB free for SDKs, emulators, and Node modules.
Step 1: The Foundation – Node.js & Chocolatey
First, we need Node.js, the JavaScript runtime that powers React Native.
Download Node.js: Head to nodejs.org and grab the LTS (Long Term Support) version. This is the stable release. Avoid the "Current" version for development – it can lead to compatibility nightmares.
Install It: Run the installer. Check the box that says "Automatically install the necessary tools..." when it pops up. This installs Python and other build tools you'll need. It’s a lifesaver.
Verify: Open PowerShell (as admin) and type:
bash
node --version
npm --version
You should see version numbers. Congrats, step one is done!
Pro-Tip: Let's install Chocolatey, a killer package manager for Windows. It makes installing and updating software a breeze. In an Admin PowerShell, run:
powershell
Set-ExecutionPolicy Bypass -Scope Process -Force; [System.Net.ServicePointManager]::SecurityProtocol = [System.Net.ServicePointManager]::SecurityProtocol -bor 3072; iex ((New-Object System.Net.WebClient).DownloadString('https://community.chocolatey.org/install.ps1'))Trust me, this will make managing dependencies way easier.
Step 2: The Android Universe – JDK, Android Studio & SDK
This is the meaty part for Windows devs. Since we can't build for iOS without a macOS machine, we focus on Android first. (P.S., You can test iOS apps from Windows using cloud services or by building on a Mac later – but local Android dev is fully supported).
Install the Java Development Kit (JDK): React Native needs JDK 17. Use Chocolatey (see, handy already!):
powershell
choco install -y openjdk17Install Android Studio: Download it from the official site. During installation, it will ask about installing the Android SDK and Android Virtual Device (AVD). SAY YES. This is crucial.
The Critical SDK Configuration: Once installed, open Android Studio. Go to More Actions > SDK Manager (or Configure > SDK Manager).
Click the "SDK Platforms" tab.
Check the box for "Android 13.0 (Tiramisu)" or the latest version. Make sure you see "Android SDK Platform 33" and the system images.
Click the "SDK Tools" tab.
Check "Android SDK Build-Tools 33".
MOST IMPORTANT: Check "Android Emulator," "Android SDK Platform-Tools," and "Intel x86 Emulator Accelerator (HAXM installer)" (or "Windows Hypervisor Platform" if you have WSL2).
Click "Apply" and let it download everything. Grab a coffee; this will take a while.
Set Those Environment Variables (The Key to No Errors): This is where most people fail. We need to tell your system where the Android SDK is.
Search for "Environment Variables" in your Windows Start menu. Click "Edit the system environment variables."
Click "Environment Variables..." at the bottom.
Under System variables, click New.
Variable name:
ANDROID_HOMEVariable value:
C:\Users\YOUR_USERNAME\AppData\Local\Android\Sdk(Replace YOUR_USERNAME. You can find the exact path in Android Studio > SDK Manager).
Find the Path variable, select it, click Edit.
Click New and add these entries:
%ANDROID_HOME%\platform-tools%ANDROID_HOME%\emulator%ANDROID_HOME%\tools%ANDROID_HOME%\tools\bin
Restart your PowerShell/terminal. Then, verify by typing
adb devices. You should get a list of devices (empty for now).
Step 3: Installing React Native CLI & Creating Your First App
Now for the fun part.
Install the CLI: In your terminal (PowerShell or Command Prompt), run:
bash
npm install -g react-native-cliCreate Your App: Navigate to where you want your projects to live (e.g.,
cd Desktoporcd Documents).bash
npx react-native init MyFirstApp(You can use
npx react-native initdirectly without the global install, but having the CLI is handy). Choose the "blank" template when prompted.Navigate into your app:
bash
cd MyFirstApp
Step 4: Fire It Up! Running on Emulator & Physical Device
Option A: Android Emulator
Open Android Studio, go to More Actions > AVD Manager.
Click "Create Virtual Device." Pick a phone (e.g., Pixel 6), download a system image (Tiramisu), and finish.
Start your emulator. Keep it running.
In your project terminal, run:
bash
npx react-native startThis starts the Metro bundler (the JavaScript packager). You'll see a QR code.
Open a NEW terminal in your project folder (don't close the first one!). Run:
bash
npx react-native run-androidThis will build the app and install it on your running emulator. Watch the magic happen.
Option B: Physical Android Phone (It's Easier Than You Think)
Enable Developer Options on your phone (Tap "Build Number" in Settings > About Phone 7 times).
In Developer Options, enable "USB Debugging."
Connect your phone via USB. In your terminal, run
adb devices. You should see your device listed.With the Metro bundler running (
npx react-native start), in a new terminal, run:bash
npx react-native run-androidIt will install and launch the app directly on your phone!
Best Practices to Keep You Sane
Use a Good Terminal: Use Windows Terminal (from the Microsoft Store) or Git Bash. They're far better than the default Command Prompt.
Version Control from Day One: Initialize Git (
git init) in your project. Make commits. Your future self will thank you.Watchman for Performance (Optional but Recommended): Install it via Chocolatey (
choco install watchman) to improve file watching performance.Clean Your Cache: When things get weird, Metro is often the culprit. Stop the server and run
npx react-native start --reset-cache.
FAQs: Answering the "Why Is This Happening?!" Questions
Q: I get a 'adb' is not recognized error.
A: Your environment variables are not set correctly. Double-check the ANDROID_HOME path and the entries in the Path variable. RESTART YOUR TERMINAL after making changes.
Q: The build fails with a weird Java or Gradle error.
A: This is common. Try:bash cd android ./gradlew clean cd .. npx react-native run-android
Q: Can I really build iOS apps on Windows?
A: Not directly. You need a macOS machine for the final build. However, you can write all your code on Windows and use a Mac in the cloud (like MacStadium) or a physical Mac just for building. For learning and Android development, Windows is perfectly fine.
Q: My app is running, but it's just a white screen.
A: Check your Metro bundler terminal for errors. Often, a syntax error in App.js can cause this. Also, ensure your device/emulator is on the same network as your machine if using the dev menu.
Conclusion: You're Now a React Native Developer (Seriously)
Look at you. You've navigated the SDK, wrestled with environment variables, and have a live, running React Native app on your screen. That's a huge win. The hardest part—the setup—is over. Now, you can start the real fun: building components, adding navigation, and bringing your app ideas to life.
Remember, the developer journey is about constant learning and problem-solving. This setup process taught you more than just commands; it gave you a glimpse into the toolchain that powers modern mobile development.
Feeling inspired to go deeper? This is just the first step in becoming a professional developer. To truly master not just React Native, but the full spectrum of modern software engineering—from backend logic with Python Programming to dynamic web apps with Full Stack Development and the powerhouse MERN Stack (MongoDB, Express.js, React, Node.js)—you need a structured path. To learn professional software development courses such as Python Programming, Full Stack Development, and MERN Stack, visit and enroll today at codercrafter.in. We build developers, not just coders.


