React Native Navigation Made Easy: A 2025 Guide to Stack, Tab & Drawer
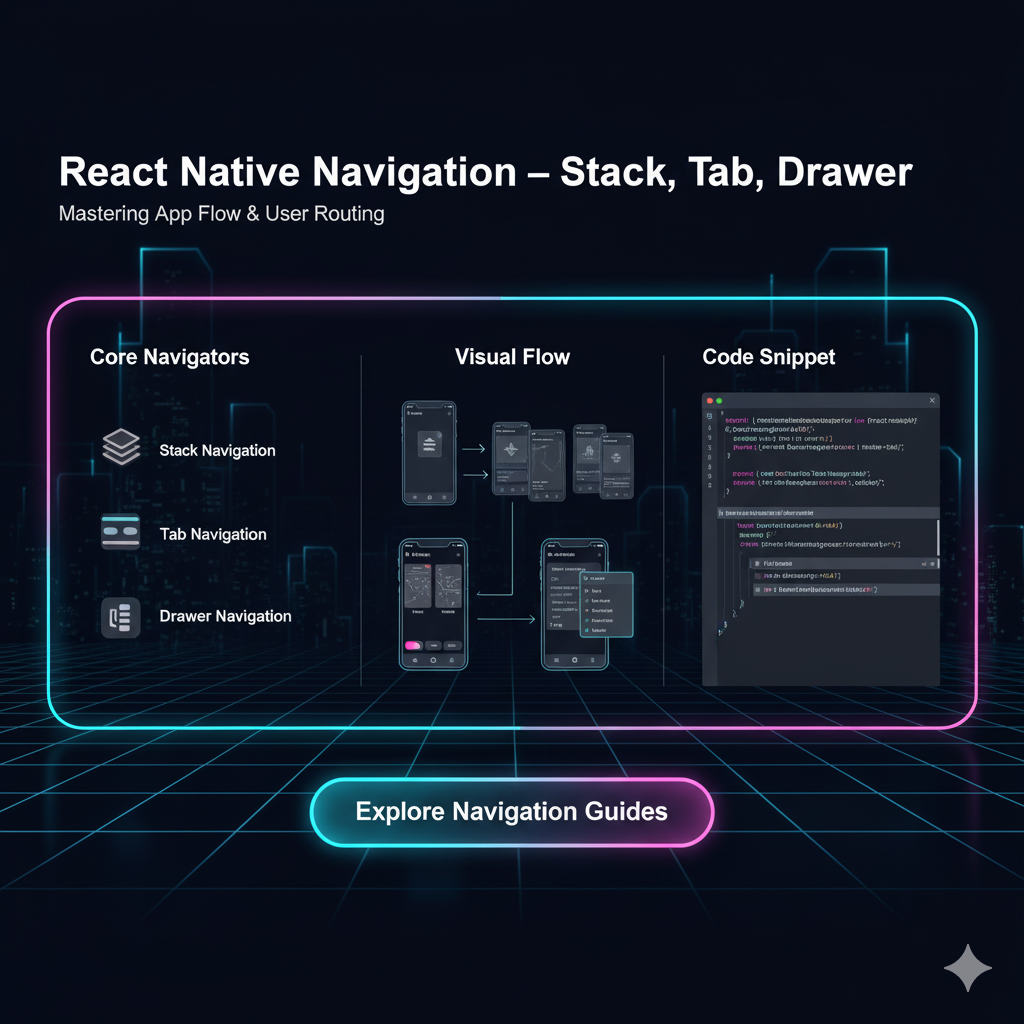
Master React Native Navigation! This in-depth guide breaks down Stack, Tab, and Drawer navigators with examples, best practices, and real-world use cases. Build better mobile apps today!
Let's be real. What separates a good mobile app from a "meh" one? A thousand things, sure, but right at the top is smooth, intuitive navigation. You know the feeling—you tap on something, and the transition is buttery smooth, you never get lost, and everything just feels right. That’s the magic of getting navigation right.
If you're building with React Native, you've probably heard of React Navigation. It's the go-to library for handling all things navigation, and for good reason. It's powerful, community-driven, and feels native.
But when you're starting, the concepts of Stack, Tab, and Drawer navigators can be a bit confusing. Which one do you use? And where? And how?
Don't sweat it. In this guide, we're going to break it all down in human terms, with examples you'll actually understand. Let's dive in.
First Things First: Setting Up The Playground
Before we get to the fun stuff, we need to set up our project. We'll be using React Navigation v6, the latest stable version as of 2024.
Open your terminal, navigate to your project, and run:
bash
npm install @react-navigation/native @react-navigation/stack @react-navigation/drawer @react-navigation/bottom-tabsFor iOS, you'll also need to install the necessary pods:
bash
cd ios && pod install && cd ..And for both platforms, you'll need to install the react-native-screens and react-native-safe-area-context libraries. Check the official React Navigation docs for the absolute latest setup, as it can change.
Alright, with the boring setup out of the way, let's meet our three main characters.
1. The Stack Navigator: Your App's Storyteller
Think of it like this: A Stack Navigator is like a deck of cards. You start with one card (your home screen). When you navigate to a new screen, a new card is placed on top. When you hit the back button, the top card is removed, and you see the previous one.
It manages a "stack" of screens, which is the most common navigation pattern in mobile apps.
The Code Vibe:
javascript
// In App.js
import { NavigationContainer } from '@react-navigation/native';
import { createNativeStackNavigator } from '@react-navigation/native-stack';

// Create the Stack Navigator
const Stack = createNativeStackNavigator();

function App() {
  return (
    <NavigationContainer>
      <Stack.Navigator>
        <Stack.Screen name="Home" component={HomeScreen} />
        <Stack.Screen name="Profile" component={ProfileScreen} />
        <Stack.Screen name="Settings" component={SettingsScreen} />
      </Stack.Navigator>
    </NavigationContainer>
  );
}

// A simple HomeScreen component
function HomeScreen({ navigation }) {
  return (
    <View>
      <Text>Welcome Home!</Text>
      <Button
        title="Go to Profile"
        onPress={() => navigation.navigate('Profile')} // This pushes the 'Profile' screen onto the stack
      />
    </View>
  );
}
Real-World Use Cases:
Social Media Apps: Home Feed -> Tap on a post -> Post Detail Screen (stacked on top).
E-commerce Apps: Product List -> Tap a product -> Product Detail Screen.
Any app where you drill down into details. The back button is your best friend here.
Best Practice Pro-Tip: Use the stack for flows that have a clear "forward" and "backward" motion. You can also customize the header bar for each screen in the stack for a polished look.
2. The Tab Navigator: Your App's Home Base
Think of it like this: This is the control center at the bottom (or top) of your screen. It lets you jump between the most important sections of your app instantly, without a back button. It's like having multiple main menus open at once.
The Code Vibe:
javascript
import { createBottomTabNavigator } from '@react-navigation/bottom-tabs';

const Tab = createBottomTabNavigator();

function MyTabs() {
  return (
    <Tab.Navigator>
      <Tab.Screen name="Home" component={HomeScreen} />
      <Tab.Screen name="Feed" component={FeedScreen} />
      <Tab.Screen name="Notifications" component={NotificationsScreen} />
    </Tab.Navigator>
  );
}

// Now, use this MyTabs component as a screen in your main Stack Navigator!
function App() {
  return (
    <NavigationContainer>
      <Stack.Navigator>
        <Stack.Screen name="MainApp" component={MyTabs} options={{ headerShown: false }} />
        {/* ... other stack screens ... */}
      </Stack.Navigator>
    </NavigationContainer>
  );
}
Real-World Use Cases:
Instagram: Home, Search, Reels, Shop, Profile.
Spotify: Home, Search, Your Library.
Any app with 3-5 equally important top-level sections. More than 5 tabs can get cluttered, so be careful!
Best Practice Pro-Tip: Use react-native-vector-icons or similar libraries to add intuitive icons to your tabs. It makes your app look a thousand times more professional. Also, remember to hide the header when using a tab navigator as the main app container to avoid double headers.
3. The Drawer Navigator: Your App's Hidden Menu
Think of it like this: This is the side menu that slides in from the left (or right) when you swipe from the edge or tap a hamburger (☰) icon. It's perfect for stuff that's important but doesn't need to be in your face all the time.
The Code Vibe:
javascript
import { createDrawerNavigator } from '@react-navigation/drawer';

const Drawer = createDrawerNavigator();

function MyDrawer() {
  return (
    <Drawer.Navigator>
      <Drawer.Screen name="Home" component={MyTabs} /> // Yes, you can nest a Tab navigator here!
      <Drawer.Screen name="Settings" component={SettingsScreen} />
      <Drawer.Screen name="Help" component={HelpScreen} />
      <Drawer.Screen name="Logout" component={LogoutScreen} />
    </Drawer.Navigator>
  );
}

// Now, the Drawer is your main app component.
function App() {
  return (
    <NavigationContainer>
      <MyDrawer />
    </NavigationContainer>
  );
}
Real-World Use Cases:
Gmail: The slide-out menu to switch between Inbox, Sent, Drafts, and all other labels.
Facebook: The menu that lets you jump between News Feed, Groups, Events, Pages, etc.
Apps with many sections or less frequently accessed settings.
Best Practice Pro-Tip: Don't overstuff the drawer. Keep it clean and categorized. Use dividers and section headers to group related items. It's often used in combination with a Stack or Tab navigator, as shown in the code above.
The Real Power: Mixing and Matching (Navigation Nesting)
This is where the magic happens. You don't choose one navigator. You combine them to create the experience your app needs.
A Common Architecture:
Drawer Navigator as the root for the main app sections.
Inside a Drawer Screen, you have a Tab Navigator for the core features of that section.
Inside each Tab Screen, you have a Stack Navigator for drilling down into details.
For example, a "Social" section in your drawer could open a Tab Navigator with "Feed," "Profile," and "Messages" tabs. Tapping on a post in the "Feed" tab would then push a "PostDetail" screen onto that tab's internal stack.
Mastering this nesting is the key to building complex, production-ready applications. It’s a core skill that employers look for, and it's exactly the kind of hands-on, professional development we teach at CoderCrafter. To learn professional software development courses such as Python Programming, Full Stack Development, and the MERN Stack, visit and enroll today at codercrafter.in.
FAQs – Your Navigation Questions, Answered!
Q1: Which navigator should I use first?
Start with a Stack Navigator for your main flow. It's the most fundamental. Then, add a Tab Navigator for your main sections if needed. Use the Drawer for less common actions.
Q2: Can I pass data between screens?
Absolutely! When you call navigation.navigate('ScreenName'), you can pass a second parameter with data: navigation.navigate('Profile', { userId: 123, userName: 'Jane' }). You can access it in the target screen via route.params.
Q3: My header is a mess when I nest navigators. Help!
This is the most common headache. The rule of thumb is: the navigator that owns the screen controls its header. Use options={{ headerShown: false }} to hide the header of a child navigator to prevent duplication.
Q4: How do I handle authentication flow?
This is an advanced but crucial pattern. You typically use a root Stack Navigator and conditionally render either the "Auth" stack (Login, Signup screens) or the "Main App" navigator (Drawer/Tabs) based on the user's login state.
Q5: Is React Navigation the only option?
It's the most popular. Another strong contender is react-native-navigation by Wix, which uses truly native navigation controllers. It can offer slightly better performance but is often considered more complex to set up.
Wrapping It Up
So, there you have it—your no-nonsense guide to conquering React Native Navigation.
Use Stack for moving forward and backward through a sequence.
Use Tabs for switching between core sections of your app.
Use Drawer for a hidden menu of additional options and settings.
The real skill lies in combining them effectively to create a seamless user journey. Start simple, play around with the code, and don't be afraid to nest them. It might feel tricky at first, but soon it'll become second nature.
Remember, building a great app is like building a great house—you need a solid blueprint and easy-to-navigate rooms. Getting navigation right is that foundational blueprint.
If you're serious about taking your React Native and full-stack development skills to a professional level, where you can architect complex apps with confidence, you need structured, industry-relevant training. To learn professional software development courses such as Python Programming, Full Stack Development, and MERN Stack, visit and enroll today at codercrafter.in. We'll help you build the skills to not just follow tutorials, but to create your own amazing applications.


