Your Ultimate Guide to npm: Mastering the Node Package Manager
New to JavaScript development? Our in-depth guide explains what npm is, how to use it, its core commands, best practices, and why it's essential for modern web development. Start your journey today!
Picture this: you're building a complex piece of furniture. You could fell the tree, mill the wood, forge the screws, and mix the varnish yourself. It would be a monumental, almost impossible task. Or, you could go to a hardware store and get all the pre-made, high-quality components you need, focusing your energy on the actual assembly and design.
In the world of JavaScript development, npm is that hardware store.
If you've ever dabbled in JavaScript, especially on the server-side with Node.js, you've almost certainly encountered npm. It's not just a tool; it's the foundation upon which modern web applications are built. But what exactly is it? How does it work? And why is it so utterly indispensable?
In this comprehensive guide, we're going to move beyond just typing npm install. We'll peel back the layers, understand the core concepts, walk through practical examples, and establish the best practices that will transform you from an npm novice to a confident user. Let's dive in.
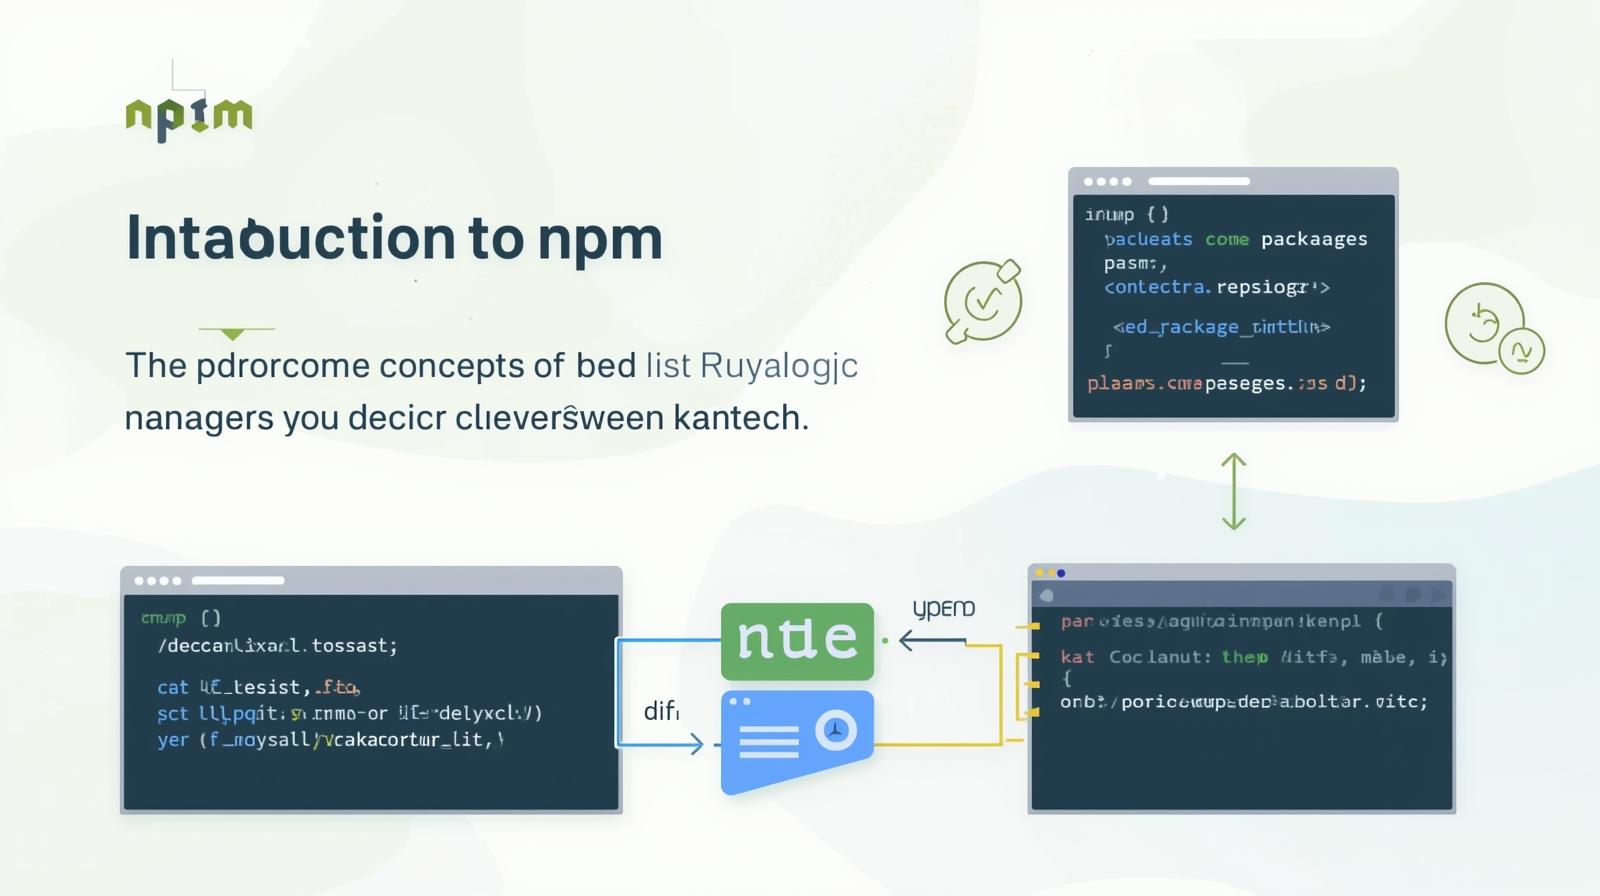
What is npm? Unpacking the Acronym
First things first, let's clear up a common point of confusion. npm stands for Node Package Manager.
It's a two-part entity:
A Registry: This is the massive, online database of public and private JavaScript "packages." Think of it as a colossal library, hosting over two million packages of reusable code. Need a function to format dates? There's a package for that. Need to connect to a database? There's a package for that. Need to add complex animations? You get the idea.
A Command-Line Tool (CLI): This is the application you run on your computer to interact with that registry. You use commands like
npm installto download packages from the registry andnpm publishto share your own code with the world.
In short, npm is the world's largest software registry and the tool you use to manage its contents for your projects.
The Symbiotic Relationship with Node.js
It's crucial to understand that while npm and Node.js are inseparable partners, they are different things.
Node.js is a runtime environment that allows you to run JavaScript on your server or computer, outside of a web browser.
npm is the package manager that comes bundled with Node.js, designed to manage the libraries and tools that your Node.js (and front-end!) applications depend on.
When you install Node.js from the official website, you automatically get npm installed as well. You can verify this by opening your terminal or command prompt and typing:
bash
node --version
npm --version
If you see version numbers, you're all set!
Core Concepts: The Building Blocks of npm
Before we start running commands, let's get familiar with the key players in the npm ecosystem.
1. Packages and Modules
A package is a directory of code files that contains a program or a set of functionalities meant to be reused. It's the "product" you download from the npm registry. It's also defined by a package.json file (we'll get to that in a second).
A module is any single file or directory that can be loaded into your program using require() (in CommonJS) or import (in ES Modules). In practice, the terms "package" and "module" are often used interchangeably, but a package is the broader, distributable unit.
2. The package.json File: The Project's Manifest
This is the single most important file in any npm-based project. The package.json file is a JSON (JavaScript Object Notation) file that lives in the root of your project. It serves as the blueprint and ID card for your project.
It contains:
Metadata: Your project's name, version, description, and author.
Dependencies: A list of all the external packages your project needs to run in production.
DevDependencies: A list of packages only needed for development, like testing frameworks, build tools, and linters.
Scripts: Custom commands you can define to automate tasks like starting a server, running tests, or building your project.
Creating a package.json file is the first step in any new project.
3. node_modules: The Black Hole of Dependencies
This is the directory where npm installs all the packages you need. When you run npm install <package-name>, npm doesn't just put that one package in node_modules. It also installs every single package that your package depends on, and then the dependencies of those dependencies, and so on.
This is why the node_modules folder can become astronomically large, containing thousands of folders from a single install command. You should never commit your node_modules folder to version control (like Git). The package.json and package-lock.json are sufficient to recreate it anywhere.
4. package-lock.json: The Consistency Guarantor
Introduced in npm version 5, this file automatically records the exact version of every package that was installed. While package.json might specify a version range (e.g., ^1.2.3), the package-lock.json locks it down to the precise version (1.2.3).
This ensures that every developer on your team and every deployment server installs the identical dependency tree, guaranteeing that your project behaves the same way everywhere. You should commit this file to version control.
Your First npm Workflow: A Hands-On Walkthrough
Enough theory! Let's create a simple project to see npm in action.
Step 1: Initialize Your Project
Open your terminal, create a new directory, and navigate into it.
bash
mkdir my-first-npm-project
cd my-first-npm-project
Now, let's create the package.json file.
bash
npm initThis command will prompt you with a series of questions (name, version, description, etc.). You can fill them out or just press Enter through all of them to accept the defaults. To skip all the questions and get a default package.json immediately, you can use:
bash
npm init -yCongratulations! You now have a package.json file.
Step 2: Install Your First Package
Let's say we want to use the lodash library, a fantastic utility toolkit that provides helpful functions for working with arrays, numbers, objects, and strings.
We install it using:
bash
npm install lodashTake a look at what happened:
A
node_modulesfolder appeared, containinglodashand all its dependencies.Your
package.jsonfile now has a"dependencies"section listinglodash.A
package-lock.jsonfile was created/updated.
Step 3: Use the Package in Your Code
Create a file called index.js in your project root.
javascript
// index.js

// Load the lodash package and assign it to the `_` variable
const _ = require('lodash');

// Use a function from the lodash package
let myArray = [1, 2, 3, 4, 5];
let reversedArray = _.reverse(myArray);

console.log(reversedArray); // Output: [5, 4, 3, 2, 1]
Now, run your script:
bash
node index.jsYou should see [5, 4, 3, 2, 1] printed in your terminal. You've successfully used an external package in your project!
Step 4: Install a Dev Dependency
Let's install nodemon, a tool that automatically restarts your Node.js application when file changes are detected. This is incredibly useful during development.
bash
npm install --save-dev nodemonNotice the --save-dev flag. This tells npm to add nodemon to the "devDependencies" section of your package.json, clearly marking it as a development-only tool.
Step 5: Create an npm Script
Instead of typing node index.js, let's use an npm script. Open your package.json and find the "scripts" section. Update it to look like this:
json
"scripts": {
  "start": "node index.js",
  "dev": "nodemon index.js"
},
Now, you can run:
npm run startto executenode index.js.npm run devto executenodemon index.js, which will watch your files for changes.
This is a simple example, but scripts can be used for incredibly complex build processes, testing, and deployment tasks.
Real-World Use Cases: Why npm is Everywhere
npm isn't just for backend Node.js servers. Its reach is vast.
Building Web Applications: Frameworks like React, Angular, and Vue.js are all installed and managed via npm. Their entire build processes (using tools like Vite or Webpack) are orchestrated through npm scripts.
Development Tooling: Linters (ESLint), code formatters (Prettier), testing frameworks (Jest), and TypeScript compilers are all distributed as npm packages.
Command-Line Utilities: Tools like
create-react-apporvue-cliare npm packages that you install globally to generate new project scaffolds with a single command.Backend API Development: Building a RESTful API with Express.js? You'll use
npm install expressto get started.
Understanding npm is not a niche skill; it's a fundamental requirement for almost any JavaScript development role. To learn professional software development courses such as Python Programming, Full Stack Development, and MERN Stack, which heavily rely on understanding ecosystem tools like npm, visit and enroll today at codercrafter.in.
Best Practices for a Smooth Sailing Journey
As you use npm more, following these practices will save you from countless headaches.
Use
npm initfor Every Project: Always start with apackage.json. It's your project's identity.Understand Semantic Versioning (SemVer): Packages follow a
Major.Minor.Patchversioning scheme (e.g.,1.4.2).Patch (
~): Bug fixes, backward-compatible.Minor (
^): New features, backward-compatible.Major: Breaking changes, not backward-compatible.
The^caret in yourpackage.jsonis the default and allows for minor and patch updates. This is a good balance between stability and receiving fixes.
Commit
package-lock.json: This is non-negotiable for team projects. It ensures consistent installs.Never Commit
node_modules: Your.gitignorefile should includenode_modules/.Use
npm cifor Clean Installs: In deployment pipelines or CI/CD environments, usenpm ciinstead ofnpm install. It's faster, stricter, and will fail if thepackage-lock.jsondoesn't matchpackage.json.Audit for Security Vulnerabilities: Regularly run
npm auditto check for known vulnerabilities in your dependencies. Usenpm audit fixto automatically fix them where possible.Use Scoped Packages for Organization: If you publish packages, use scopes (e.g.,
@my-company/package-name) to group related packages under a namespace.
Frequently Asked Questions (FAQs)
Q: What's the difference between npm install -g and a regular npm install?
A: npm install -g installs a package globally on your system, making its command-line interface (CLI) available everywhere. Regular npm install installs it locally within your project's node_modules folder.
Q: What does npx do?
A: npx is a tool that comes with npm (v5.2+) for executing packages. It's great for running one-off commands without having to install a package globally. For example, npx create-react-app my-app will download and run create-react-app without permanently installing it.
Q: How do I update my packages?
A: Use npm outdated to see which packages are outdated. Then, you can update them individually with npm update <package-name>, or use tools like npm-check-updates (ncu) to update all your package.json version ranges at once.
Q: I'm getting a conflict/error on npm install. What should I do?
A: First, try deleting your node_modules folder and package-lock.json file, then run npm install again. This often resolves cryptic dependency issues. If that fails, the error message itself usually points to the specific package causing the problem.
Q: Is npm only for open-source?
A: No! npm offers private packages and registries for companies that want to manage their proprietary code within the npm ecosystem.
Conclusion: Your Gateway to the JavaScript Universe
npm started as a simple package manager for Node.js but has grown into the bedrock of the entire JavaScript ecosystem. It empowers developers to stand on the shoulders of giants, leveraging the collective work of millions of other developers to build complex, powerful applications faster and more reliably than ever before.
Mastering npm init, npm install, npm run, and understanding the package.json file is the first step in your journey to becoming a proficient full-stack developer. It’s a journey that requires guidance and structured learning. If you're ready to move beyond the basics and build real-world applications, our courses at CoderCrafter are designed to take you there. To learn professional software development courses such as Python Programming, Full Stack Development, and MERN Stack, visit and enroll today at codercrafter.in.