Master GraphQL with Node.js & MongoDB: A Full-Stack Developer's Guide
Dive deep into building modern APIs with GraphQL, Node.js, and MongoDB. Learn core concepts, build a complete project, explore best practices, and boost your backend skills.
If you've been in the web development space for a while, you've lived and breathed REST APIs. They've been the reliable workhorse of the internet for years. But have you ever felt a twinge of frustration? Maybe it was the dreaded Over-fetching – asking an endpoint for a user profile and getting back a massive JSON blob with twenty fields you don't need. Or perhaps it was Under-fetching – having to make a cascade of API calls to /users/1, then /users/1/posts, then /users/1/posts/123/comments just to render a single page.
There has to be a better way, right?
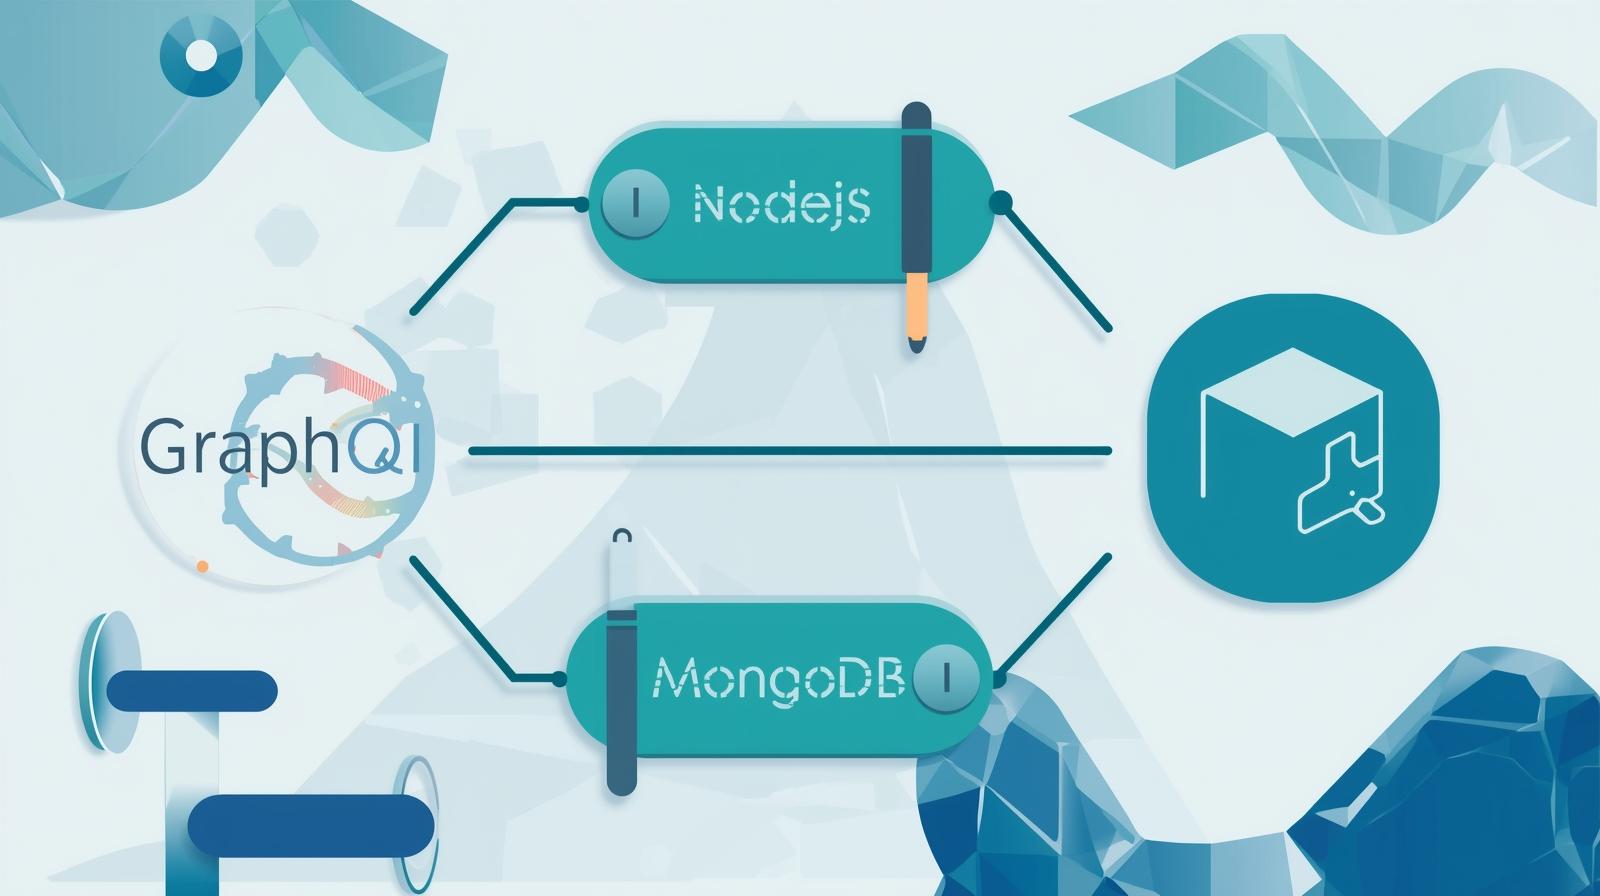
Enter GraphQL – a query language and runtime for your API that puts the power in the hands of the client. In this deep dive, we're not just going to talk about GraphQL; we're going to build a fully functional API from the ground up using the powerful trio of GraphQL, Node.js, and MongoDB. We'll unravel its core concepts, walk through a real-world example, discuss best practices, and equip you with the knowledge to build more efficient and flexible applications.
What is GraphQL? A Paradigm Shift in API Design
Created by Facebook in 2012 and open-sourced in 2015, GraphQL is often misunderstood as a replacement for REST. It's more accurate to think of it as a more efficient alternative.
At its heart, GraphQL has one simple principle: The client asks for exactly what it needs, and the server delivers exactly that.
Instead of having multiple endpoints that return fixed data structures, a GraphQL server exposes a single endpoint. The client sends a "query" (to read data) or a "mutation" (to write data) to this endpoint, describing the precise shape of the data it requires. The server then responds with a JSON object that mirrors the shape of the query.
Core Concepts of GraphQL
Schema: The schema is the heart of any GraphQL API. It's a contract between the client and the server, defining all the available data, types, and operations. It's written in the GraphQL Schema Definition Language (SDL).
Types: These are the building blocks of your schema. You define custom object types (e.g.,
User,Post) and scalar types (e.g.,String,ID,Int).Queries: These are read-only operations for fetching data. Think of them as the
GETrequests of the GraphQL world.Mutations: These are operations that cause side-effects, like creating, updating, or deleting data. These are your
POST,PUT,PATCH, andDELETE.Resolvers: These are the functions that "resolve" or fulfill the client's request. For every field in your schema, there's a resolver function that contains the logic to fetch or manipulate that specific piece of data from your data source (like MongoDB).
Why This Stack? GraphQL + Node.js + MongoDB
This combination is a match made in developer heaven for building modern web applications.
GraphQL provides the flexible, client-driven API layer.
Node.js offers a non-blocking, event-driven JavaScript runtime that's perfect for handling the potentially complex and nested nature of GraphQL queries.
MongoDB, a NoSQL document database, stores data in flexible, JSON-like documents. This flexibility aligns perfectly with GraphQL's dynamic nature. If a client requests a new field, you can often add it to your schema and resolver without a complex database migration.
Hands-On: Building a Blog API
Enough theory! Let's get our hands dirty and build a simple blog API where users can create posts and comment on them.
Prerequisites
Node.js and npm installed on your machine.
A MongoDB database. You can use a local installation or a cloud service like MongoDB Atlas (the free tier is perfect for this).
Step 1: Project Setup
Create a new directory and initialize a Node.js project.
bash
mkdir graphql-blog-api
cd graphql-blog-api
npm init -y
Now, let's install the necessary dependencies.
bash
npm install express apollo-server-express mongoose graphql
npm install --save-dev nodemonexpress: Our web server framework.apollo-server-express: Apollo Server is the most popular GraphQL server library that integrates seamlessly with Express.mongoose: An ODM (Object Data Modeling) library for MongoDB and Node.js, making it easier to work with our database.graphql: The JavaScript reference implementation for GraphQL.nodemon: A tool that automatically restarts our server during development.
Update your package.json scripts section for easier development:
json
"scripts": {
  "start": "node index.js",
  "dev": "nodemon index.js"
}
Step 2: Setting up the Server and Database
Create an index.js file in the root of your project.
javascript
// index.js
const express = require('express');
const { ApolloServer } = require('apollo-server-express');
const mongoose = require('mongoose');

// Import our GraphQL Schema and Resolvers (we'll create these next)
const typeDefs = require('./graphql/schema');
const resolvers = require('./graphql/resolvers');

// Load environment variables (use a .env file for MONGODB_URI)
require('dotenv').config();

async function startServer() {
  const app = express();

  // Create Apollo Server instance
  const server = new ApolloServer({
    typeDefs,
    resolvers,
    context: ({ req }) => ({ req }) // We can pass request object to context for authentication later
  });

  await server.start();
  server.applyMiddleware({ app });

  // Connect to MongoDB
  try {
    await mongoose.connect(process.env.MONGODB_URI || 'mongodb://localhost:27017/graphqlblog', {
      useNewUrlParser: true,
      useUnifiedTopology: true,
    });
    console.log('MongoDB Connected...');
  } catch (err) {
    console.error(err.message);
    process.exit(1);
  }

  const PORT = process.env.PORT || 4000;
  app.listen(PORT, () =>
    console.log(`Server ready at http://localhost:${PORT}${server.graphqlPath}`)
  );
}

startServer();
Create a .env file to store your MongoDB connection string securely.
text
MONGODB_URI=mongodb+srv://your_username:your_password@cluster0.mongodb.net/graphqlblog?retryWrites=true&w=majorityStep 3: Defining Our Data Models with Mongoose
Before we define our GraphQL schema, let's define what our data looks like in MongoDB. Create a models folder and two files: Post.js and User.js.
models/User.js
javascript
const mongoose = require('mongoose');

const UserSchema = new mongoose.Schema({
  username: {
    type: String,
    required: true,
    unique: true
  },
  email: {
    type: String,
    required: true,
    unique: true
  },
  password: { // In a real app, this should be hashed!
    type: String,
    required: true
  },
  createdAt: {
    type: Date,
    default: Date.now
  }
});

module.exports = mongoose.model('User', UserSchema);
models/Post.js
javascript
const mongoose = require('mongoose');

const PostSchema = new mongoose.Schema({
  title: {
    type: String,
    required: true
  },
  content: {
    type: String,
    required: true
  },
  author: {
    type: mongoose.Schema.Types.ObjectId,
    ref: 'User', // This links the Post to the User model
    required: true
  },
  tags: [String],
  createdAt: {
    type: Date,
    default: Date.now
  }
});

module.exports = mongoose.model('Post', PostSchema);
Step 4: Crafting the GraphQL Schema
Now for the most crucial part: the GraphQL Schema. Create a graphql folder and inside it, a schema.js file.
graphql/schema.js
graphql
const { gql } = require('apollo-server-express');

const typeDefs = gql`
  type User {
    id: ID!
    username: String!
    email: String!
    posts: [Post!]! # A user can have many posts
    createdAt: String!
  }

  type Post {
    id: ID!
    title: String!
    content: String!
    author: User! # A post belongs to a single user
    tags: [String!]
    createdAt: String!
  }

  # Queries - for reading data
  type Query {
    # Get all posts
    getPosts: [Post]
    # Get a single post by its ID
    getPost(postId: ID!): Post
    # Get all users
    getUsers: [User]
  }

  # Mutations - for writing data
  type Mutation {
    # Register a new user
    registerUser(username: String!, email: String!, password: String!): User!
    # Create a new post
    createPost(title: String!, content: String!, tags: [String]): Post!
    # Delete a post
    deletePost(postId: ID!): String!
  }
`;

module.exports = typeDefs;
This schema defines our entire universe. We have User and Post types, and we've defined the operations the client can perform: getPosts, registerUser, createPost, etc.
Step 5: Bringing it to Life with Resolvers
Resolvers are where the magic happens. They are the functions that contain the logic to fetch the data for each field. Create a resolvers.js file inside the graphql folder.
graphql/resolvers.js
javascript
const User = require('../models/User');
const Post = require('../models/Post');
const bcrypt = require('bcryptjs'); // For hashing passwords

module.exports = {
  // Resolver for relationships between types
  User: {
    posts: async (parent) => await Post.find({ author: parent.id })
  },
  Post: {
    author: async (parent) => await User.findById(parent.author)
  },

  // Query Resolvers
  Query: {
    getPosts: async () => await Post.find().sort({ createdAt: -1 }),
    getPost: async (_, { postId }) => {
      try {
        const post = await Post.findById(postId);
        if (!post) {
          throw new Error('Post not found');
        }
        return post;
      } catch (err) {
        throw new Error(err);
      }
    },
    getUsers: async () => await User.find()
  },

  // Mutation Resolvers
  Mutation: {
    registerUser: async (_, { username, email, password }) => {
      // Check if user already exists
      const existingUser = await User.findOne({ email });
      if (existingUser) {
        throw new Error('User already exists');
      }

      // Hash the password
      const hashedPassword = await bcrypt.hash(password, 12);

      // Create and save the new user
      const newUser = new User({
        username,
        email,
        password: hashedPassword,
      });

      const res = await newUser.save();
      return res;
    },

    createPost: async (_, { title, content, tags }, context) => {
      // In a real app, you would get the user ID from the context (after authentication)
      // For now, we'll hardcode an author. We'll implement auth later.
      const hardcodedAuthorId = "YOUR_USER_ID_HERE"; // Get this from your DB first!

      const newPost = new Post({
        title,
        content,
        author: hardcodedAuthorId,
        tags: tags || [],
      });

      const res = await newPost.save();
      return res;
    },

    deletePost: async (_, { postId }) => {
      try {
        const post = await Post.findById(postId);
        if (!post) {
          throw new Error('Post not found');
        }
        await Post.findByIdAndDelete(postId);
        return 'Post deleted successfully';
      } catch (err) {
        throw new Error(err);
      }
    },
  },
};
Step 6: Running and Testing the API
Now, run npm run dev and navigate to http://localhost:4000/graphql in your browser. This opens the GraphQL Playground, a powerful IDE to test your API.
Let's run some operations:
Mutation: Register a User
graphql
mutation {
  registerUser(username: "johndoe", email: "john@example.com", password: "secret123") {
    id
    username
    email
  }
}
Mutation: Create a Post (Don't forget to replace YOUR_USER_ID_HERE in the resolver with the ID from the user you just created)
graphql
mutation {
  createPost(title: "My First GraphQL Post", content: "This is amazing!", tags: ["graphql", "api"]) {
    id
    title
    author {
      username
    }
  }
}
Query: Get All Posts with Authors
graphql
query {
  getPosts {
    id
    title
    content
    tags
    author {
      username
      email
    }
    createdAt
  }
}
See the power? In a single query, we fetched all the posts, their details, and the information about their authors, all without over-fetching. This is GraphQL in action!
Real-World Use Cases & Best Practices
When Should You Use GraphQL?
Complex Systems with Multiple Frontends: When you have a web app, a mobile app, and maybe a smartwatch app all consuming the same API, GraphQL lets each client request only the data it needs.
Applications with Rapidly Changing UI/UX Requirements: The frontend team can request new data combinations without needing the backend team to create new endpoints.
Bandwidth-Constrained Environments: Mobile devices benefit immensely from not downloading unnecessary data.
Essential Best Practices
Authentication & Authorization: Use the
contextargument in Apollo Server to pass authenticated user information to your resolvers. Always authorize actions (e.g., "can this user delete this post?") inside the resolver.Error Handling: Use a consistent error format. Apollo Server can handle expected errors (like validation errors) and unexpected errors gracefully.
Pagination: Never return an unbounded list of items. Implement cursor-based or offset-based pagination in your queries (e.g.,
getPosts(limit: 10, cursor: "someId")).N+1 Problem: When you have a list of items and you need to fetch related data for each one (e.g., the author for each post), you can run into the N+1 query problem. Use a tool like DataLoader to batch and cache database calls.
Avoid Deeply Nested Queries: While powerful, a malicious client could send an extremely complex query that cripples your server. Implement Query Depth Limiting and Cost Analysis.
Frequently Asked Questions (FAQs)
Q: Is GraphQL a replacement for REST?
A: Not necessarily. It's an alternative. REST is still a great, simple choice for many applications. GraphQL shines where the flexibility and efficiency of data fetching are paramount.
Q: How do you handle file uploads with GraphQL?
A: While the GraphQL spec doesn't natively handle files, Apollo Server has built-in support for file uploads using the GraphQLUpload scalar, which allows you to handle multipart form requests.
Q: Is GraphQL secure?
A: GraphQL itself is a query language. The security of your API depends on your implementation. You must be vigilant about authentication, authorization, and preventing malicious queries (as mentioned in best practices).
Q: Can I use GraphQL with a SQL database like PostgreSQL?
A: Absolutely! GraphQL is database-agnostic. Your resolvers can fetch data from MongoDB, PostgreSQL, a REST API, or even a file system.
Conclusion: The Future is Declarative
GraphQL represents a significant shift towards a more declarative style of data fetching. Instead of the server dictating the response, the client declares its needs. This leads to faster applications, happier frontend developers, and a more robust API.
Building with Node.js and MongoDB provides a flexible and scalable backend that perfectly complements GraphQL's philosophy. The initial learning curve is absolutely worth the long-term productivity gains.
The journey to mastering modern full-stack development is an exciting one. If you've enjoyed building this API and want to take your skills to a professional level, we have structured pathways for you. To learn professional software development courses such as Python Programming, Full Stack Development, and MERN Stack, visit and enroll today at codercrafter.in. Our project-based curriculum is designed to turn you into an industry-ready developer.

