Demystifying package.json: The Complete Guide to Your Project's Heartbeat
Confused by package.json? This in-depth guide explains everything from scripts & dependencies to versioning & best practices. Master Node.js & npm to boost your development skills.
If you've ever dipped your toes into the world of Node.js, JavaScript, or modern front-end development, you've undoubtedly encountered a file named package.json. It sits humbly in the root directory of almost every project, a silent guardian of your code's identity and dependencies.
At first glance, it might look like just another configuration file—a jumble of JSON keys and values. But make no mistake: the package.json file is the beating heart of your project. It's the project's ID card, its recipe book, and its instruction manual, all rolled into one.
Understanding package.json is not a "nice-to-have" skill; it's a fundamental requirement for any professional developer working in the JavaScript ecosystem. In this comprehensive guide, we're going to move beyond the confusion. We'll dissect this file, explore every crucial part, and turn you from a novice who copies and pastes into a master who commands with confidence.
What Exactly is a package.json File?
Let's start with the absolute basics.
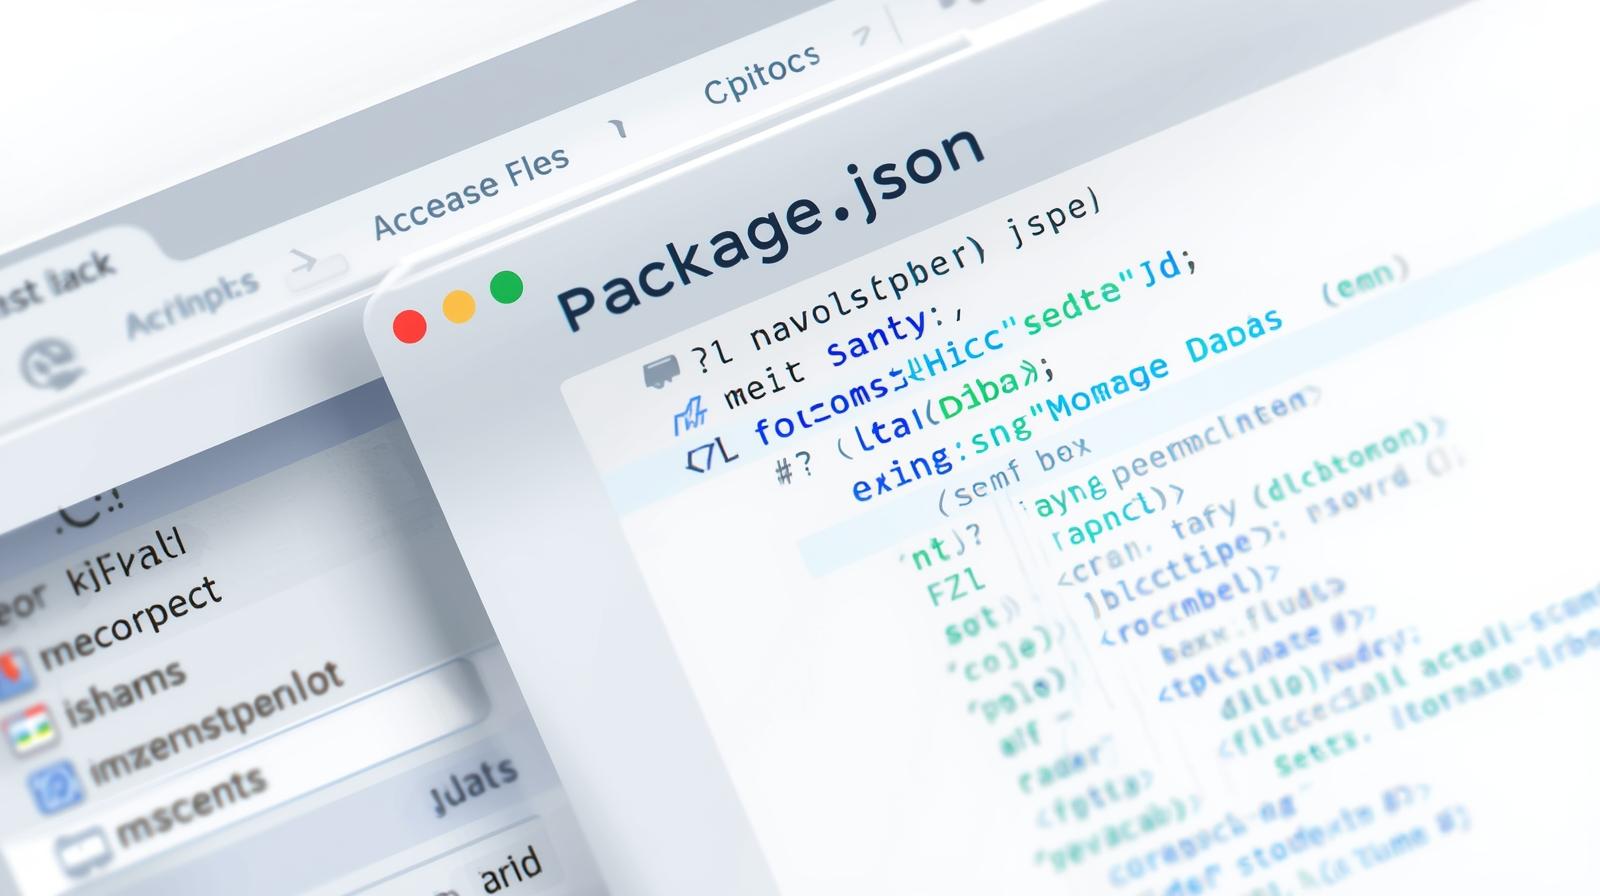
package.json is a JSON (JavaScript Object Notation) file that lives in the root directory of your Node.js project. Its primary purpose is to hold metadata about your project. Think of metadata as "data about data." In this case, it's data about your project.
This metadata includes incredibly important information like:
The name and version of your project.
A description of what it does.
The entry point to your application (like
index.js).A list of other packages (dependencies) your project needs to run.
A list of scripts you can run to automate tasks.
The author's name, the license, and much more.
But why do we need this? The package.json file is the cornerstone of the npm (Node Package Manager) ecosystem. npm is the world's largest software registry, and it uses the package.json file to understand what your project is, what it needs, and how to manage it.
The Two Ways to Create a package.json File
Before we can talk about what's inside, you need to know how to create one. There are two primary methods.
1. The Automatic Way: npm init
The most common way is to use the npm init command. Open your terminal, navigate to your project's folder, and type:
bash
npm initThis will launch an interactive questionnaire. It will ask you for:
package name: (Your project's name)version: (1.0.0)description: (A short blurb)entry point: (index.js)test command: (e.g.,echo "Error: no test specified")git repository: (The URL to your Git repo)keywords: (Tags for your project)author: (Your name)license: (ISC, MIT, etc.)
After you answer these, it will show you a preview of the package.json file it's about to create and ask for confirmation. Hit enter, and voilà! Your package.json is born.
Pro Tip: If you're in a hurry and want to skip the questionnaire, use the -y or --yes flag. This will generate a default package.json file with all the default values.
bash
npm init -y2. The Manual Way: Create It Yourself
You can always create a package.json file manually. Simply create a new file named package.json in your project's root and start adding the JSON structure. This is less common but useful for learning or specific configurations.
A Deep Dive into the Key Properties of package.json
Now, let's put on our lab coats and dissect a typical package.json file. We'll look at a robust example and break down each section.
json
{
  "name": "my-awesome-project",
  "version": "1.0.0",
  "description": "A revolutionary app that does amazing things.",
  "main": "index.js",
  "scripts": {
    "start": "node index.js",
    "dev": "nodemon index.js",
    "test": "jest",
    "build": "webpack --mode=production",
    "lint": "eslint ."
  },
  "keywords": ["javascript", "node", "awesome"],
  "author": "Jane Developer <jane@example.com>",
  "license": "MIT",
  "dependencies": {
    "express": "^4.18.2",
    "lodash": "^4.17.21",
    "mongoose": "^6.0.0"
  },
  "devDependencies": {
    "jest": "^29.0.0",
    "nodemon": "^2.0.20",
    "webpack": "^5.74.0"
  },
  "engines": {
    "node": ">=18.0.0",
    "npm": ">=8.0.0"
  }
}
Let's break this down, piece by piece.
1. The Identity Trio: name, version, and description
name: This is your project's name. It should be lowercase and one word, with hyphens allowed (e.g.,my-awesome-project). This is how your project will be identified on the npm registry.version: This follows Semantic Versioning (SemVer), which is amajor.minor.patchformat (e.g.,1.0.0).MAJORversion for incompatible API changes.MINORversion for adding functionality in a backward-compatible manner.PATCHversion for backward-compatible bug fixes.
description: A human-readable string that explains what your project does. This is crucial for discoverability if you publish your package.
2. The Entry Point: main
The main field is the primary entry point to your program. When someone installs your package and requires it (e.g., const myPackage = require('my-awesome-project')), Node.js will look for the file specified here. It's almost always index.js.
3. The Automation Powerhouse: scripts
This is where the package.json file truly shines. The scripts section allows you to define custom commands that you can run using npm run <script-name>. This automates repetitive tasks.
npm start: A special script that can be run without therunkeyword. Typically used to launch your application.npm run dev: A common script to start a development server, often using tools likenodemonwhich automatically restarts the server on file changes.npm test: Another special script that can be run with justnpm test. Used to execute your test suite (e.g., Jest, Mocha).npm run build: Very common in front-end projects to bundle code using tools like Webpack, Vite, or Parcel for production.npm run lint: Runs a linter (like ESLint) to check your code for style and potential errors.
Mastering npm scripts is a game-changer for productivity. To learn professional software development courses such as Python Programming, Full Stack Development, and MERN Stack, where we dive deep into automation and build tools, visit and enroll today at codercrafter.in.
4. Dependencies: The Project's Building Blocks
This is arguably the most critical section. Dependencies are external packages that your project needs to run in production.
How to add:
npm install <package-name>(e.g.,npm install express). This saves the package todependencies.What's inside: When you run
npm install, npm reads this list and downloads all the listed packages (and their dependencies) into thenode_modulesfolder.
5. DevDependencies: Tools for Development
devDependencies are for packages that you only need during development and testing, but not in the final production application. Think of linters, testing frameworks, bundlers, etc.
How to add:
npm install --save-dev <package-name>ornpm install -D <package-name>(e.g.,npm install --save-dev jest).Why separate them? When you deploy your app to a production server, you can run
npm install --production, which will skip installing thedevDependencies, making the deployment leaner and faster.
6. Engines: Setting the Runtime Environment
The engines field allows you to specify which versions of Node.js and npm your project is compatible with. This is a best practice that prevents users from running your project in an unsupported environment, which could lead to strange errors.
json
"engines": {
  "node": ">=18.0.0",
  "npm": ">=8.0.0"
}
Real-World Use Cases and Scenarios
Let's move from theory to practice. How does this file work in the real world?
Use Case 1: Starting a New Express.js Server
mkdir my-server && cd my-servernpm init -y(creates thepackage.json)npm install express(adds Express todependencies)Create an
index.jsfile with your server code.In
package.json, add a script:"start": "node index.js"Run
npm start. Your server is live!
Use Case 2: Collaborating on a Project (The .gitignore Savior)
You've just cloned a project from GitHub. What do you do? You run npm install.
This command looks at the package.json file, fetches all the dependencies and devDependencies listed there, and recreates the node_modules folder locally. You never commit the massive node_modules folder to Git. The package.json (and its sibling package-lock.json) are the recipes that allow anyone to recreate the project's environment instantly.
Use Case 3: The Build Process for a React App
Create React App and similar tools heavily rely on package.json scripts.
json
"scripts": {
  "start": "react-scripts start",
  "build": "react-scripts build",
  "test": "react-scripts test",
  "eject": "react-scripts eject"
}
Running npm start spins up a hot-reloading development environment. Running npm run build creates an optimized, minified build folder ready to be deployed to a web server.
Best Practices for a Robust package.json
Keep it Tidy: Regularly run
npm outdatedto see which packages have new versions. Update them carefully usingnpm updateor by changing the version and runningnpm install. For major updates, always check the package's changelog for breaking changes.Use Precise Versioning (Understand SemVer):
~1.2.3: Will update to all future patch versions (1.2.4, 1.2.5) but not to 1.3.0.^1.2.3: Will update to all future minor/patch versions (1.3.0, 1.4.0) but not to 2.0.0.1.2.3(exact): Will only ever install version 1.2.3.For applications, exact versions (
1.2.3) can prevent "it worked on my machine" problems. For libraries, using caret (^1.2.3) is more common.
Leverage
package-lock.json: This file is automatically generated and should always be committed to your repository. It locks down the exact versions of every dependency and sub-dependency, ensuring that every install results in the exact same file structure innode_modulesacross all machines. This guarantees consistent, reproducible builds.Use Descriptive Scripts: Don't just have a
startscript. Create scripts for every common task:lint,test:watch,deploy:staging,seed-database. Yourpackage.jsonshould be the single source of truth for how to interact with your project.
Frequently Asked Questions (FAQs)
Q1: What's the difference between package.json and package-lock.json?
A: package.json describes your project and its allowed dependencies (using semantic versioning ranges). package-lock.json describes the exact tree that was generated when you ran npm install, locking down the specific versions of every package. You commit the lockfile to ensure everyone uses the same versions.
Q2: Can I edit package.json manually?
A: Absolutely! It's just a JSON file. However, it's often safer to use npm commands (like npm install) to modify the dependencies and devDependencies sections, as they handle the installation and updating of the package-lock.json file correctly.
Q3: What does the ^ and ~ mean in front of version numbers?
A: As explained above, ^ (caret) allows updates for minor and patch versions, while ~ (tilde) allows updates only for patch versions.
Q4: I deleted my node_modules folder. How do I get it back?
A: Simply run npm install. npm will read your package.json and package-lock.json and recreate the node_modules folder exactly as it was before.
Q5: How do I uninstall a package?
A: Use npm uninstall <package-name> to remove it from dependencies, or npm uninstall --save-dev <package-name> to remove it from devDependencies.
Conclusion: Your Project's Command Center
The package.json file is far more than a simple configuration file. It is the central hub, the manifest, and the automation engine for your Node.js and JavaScript projects. From defining your project's identity and managing its vital dependencies to automating your development workflow with powerful scripts, mastering package.json is a non-negotiable step on the path to becoming a proficient, professional developer.
It might seem daunting at first, but by breaking it down and understanding the role of each property, you transform it from a source of confusion into a powerful tool under your command. So, open up one of your projects, look at that package.json file, and see if you can make it work smarter for you.
If you're ready to move beyond the basics and truly master full-stack development, including in-depth concepts like package management, build systems, and backend architecture with Node.js and Express, we have the perfect path for you. To learn professional software development courses such as Python Programming, Full Stack Development, and MERN Stack, visit and enroll today at codercrafter.in. Let's build the future, one package at a time.

