Unlock Native Power: A Deep Dive into React Native Native Modules
Tired of JS limitations? Master React Native Native Modules! Learn how to bridge native code (Java, Swift) for high-performance features. Includes examples, best practices & FAQs. Level up your skills at codercrafter.in!
Bridging the Gap: Your Ultimate Guide to Using Native Modules in React Native
Let's be real. React Native is awesome. You get to build slick, near-native mobile apps for both iOS and Android using the JavaScript you already know and love. It’s a game-changer. But sometimes, you hit a wall.
Maybe you need to add a complex animation that's just too janky in the JS thread. Or you need to integrate a fancy new SDK that only has native Java or Swift libraries. Or perhaps you need to perform some heavy number-crunching that would bring your JavaScript to a crawl.
This is where the magic of Native Modules comes in. Think of them as your VIP pass to the underlying native platform. They let you break out of the JavaScript sandbox and tap directly into the raw power of iOS and Android.
In this deep dive, we're not just going to scratch the surface. We're going to get our hands dirty, understand the "why," the "how," and the "gotchas" of using Native Modules in React Native.
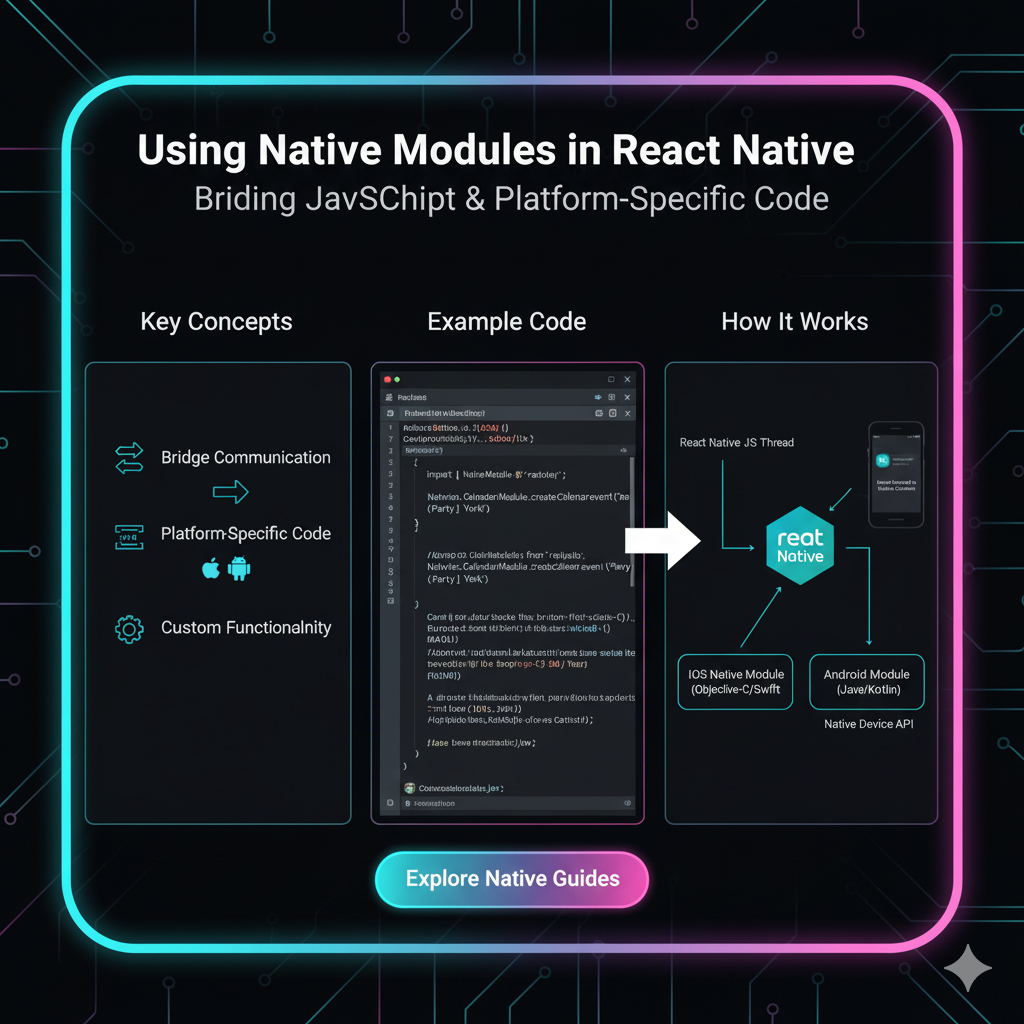
So, What Exactly Is a Native Module?
In simple terms, a Native Module is a piece of native code (Java/Kotlin for Android, Objective-C/Swift for iOS) that you can call directly from your JavaScript code in a React Native app.
It's a bridge—literally, the "Bridge" is a core concept in React Native—that allows for communication between the JavaScript world and the native world.
The Classic Analogy:
Imagine your React Native app is a restaurant. The JavaScript side is the dining area—beautiful, user-friendly, where all the customer interaction happens (your React components). The native side (iOS/Android) is the kitchen—powerful, efficient, and equipped with specialized tools.
A Native Module is like the waiter who takes the order from the customer (JavaScript) and delivers it to the kitchen (Native code) to be prepared. Once the kitchen is done, the waiter brings the finished dish (the result) back to the customer.
Why Would You Even Bother? Common Use Cases
You don't always need a Native Module. But when you do, it's a lifesaver. Here are the most common scenarios:
Performance-Critical Tasks: Heavy computations, complex image processing, or anything that would block the JavaScript thread. Offload it to native for buttery smoothness.
Accessing Platform-Specific APIs: Need to use the device's NFC chip, Bluetooth LE, or a specific sensor that isn't yet supported by a community library? Native Modules are your answer.
Reusing Existing Native Code: Your company has a battle-tested Java library for payments? Instead of rewriting it in JS, you can wrap it in a Native Module and use it directly.
Multithreading: Native code can easily spawn background threads to handle tasks without freezing your UI.
Integrating Third-Party SDKs: Many services, especially in analytics, advertising, and authentication, provide their SDKs only in native code.
Let's Get Our Hands Dirty: A Basic Example
Alright, enough theory. Let's see what it looks like to create a simple Native Module. We'll create one that gets the device's model name.
We'll do it for both platforms. Don't worry, we'll walk through it step-by-step.
Our Goal: Create a module called DeviceInfoModule with a method getDeviceModel() that returns a string.
Step 1: Android (Java)
First, navigate to your Android project within your React Native app (android/app/src/main/java/.../).
Create a new Java class, let's call it DeviceInfoModule.java.
java
package com.yourappname; // Replace with your app's package

import com.facebook.react.bridge.ReactContextBaseJavaModule;
import com.facebook.react.bridge.ReactApplicationContext;
import com.facebook.react.bridge.ReactMethod;
import com.facebook.react.bridge.Promise;

import java.util.Map;
import java.util.HashMap;

import android.os.Build;

public class DeviceInfoModule extends ReactContextBaseJavaModule {

    // Constructor
    public DeviceInfoModule(ReactApplicationContext reactContext) {
        super(reactContext);
    }

    // This is the name JS will use to access this module
    @Override
    public String getName() {
        return "DeviceInfoModule";
    }

    // Optional: Export constants to JS
    @Override
    public Map<String, Object> getConstants() {
        final Map<String, Object> constants = new HashMap<>();
        constants.put("SystemVersion", Build.VERSION.RELEASE);
        return constants;
    }

    // The method we are exposing to JS. Notice the @ReactMethod annotation.
    @ReactMethod
    public void getDeviceModel(final Promise promise) {
        try {
            String model = Build.MODEL;
            promise.resolve(model);
        } catch (Exception e) {
            promise.reject("GET_DEVICE_MODEL_ERROR", "Could not get device model", e);
        }
    }
}
Now, we need to register this module. Create a DeviceInfoPackage.java file.
java
package com.yourappname;

import com.facebook.react.ReactPackage;
import com.facebook.react.bridge.NativeModule;
import com.facebook.react.bridge.ReactApplicationContext;
import com.facebook.react.uimanager.ViewManager;

import java.util.ArrayList;
import java.util.Collections;
import java.util.List;

public class DeviceInfoPackage implements ReactPackage {

    @Override
    public List<ViewManager> createViewManagers(ReactApplicationContext reactContext) {
        return Collections.emptyList();
    }

    @Override
    public List<NativeModule> createNativeModules(ReactApplicationContext reactContext) {
        List<NativeModule> modules = new ArrayList<>();
        modules.add(new DeviceInfoModule(reactContext));
        return modules;
    }
}
Finally, add this package to your MainApplication.java's getPackages() list.
java
import com.yourappname.DeviceInfoPackage; // Add this import

// ...

@Override
protected List<ReactPackage> getPackages() {
  @SuppressWarnings("UnnecessaryLocalVariable")
  List<ReactPackage> packages = new PackageList(this).getPackages();
  // Packages that cannot be autolinked yet can be added manually here:
  packages.add(new DeviceInfoPackage()); // <-- Add this line
  return packages;
}
Step 2: iOS (Objective-C++)
Now, for iOS. Navigate to your iOS project in Xcode.
Create a new file. Let's call it DeviceInfoModule.m (Objective-C).
objc
// DeviceInfoModule.m
#import <React/RCTBridgeModule.h>

@interface RCT_EXTERN_MODULE(DeviceInfoModule, NSObject)

RCT_EXTERN_METHOD(getDeviceModel:(RCTPromiseResolveBlock)resolve rejecter:(RCTPromiseRejectBlock)reject)

@end
Now, create the implementation in a header file or in the same .m file.
objc
#import <React/RCTBridgeModule.h>
#import <UIKit/UIKit.h>

@interface DeviceInfoModule : NSObject <RCTBridgeModule>
@end

@implementation DeviceInfoModule

// Export this module to React Native
RCT_EXPORT_MODULE();

// Export a constant
- (NSDictionary *)constantsToExport {
  return @{ @"systemVersion": [[UIDevice currentDevice] systemVersion] };
}

// The method we are exposing
RCT_EXPORT_METHOD(getDeviceModel:(RCTPromiseResolveBlock)resolve rejecter:(RCTPromiseRejectBlock)reject) {
  @try {
    NSString *model = [[UIDevice currentDevice] model];
    resolve(model);
  } @catch (NSError *error) {
    reject(@"GET_DEVICE_MODEL_ERROR", @"Could not get device model", error);
  }
}

@end
Step 3: Using it in Your JavaScript (React) Code
After rebuilding your app, you can now use your shiny new module in your JavaScript.
javascript
import { NativeModules } from 'react-native';

const { DeviceInfoModule } = NativeModules;

const MyComponent = () => {
  const [deviceModel, setDeviceModel] = useState('Unknown');

  useEffect(() => {
    // Calling our native method!
    DeviceInfoModule.getDeviceModel()
      .then(model => {
        console.log('My device model is:', model);
        setDeviceModel(model);
      })
      .catch(error => console.error(error));

    // Accessing the constant we exported
    console.log('System Version:', DeviceInfoModule.systemVersion);
  }, []);

  return (
    <View>
      <Text>Your device is a: {deviceModel}</Text>
    </View>
  );
};

export default MyComponent;
Boom! You've just created and used your first Native Module.
Best Practices and "Gotchas" You Should Know
Keep the Bridge in Mind: Communication over the bridge is asynchronous and can be a bottleneck. Don't make tiny, frequent calls. Batch them if possible.
Type Safety with
TurboModules: The new architecture (still rolling out) introduces TurboModules, which are more type-safe and performant. If you're starting a new project, it's good to be aware of them.Error Handling is Key: Always use promises or callbacks for error handling, as shown in the example. A crash in native code will crash your whole app.
Threading Awareness: By default, your native method runs on a background thread. If you need to update the UI, you must dispatch back to the main thread.
Check for Community Solutions First: Before spending hours writing your own, check if a library like
react-native-device-infoalready exists. It probably does, and it's well-maintained.
FAQs
Q: Do I need to know Java/Swift to use React Native?
A: For most apps, no. But to become a truly proficient, senior-level React Native developer who can tackle any problem, absolutely yes. Understanding the native side unlocks the full potential of the framework.
Q: Can I write my Native Modules in Kotlin or Swift?
A: Yes! The examples above use Java and Objective-C for wider compatibility, but Kotlin (for Android) and Swift (for iOS) are fully supported and often preferred for new code.
Q: Is the "New Architecture" a big change for Native Modules?
A: Yes, it introduces TurboModules which change how modules are defined and discovered. However, the core concept remains the same. Learning the "old" way, as shown here, gives you a solid foundation to understand the improvements.
Q: This seems hard. Where can I learn the proper way to do this professionally?
A: You're right, it's an advanced topic that requires a solid foundation in both mobile and JavaScript concepts. This is where structured learning makes all the difference. To learn professional software development courses such as Python Programming, Full Stack Development, and the MERN Stack, which all contribute to a deeper understanding of these full-system concepts, visit and enroll today at codercrafter.in. Our courses are designed to take you from beginner to job-ready, covering the exact kind of real-world engineering challenges you'll face.
Wrapping Up
Native Modules are what transform React Native from a "good enough" cross-platform solution into a "powerhouse" capable of building truly native-quality applications. They are your escape hatch when you need that extra bit of performance, power, or platform integration.
While you might not use them every day, knowing how they work and when to reach for them is a hallmark of an experienced React Native developer. So go ahead, bridge that gap, and build something amazing!


