Tame Your React Native State: A No-BS Guide to Redux Toolkit in 2025
Struggling with state management in React Native? Learn how to use Redux Toolkit (RTK) to write cleaner, more efficient code. Step-by-step tutorial, best practices, and real-world examples included.
Let's be real for a second. Managing state in a React Native app can feel like herding cats. One component needs a user's name, another needs a list of posts, and three levels down, a grandchild component needs to update a theme preference. Passing props down and down and down (a.k.a. "prop drilling") gets messy, fast.
You've probably heard of Redux as the go-to solution. But you've also probably heard it's... complicated. Boilerplate code, confusing patterns, actions, reducers—it's enough to make you just stick with useState and hope for the best.
What if I told you that Redux in 2024 is nothing like that anymore?
Enter Redux Toolkit (RTK). The official, opinionated, batteries-included toolset for efficient Redux development. It’s the modern way to use Redux, and it solves almost all the problems people used to complain about.
In this guide, we're going to break down exactly how to use Redux Toolkit in your React Native projects. We'll cut through the jargon and get you shipping predictable, scalable state management like a pro.
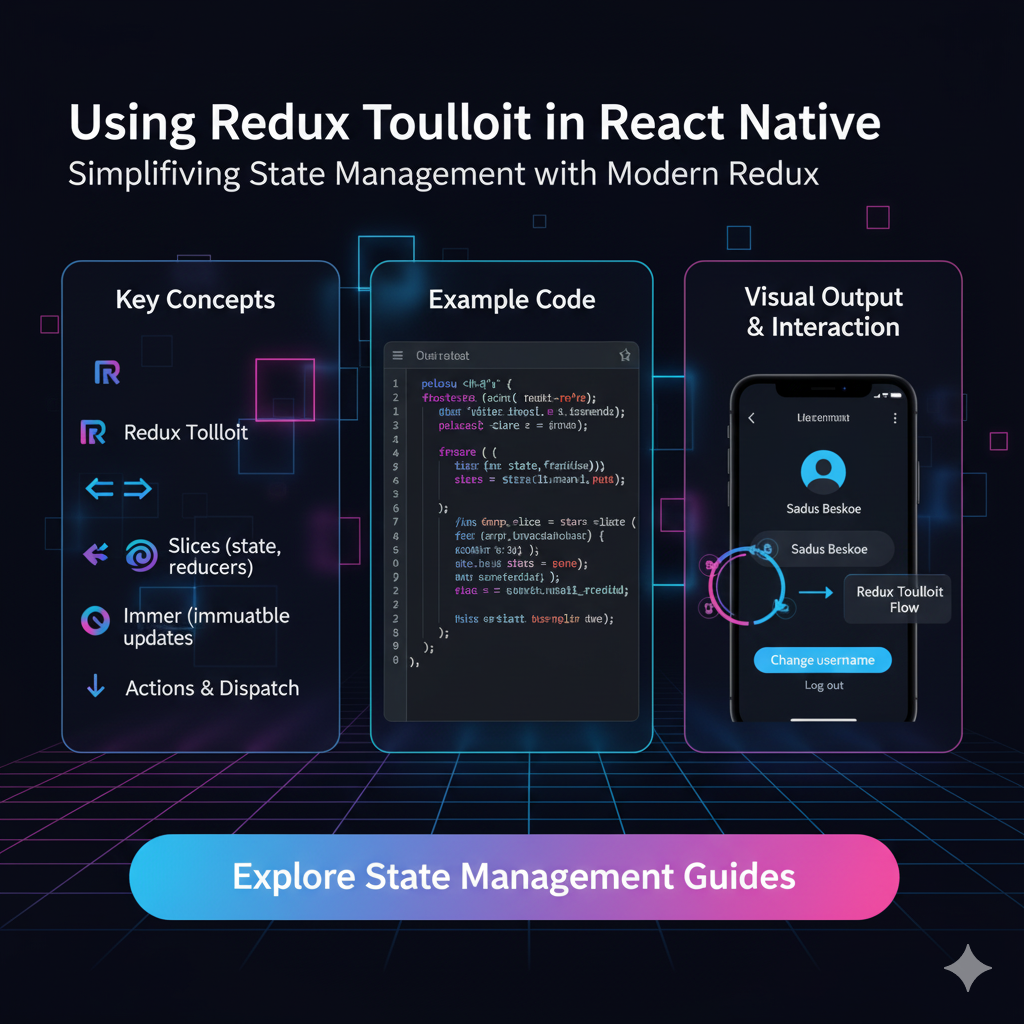
What Exactly is Redux Toolkit? And Why Should You Care?
In simple terms, Redux is a predictable state container for JavaScript apps. Think of it as a massive, well-organized warehouse (the "store") for your app's data. Instead of every component keeping its own little stash of state, they all go to this central warehouse to read data or request changes.
The old way of using Redux required writing a ton of code: action types, action creators, and reducers, all by hand. It was flexible but exhausting.
Redux Toolkit (RTK) is the official package that abstracts away that complexity. It provides a set of utilities that:
Reduce Boilerplate: Write significantly less code.
Enforce Best Practices: Makes it harder to write bad, unpredictable code.
Simplify Common Use Cases: Handles standard stuff like async logic (API calls) with ease.
Why Use It in React Native?
React Native apps, especially as they grow, face real state management challenges:
Global State: User authentication tokens, app theme, user profile data.
Server State: Data fetched from an API, like a feed of posts or a list of products.
Complex UI State: Managing state across multiple screens in a navigation flow.
RTK gives you a single, predictable way to handle all of this.
Let's Build: Integrating Redux Toolkit in a React Native App
Enough theory. Let's get our hands dirty by building a simple User Profile slice of our app.
Step 1: Setting Up the Dependencies
First, navigate to your React Native project directory and install the necessary packages.
bash
npm install @reduxjs/toolkit react-redux@reduxjs/toolkit: The main event. Contains the RTK magic.react-redux: The official React bindings that let your components talk to the Redux store.
Step 2: Creating the Redux Store
The store is the central warehouse. We'll create it in a file like store/index.js.
javascript
// store/index.js
import { configureStore } from '@reduxjs/toolkit';
import userReducer from './slices/userSlice'; // We'll create this next!

export const store = configureStore({
  reducer: {
    user: userReducer,
    // You can add more reducers here later (e.g., posts, settings)
  },
});
The configureStore function from RTK not only creates the store but also sets up good defaults out-of-the-box, like enabling the Redux DevTools Extension.
Step 3: Creating a Slice with createSlice
This is the heart of RTK. A "slice" is a collection of Redux logic and actions for a single feature in your app (like "user"). We use the createSlice function.
Let's create store/slices/userSlice.js.
javascript
// store/slices/userSlice.js
import { createSlice } from '@reduxjs/toolkit';

// The initial state for this slice
const initialState = {
  name: '',
  email: '',
  isLoggedIn: false,
};

// Create the slice
const userSlice = createSlice({
  name: 'user', // A name for the slice
  initialState,
  reducers: {
    // "Reducers" here are like event handlers. They specify how the state should be updated.
    login: (state, action) => {
      // With RTK, we can write "mutating" logic thanks to Immer library under the hood.
      // It's actually creating a new immutable state, but we get to write simpler code.
      state.name = action.payload.name;
      state.email = action.payload.email;
      state.isLoggedIn = true;
    },
    logout: (state) => {
      state.name = '';
      state.email = '';
      state.isLoggedIn = false;
    },
    updateName: (state, action) => {
      state.name = action.payload;
    },
  },
});

// Export the generated action creators
export const { login, logout, updateName } = userSlice.actions;

// Export the reducer to be added to the store
export default userSlice.reducer;
Mind-blowing, right? In a few lines, we've defined our state, the actions that can change it, and the reducers that handle those actions. The createSlice function automatically generates the action creators (login(), logout()) for us.
Step 4: Providing the Store to Your App
Now, we need to make the store available to our entire React Native component tree. We do this in our top-level component, typically App.js.
javascript
// App.js
import React from 'react';
import { Provider } from 'react-redux';
import { store } from './store'; // Import the store we created
import MainApp from './MainApp'; // Your main app component

export default function App() {
  return (
    <Provider store={store}>
      <MainApp />
    </Provider>
  );
}
The Provider component wraps your app and passes the store down to any component that needs it.
Step 5: Using State and Actions in Components
Finally, let's use our Redux state in a component. We use the useSelector hook to read state and the useDispatch hook to send (dispatch) actions.
javascript
// components/ProfileScreen.js
import React from 'react';
import { View, Text, TextInput, Button } from 'react-native';
import { useDispatch, useSelector } from 'react-redux';
import { logout, updateName } from '../store/slices/userSlice';

const ProfileScreen = () => {
  // Get the current user state from the Redux store
  const user = useSelector((state) => state.user);

  // Get the dispatch function to send actions
  const dispatch = useDispatch();

  const handleLogout = () => {
    dispatch(logout());
  };

  const handleNameChange = (newName) => {
    dispatch(updateName(newName));
  };

  return (
    <View>
      <Text>Welcome, {user.name}!</Text>
      <Text>Your email: {user.email}</Text>

      <TextInput
        placeholder="Update your name"
        value={user.name}
        onChangeText={handleNameChange}
      />

      <Button title="Log Out" onPress={handleLogout} />
    </View>
  );
};

export default ProfileScreen;
And that's it! You now have a fully functional global state managed by Redux Toolkit. When you click "Log Out," the action is dispatched, the reducer runs, the state updates, and your component automatically re-renders with the new data. It's a thing of beauty.
Leveling Up: Handling Async Logic with createAsyncThunk
What about API calls? This is where RTK truly shines. For async operations, we use createAsyncThunk.
Let's create an async thunk to fetch user data.
javascript
// store/slices/userSlice.js
import { createSlice, createAsyncThunk } from '@reduxjs/toolkit';
import api from '../api'; // Your hypothetical API client

// Create the async thunk
export const fetchUserById = createAsyncThunk(
  'user/fetchUserById', // action type string
  async (userId, thunkAPI) => { // payload creator
    const response = await api.getUser(userId); // Make the API call
    return response.data; // This becomes the `action.payload` of the fulfilled action
  }
);

const userSlice = createSlice({
  name: 'user',
  initialState: {
    name: '',
    email: '',
    isLoggedIn: false,
    loading: false, // Track loading state
    error: null, // Track errors
  },
  reducers: { ... }, // your sync reducers from before
  extraReducers: (builder) => {
    // Handle the async thunk's lifecycle actions
    builder
      .addCase(fetchUserById.pending, (state) => {
        state.loading = true;
        state.error = null;
      })
      .addCase(fetchUserById.fulfilled, (state, action) => {
        state.loading = false;
        state.name = action.payload.name;
        state.email = action.payload.email;
        state.isLoggedIn = true;
      })
      .addCase(fetchUserById.rejected, (state, action) => {
        state.loading = false;
        state.error = action.error.message;
      });
  },
});

// ... rest of the code
In your component, you dispatch the thunk just like a regular action: dispatch(fetchUserById(123)). The thunk automatically dispatches pending, fulfilled, and rejected actions that you handle in extraReducers.
Best Practices & Pro-Tips
Keep Slices Focused: Each slice should manage only a specific domain of your state.
Use
createAsyncThunkfor Async: It's the standard and cleanest way to handle side effects.Don't Overuse Redux: Local state with
useStateis still perfectly fine for state that's confined to a single component (like a form input's temporary value).Use the Redux DevTools: Absolutely essential for debugging. You can see every action, the state diff, and even time-travel debug.
FAQs
Q: Do I still need to use Redux with Context API?
A: For low-frequency updates and simple global state (like theme), Context is fine. For complex, high-frequency state (like data from an API), Redux Toolkit is far more powerful and performant.
Q: Is Redux Toolkit the same as Redux?
A: Yes and no. It's the official standard way to write Redux logic. You can think of it as "modern Redux." It's a package that wraps Redux and provides better APIs.
Q: This is great! Where can I learn to build entire apps like this?
A. We're glad you asked! Mastering state management is a core skill for any professional developer. To learn professional software development courses such as Python Programming, Full Stack Development, and MERN Stack, visit and enroll today at codercrafter.in. Our project-based curriculum teaches you how to integrate tools like Redux Toolkit into real-world applications.
Conclusion
Redux Toolkit has completely transformed the Redux experience. It's no longer the daunting, boilerplate-heavy library of the past. It's a lean, powerful, and developer-friendly tool that solves one of the hardest parts of building a React Native app: state management.
By following the patterns in this guide, you can build apps that are more predictable, easier to debug, and scale gracefully as features are added. So go ahead, refactor that messy state, and give your React Native development a major upgrade.


