Stop the Guesswork: Master React Native Debugging in 2025
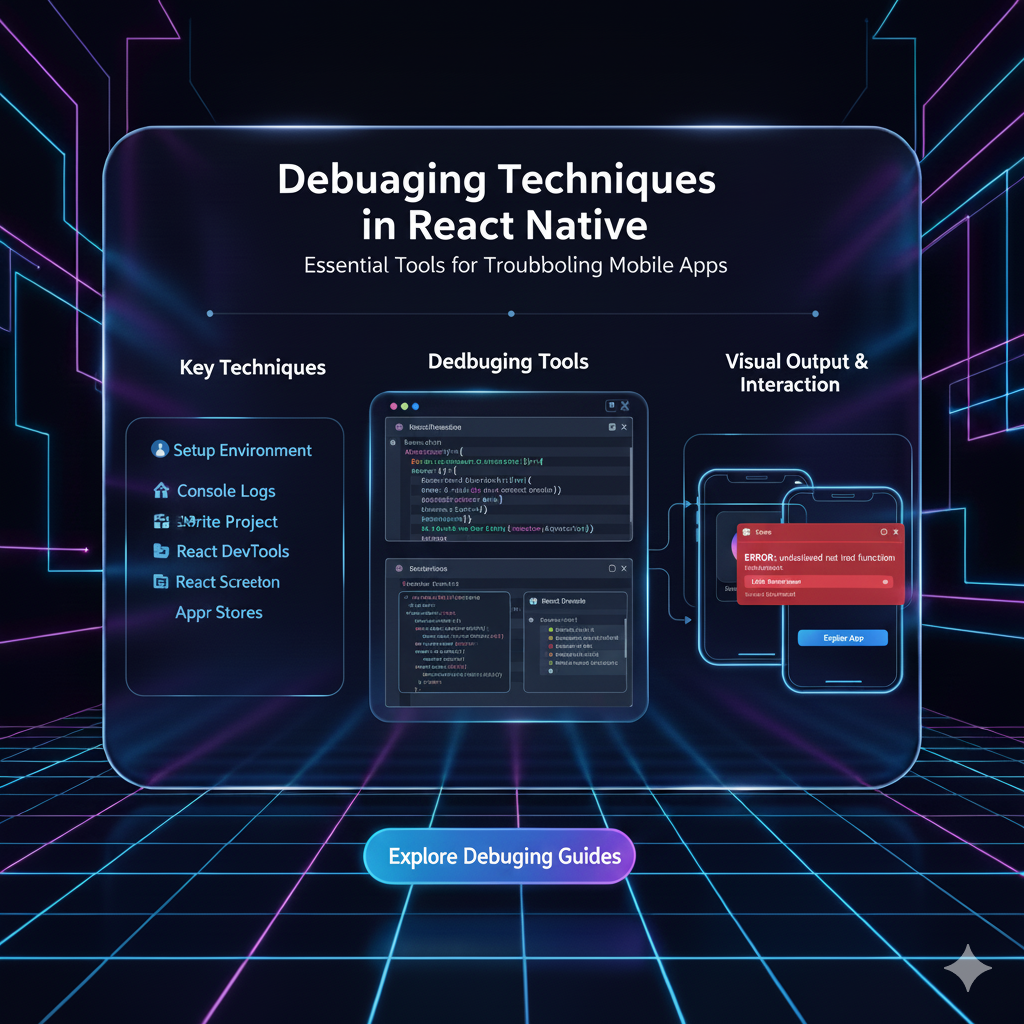
Tired of cryptic React Native bugs? Our in-depth guide covers console magic, React DevTools, Flipper, error boundaries, and pro tips to squash errors for good. Level up your debugging skills!
Let's be real for a second. You've been there. You’re coding away, your React Native app is starting to look fire, and then... it happens.
The dreaded Red Screen of Death. Or maybe it's a silent, sneaky bug where your state just won't update, and you're left staring at the screen wondering if you've forgotten how to code.
We've all been there. Debugging can feel like a dark art, but what if I told you it doesn't have to be? What if you could have a solid, step-by-step playbook to tackle almost any bug that comes your way?
That's what this guide is. We're going deep on React Native debugging—from the basic console.log life to the powerful tools the pros use. Buckle up, because we're about to make you a debugging ninja.
The Foundation: Your First Line of Defense
Before we get to the fancy stuff, let's master the basics. These are the tools you'll use 80% of the time.
1. console.log is Your Bestie (But Be Smarter)
Yeah, yeah, everyone says console.log is for noobs. Ignore them. It's fast, it's easy, and it works. The key is to use it effectively.
Console Grouping: Instead of a flood of logs, group them for clarity.
javascript
console.group('User Login Flow');
console.log('Email entered:', email);
console.log('Attempting API call...');
console.log('API Response:', response);
console.groupEnd();
This creates a collapsible group in your console, making logs so much easier to read.
Styling Your Logs: Make critical errors impossible to miss.
javascript
console.log('%c BIG ERROR! State is null!', 'color: red; font-size: 20px; font-weight: bold;');console.warn&console.error: Use these for different severity levels. They stand out in yellow and red, making them easy to spot.
Real-World Use Case: You're fetching a list of posts, but they're not rendering. Log the API response inside your useEffect to see if the data is even arriving, and what shape it's in.
2. The React Native Debugger – The OG Power Tool
This is not the in-app developer menu. The React Native Debugger is a standalone app that combines the power of Chrome DevTools and React DevTools.
How to Use It:
Download and open the React Native Debugger app.
In your app (simulator or device), shake it (or press
Ctrl+M/Cmd+M) to open the Developer Menu.Select "Debug". It will automatically connect to the Debugger app.
Why It's a Game-Changer:
Network Inspecting: See all your
fetchorAxiosrequests. No more guessing if your API call failed or what payload it sent.Redux DevTools Integration: If you use Redux for state management, it's built right in. You can see every action, the state diff, and even time-travel debug!
Full Chrome DevTools: You get the Elements panel (for inspecting the compiled JS), Sources for debugging, etc.
Leveling Up: Modern Debugging with Flipper
If React Native Debugger is the OG, Flipper is the new, shiny, and incredibly powerful successor. It's a platform for debugging mobile apps, and the React Native team now officially recommends it.
Why Flipper is a Game-Changer
Flipper is a plugin-based system. Think of it like VS Code for debugging—its core is simple, but its plugins make it incredibly powerful.
Layout Inspector: Visually inspect your component tree and see their styles. It's like having your browser's inspector for your mobile app.
Network Plugin: Just like before, but often more reliable and detailed.
React DevTools: See your component hierarchy, their current props and state, and even change them on the fly to test things out.
Database Inspector: If you use something like
react-native-sqlite-studioorAsyncStorage, there are plugins to visually see your local database contents.Crash Reports: View native crash logs directly within the Flipper UI.
Getting Started with Flipper:
Install the Flipper desktop app.
Follow the setup instructions for your React Native project (it usually involves just installing a package).
Run your app, and Flipper should auto-detect it.
Flipper can feel a bit more complex to set up, but for larger, more serious projects, it's absolutely worth the investment.
Handling the Inevitable: Errors and Crashes
1. Taming the Red Screen (Errors) and Yellow Box (Warnings)
Red Screen of Death (RSOD): This is an unhandled JavaScript error. In development, it's great—it tells you exactly where the error occurred. In production, it's a terrible user experience.
Yellow Box: These are warnings. They won't crash your app, but they indicate potential problems you should fix.
You can temporarily dismiss them, but please, for the love of code, fix the underlying issue.
2. The Pro Move: Error Boundaries
What happens in production when an error occurs? Without an Error Boundary, the app just... freezes or closes. Not ideal.
Error Boundaries are React components that catch JavaScript errors anywhere in their child component tree, log those errors, and display a fallback UI instead of the crashed component tree.
javascript
class ErrorBoundary extends React.Component {
  constructor(props) {
    super(props);
    this.state = { hasError: false };
  }

  static getDerivedStateFromError(error) {
    // Update state so the next render shows the fallback UI.
    return { hasError: true };
  }

  componentDidCatch(error, errorInfo) {
    // You can log the error to a service like Sentry, Bugsnag, or LogRocket here.
    console.log('Error Caught by Boundary:', error, errorInfo);
  }

  render() {
    if (this.state.hasError) {
      // You can render any custom fallback UI
      return <Text>Oops, something went wrong. Don't worry, we've been notified!</Text>;
    }

    return this.props.children;
  }
}

// Use it to wrap a part of your app.
function App() {
  return (
    <ErrorBoundary>
      <MyPotentiallyBuggyComponent />
    </ErrorBoundary>
  );
}
Real-World Use Case: You have a NewsFeed component that fetches data from an API. If the API is down or returns malformed data, the component might throw an error. An Error Boundary around NewsFeed would catch that error, show a friendly "News feed temporarily unavailable" message, and prevent the entire app from breaking.
Debugging the Tricky Stuff: Native Side & Performance
Sometimes, the bug isn't in your JavaScript.
1. Native Logs (Android Studio & Xcode)
When you need to see what's happening on the native side of things (Java, Kotlin, Objective-C, Swift), you need to use the native IDEs.
For Android: Open your
androidfolder in Android Studio. Use theLogcattab to see a stream of all logs from the device/emulator. Filter by your app's tag to find relevant information.For iOS: Open your
iosfolder in Xcode. Run your app from Xcode, and the console output will show native logs.
This is essential for debugging issues with native modules, permissions, or deep linking.
2. Performance Debugging
Is your app janky or slow?
Enable Performance Monitor: In your Developer Menu (
Ctrl+M/Cmd+M), toggle "Show Perf Monitor". You'll see an overlay with FPS (frames per second), RAM usage, and more. A consistently low FPS (below 60) means you're dropping frames.The
why-did-you-renderLibrary: This is a killer tool. It tells you why a component re-rendered. Often, unnecessary re-renders are the root cause of performance issues. A quick setup can save you hours of optimization guesswork.
Your Debugging Checklist & Best Practices
Don't Panic: Take a breath. Read the error message. Seriously, read it. The answer is often right there.
Check the Obvious First: Did you save the file? Is the Metro bundler running? Did you run
pod installfor iOS?Isolate the Problem: Can you reproduce the bug in a single, small component? Try to create a minimal test case. This often reveals the issue.
Use a Systematic Approach: Start with
console.logto trace data flow. Then, use React DevTools to inspect props/state. Finally, use Flipper/RN Debugger for network and advanced inspection.Embrace Error Boundaries: Wrap suspicious or independent parts of your app. It's a safety net for production.
Know Your Tools: Spend 30 minutes learning one new feature of Flipper or React Native Debugger each week. It will pay massive dividends.
FAQs
Q: My app works fine on iOS but crashes on Android. Help!
A: This is super common. First, check the Android Logcat in Android Studio for the specific native error. 99% of the time, it's a permission issue, a missing native dependency, or a styling difference.
Q: console.log isn't showing up. What do I do?
A: Make sure you're not in "Remote Debugging" mode, as logs go to the browser console in that mode. If you are, either check your browser's console or disable remote debugging and use the terminal where you ran npm start to see the logs.
Q: What's the single best tool for a React Native beginner?
A: Start with the React Native Debugger. It's simpler to set up than Flipper and gives you 90% of the power you need early on.
Q: How do I debug a production build?
A: You can't use Flipper or the debugger on a production build. This is where services like Sentry, Bugsnag, or LogRocket come in. They capture errors, logs, and even session replays from your users' phones, so you can see exactly what went wrong.
Conclusion: From Frustrated to Fearless
Debugging isn't about knowing all the answers; it's about knowing how to find them. It's a skill, a mindset. By building a toolkit that includes everything from humble console.log statements to powerful tools like Flipper and Error Boundaries, you transform from a developer who fears bugs to one who hunts them down with confidence.
Remember, every bug you squash makes you a better developer. So embrace the process, master your tools, and build more robust, amazing apps.
Feeling inspired to build your own robust, cross-platform applications? This is just the beginning. To learn professional software development from the ground up, including advanced React Native concepts, state management, backend integration, and much more, check out our professional software development courses such as Python Programming, Full Stack Development, and the MERN Stack. Visit and enroll today at codercrafter.in and take the first step towards becoming a top-tier developer!


