Tired of manual React Native builds? Master CI/CD with our in-depth guide. Learn to automate testing & deployment for iOS & Android using GitHub Actions, fastlane, and best practices. Boost your dev productivity!
Ship Smarter, Not Harder: Your Ultimate Guide to CI/CD for React Native Apps
Let's be real. Building a React Native app is a vibe. You get that sweet, sweet feeling of creating something amazing for both iOS and Android from one codebase. But then comes the not-so-vibey part: the release process.
Remember the last time you shipped an update? It probably looked something like this:
npm run build:android... wait.Manually bump the version code in
build.gradle.Generate a new APK/AAB bundle.
Upload it to the Google Play Console... wait for processing.
Switch to your Mac, fire up Xcode.
Manually bump the build number.
Archive the project... wait some more.
Upload to App Store Connect... and wait even more.
Pray you didn't miss a step.
Exhausting, right? Not to mention error-prone. One wrong version code, and you're in for a world of pain. This is where CI/CD swoops in like a superhero to save your sanity.
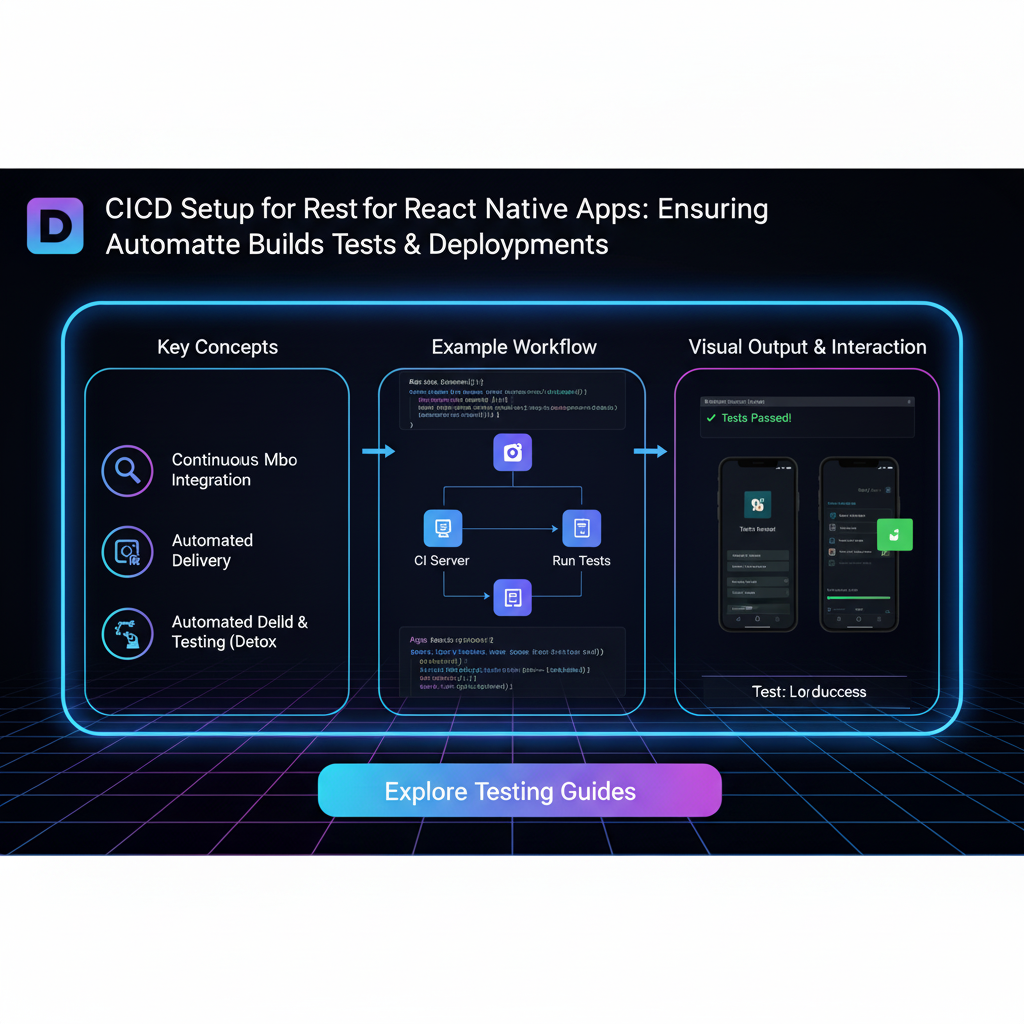
What is CI/CD, Actually? (No Corporate Jargon, We Promise)
In simple terms, CI/CD is about automating the boring and risky stuff so you can focus on writing dope code.
CI (Continuous Integration): Think of this as your code's automatic quality check. Every time you or someone on your team pushes code to a shared repository (like GitHub), a CI server automatically builds the project and runs your test suite. It answers the question: "Did my new code break anything?"
CD (Continuous Delivery/Deployment): This is the automatic delivery truck. Once the CI checks pass, the CD system takes over and automatically packages your app and delivers it to a platform. In our case, that's the App Store and Google Play. It answers the question: "Can I ship this to users, now?"
Together, they form a CI/CD Pipeline—an automated workflow that takes your code from a git commit all the way to a live app in the store.
Why You Absolutely Need CI/CD for React Native
If the "saving your sanity" part wasn't convincing enough, here’s the hard truth:
The Two-Platform Headache: React Native means you're managing two separate, complex build processes (iOS and Android). Automating this is a no-brainer.
Faster Feedback Loops: Catch bugs the moment they are introduced, not two days later when you finally do a manual build.
Consistency is Key: A machine follows the same exact steps every single time. No more "but it worked on my machine!" mysteries.
Ship with Confidence: Knowing that every release has passed a gauntlet of automated tests makes hitting that "release" button a lot less scary.
Free Up Your Time: Stop being a release manager and get back to being a developer. Automate the chores, create the features.
Building Your React Native CI/CD Pipeline: A Step-by-Step Blueprint
Let's get our hands dirty. We'll build a pipeline using GitHub Actions (because it's widely used and integrates seamlessly with GitHub) and fastlane (the undisputed champion for mobile app deployment automation).
Step 1: Get Your House in Order (Code & Dependencies)
First, your repo needs to be predictable.
package.json: Your dependencies should be locked down with apackage-lock.jsonoryarn.lockfile..gitignore: Make sure you're not committingnode_modules, build folders, or environment files with secrets.
Step 2: Tame the Build Process with fastlane
fastlane is a life-saver. It's a tool that scripts every part of your mobile development process. You define your build, testing, and deployment steps in a file called a Fastfile.
Installation & Setup:
Navigate to your project's root directory in your terminal.
bash
# Install the fastlane gem
gem install fastlane

# Navigate to your iOS and Android directories separately to set it up
cd ios && fastlane init
cd ../android && fastlane init
This will create a fastlane folder in both your ios and android directories.
A Simple Android Fastfile (android/fastlane/Fastfile):
ruby
default_platform(:android)

platform :android do
  desc "Build the Android release app"
  lane :build do
    gradle(
      task: "bundle",
      build_type: "Release"
    )
  end

  desc "Submit a new Beta Build to Play Store"
  lane :beta do
    build
    upload_to_play_store(
      track: 'internal', # You can use 'internal', 'alpha', 'beta', 'production'
      aab: 'path/to/your/app.aab'
    )
  end
end
A Simple iOS Fastfile (ios/fastlane/Fastfile):
(Note: iOS requires a Mac and more setup, like Apple Developer account and certificates.)
ruby
default_platform(:ios)

platform :ios do
  desc "Build and export the iOS app"
  lane :build do
    build_app(
      workspace: "YourApp.xcworkspace",
      scheme: "YourApp",
      export_method: "app-store"
    )
  end

  desc "Upload to TestFlight"
  lane :beta do
    build
    upload_to_testflight
  end
end
fastlane match is a best practice for managing iOS code signing, which is a nightmare to do manually. It creates a single source of truth for your certificates and profiles.
Step 3: Automate Everything with GitHub Actions
Now, let's make this magic happen automatically on every git push. Create a file in your repo: .github/workflows/ci-cd.yml.
This configuration does two things:
On every Pull Request to
main: It runs the CI part (linting, testing, building).On every push to
main: It runs the full CI/CD pipeline, deploying to a beta track.
yaml
name: React Native CI/CD

on:
  push:
    branches: [ main ]
  pull_request:
    branches: [ main ]

jobs:
  test-and-build:
    name: Test and Build on Ubuntu
    runs-on: ubuntu-latest

    steps:
      - name: Checkout code
        uses: actions/checkout@v3

      - name: Setup Node.js
        uses: actions/setup-node@v3
        with:
          node-version: '18'

      - name: Install dependencies
        run: npm ci

      - name: Run ESLint
        run: npm run lint

      - name: Run Jest tests
        run: npm test

      - name: Build Android App
        run: |
          cd android
          ./gradlew assembleRelease

  deploy-android:
    name: Deploy Android to Play Store
    runs-on: ubuntu-latest
    needs: test-and-build # This job only runs if the test-and-build job succeeds
    if: github.ref == 'refs/heads/main' # Only deploy from the main branch

    steps:
      - name: Checkout code
        uses: actions/checkout@v3

      - name: Setup Node.js
        uses: actions/setup-node@v3
        with:
          node-version: '18'

      - name: Install dependencies
        run: npm ci

      - name: Build and Deploy with fastlane
        run: |
          cd android
          bundle install
          bundle exec fastlane beta
        env:
          SUPPLY_JSON_KEY_DATA: ${{ secrets.GCP_JSON_KEY }}

  deploy-ios:
    name: Deploy iOS to TestFlight
    runs-on: macos-latest # iOS builds require macOS
    needs: test-and-build
    if: github.ref == 'refs/heads/main'

    steps:
      - name: Checkout code
        uses: actions/checkout@v3

      - name: Setup Node.js
        uses: actions/setup-node@v3
        with:
          node-version: '18'

      - name: Install dependencies
        run: |
          npm ci
          cd ios && pod install

      - name: Build and Deploy with fastlane
        run: |
          cd ios
          bundle exec fastlane beta
        env:
          APP_STORE_CONNECT_API_KEY_ID: ${{ secrets.APP_STORE_CONNECT_API_KEY_ID }}
          APP_STORE_CONNECT_API_ISSUER_ID: ${{ secrets.APP_STORE_CONNECT_API_ISSUER_ID }}
          APP_STORE_CONNECT_API_KEY: ${{ secrets.APP_STORE_CONNECT_API_KEY }}
Crucial Note on Secrets: You see those ${{ secrets.SECRET_NAME }}? Never, ever hardcode API keys or passwords in your script. You add them in your GitHub repository's "Secrets" settings (Settings > Secrets and variables > Actions).
Best Practices to Keep Your Pipeline Healthy
Start Small: Don't try to boil the ocean. Start with CI (testing) on pull requests. Then add CD for a beta track. Then move to production.
Optimize for Speed: Use caching in your GitHub Actions for
node_modulesand Gradle/Pods. A slow pipeline is a neglected pipeline.Secure Your Secrets: As mentioned, use the built-in secrets management. For iOS,
fastlane matchis the gold standard.Test on Real Devices: Use services like Firebase Test Lab or AWS Device Farm in your pipeline to run your app on a matrix of real devices.
Versioning is Everything: Automate your version bumps!
fastlanehas great actions for this, ensuring you never forget to increment a version code again.
FAQs: Your CI/CD Questions, Answered
Q: This seems complex. Is it worth it for a solo developer?
A: 100%. The initial setup might take a few hours, but it pays for itself after just one or two releases. The time and mental energy you save is immense, even as a solo dev.
Q: Can I use this with other tools like GitLab or Bitbucket?
A: Absolutely. The concepts are identical. GitLab has built-in CI/CD (GitLab CI), and Bitbucket has Bitbucket Pipelines. The fastlane scripts would remain exactly the same.
Q: How much does it cost?
A: GitHub Actions offers a very generous free tier for public repositories and private repos. For most small-to-medium projects, it's completely free.
Q: My app has a backend too. How does that fit in?
A: You can have separate pipelines, or a more complex mono-repo pipeline. The backend (e.g., a Node.js API) would have its own CI/CD process for testing and deploying to a cloud provider like AWS or Heroku.
Conclusion: Stop Shipping, Start Streaming
Manual app releases are a relic of the past. By embracing CI/CD for your React Native projects, you're not just adopting a new tool; you're adopting a modern, efficient, and professional mindset. You move from a world of stressful, big-bang releases to a calm, continuous stream of updates. You ship faster, with fewer bugs, and you get your weekends back.
The setup might feel a bit daunting at first, but break it down. Start with CI. Then add a beta deployment. Each step is a massive win.
Ready to master not just CI/CD, but the entire world of modern software development? This level of automation and best practice is what separates hobbyists from pros. To learn professional software development courses such as Python Programming, Full Stack Development, and the MERN Stack, visit and enroll today at codercrafter.in. We'll give you the hands-on skills to build and ship real-world applications like a senior developer.