React Native Setup 2025: Your No-Stress Guide to Android & iOS Development
Ready to build mobile apps? Our updated 2025 guide walks you through setting up the React Native environment on Windows & macOS, from Node.js to your first "Hello World." Avoid common pitfalls and start coding today!
Alright, let's be real. Setting up a development environment can feel like the ultimate gatekeeper. You're buzzing with ideas for the next killer app, but you're stuck wrestling with SDKs, emulators, and cryptic terminal errors. We've all been there.
But what if I told you that in 2025, setting up React Native is smoother than ever? The community has ironed out a lot of the kinks, and the tools are more powerful and user-friendly.
This guide is your stress-free, step-by-step walkthrough to get your React Native environment up and running on both macOS and Windows. We're not just copying commands from the docs; we're explaining the why behind them, so you're not just following steps, you're actually understanding your setup. Let's ditch the frustration and start building.
First Things First: What Even is React Native?
In simple terms, React Native is a framework that lets you build truly native mobile apps using JavaScript and React.
Wait, JavaScript for native apps? Yep, you read that right.
Instead of building separate apps for iOS and Android in Swift/Kotlin, you write one codebase in JavaScript. React Native then takes your code and renders it using native components. So, when you use a <View> component, it becomes a native UIView on iOS and an android.view on Android. This gives you the performance and look-and-feel of a native app, with the development speed and reusability of web tech.
Real-World Use Cases: Think Facebook, Instagram, Pinterest, Shopify, and Discord. These giants use React Native to deliver a high-quality experience across platforms without maintaining two completely separate teams.
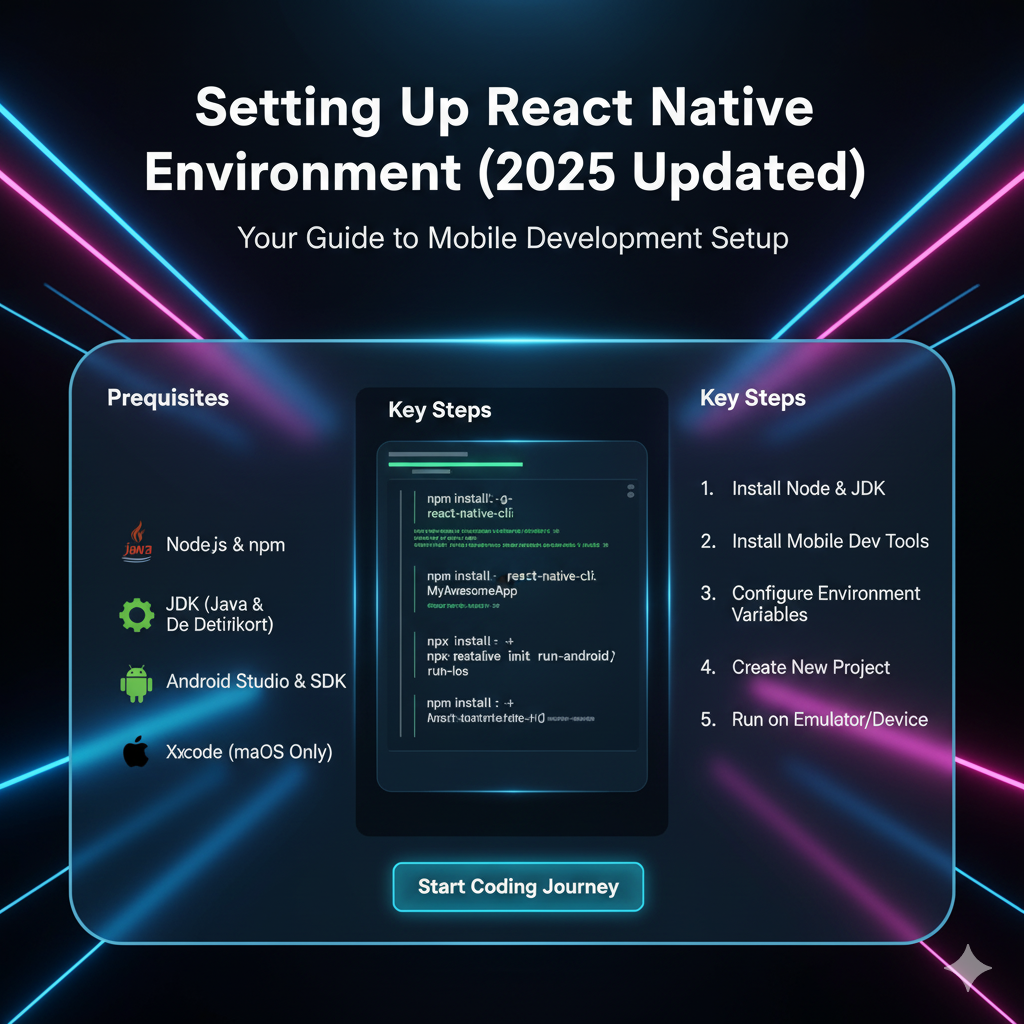
Prerequisites: What You Need Before You Dive In
Before we get our hands dirty, make sure you have the basics covered.
Basic Knowledge of JavaScript & React: If you're completely new to React concepts like JSX, components, state, and props, you might want to get comfortable with those first. (Psst... feeling rusty? To learn professional software development courses such as Python Programming, Full Stack Development, and MERN Stack, visit and enroll today at codercrafter.in. We have foundational courses to get you up to speed!)
A Decent Machine: You don't need a supercomputer, but a machine with at least 8GB RAM (16GB is highly recommended) and a decent processor will save you from endless headaches, especially with emulators.
Node.js Installed: We need Node to run our JavaScript tools. Head to the official Node.js website and download the LTS (Long-Term Support) version. This is the stable version recommended for most users. The installation is straightforward—just run the installer.
The Setup: Your Step-by-Step Walkthrough
Here’s where the magic happens. The recommended way to start a new React Native project in 2025 is using the React Native Community CLI. It's more stable and gives you a clearer picture of the native layers than some of the older methods.
Step 1: Install the React Native CLI
Open your terminal (or Command Prompt/PowerShell on Windows) and run the following command. This installs the CLI tool globally on your machine.
bash
npm install -g @react-native-community/cliStep 2: Create Your First Project
Navigate to the folder where you want to keep your coding projects, and run:
bash
npx react-native init MyAwesomeAppReplace MyAwesomeApp with your project's name. This command does all the heavy lifting: it creates a new folder, sets up the project structure, and installs all the necessary dependencies. Go grab a coffee—this might take a few minutes.
Step 3: Platform-Specific Setup (The "Gotcha" Part)
This is the part that usually trips people up. Setting up the environments for Android and iOS is different.
For macOS Users (iOS & Android Development)
You're in luck! macOS is the only system that lets you build for both iOS and Android.
iOS Setup (Xcode):
Head to the Mac App Store and download Xcode. It's a big download (like, 20GB+ big), so do this on a good internet connection.
Once installed, open Xcode, go to Preferences > Locations, and make sure the Command Line Tools are selected. This gives your terminal the ability to build iOS apps.
That's basically it for iOS! The
react-native initcommand has already set up the Xcode project for you.
Android Setup (Android Studio):
Download and install Android Studio.
During setup, it will guide you through installing the Android SDK, Android SDK Command-line Tools, and an Android Emulator.
After installation, open Android Studio, go to More Actions > SDK Manager.
Under the SDK Platforms tab, make sure you have the latest Android version (e.g., Android 14 (Tiramisu)) installed.
Go to the SDK Tools tab and check the boxes for:
Android SDK Build-Tools
Android Emulator
Android SDK Platform-Tools
Intel x86 Atom_64 System Image or Google Play Intel x86 Atom_64 System Image (if you have an Intel Mac) / ARM64 v8a (if you have an Apple Silicon M1/M2/M3 Mac).
For Windows/Linux Users (Android Development Only)
Sorry folks, building iOS apps requires Xcode, which only runs on macOS. But you can fully develop and test Android apps!
Android Setup (Android Studio):
Follow the same steps for installing Android Studio and the Android SDK as outlined for macOS above.
Step 4: Configuring the ANDROID_HOME Environment Variable
This is a crucial step that's often missed. Your system needs to know where the Android SDK is installed.
On macOS/Linux: Open your shell profile file (like
~/.zshrcor~/.bash_profile) and add:bash
export ANDROID_HOME=$HOME/Library/Android/sdk
export PATH=$PATH:$ANDROID_HOME/emulator
export PATH=$PATH:$ANDROID_HOME/platform-tools
Then run
source ~/.zshrc(or your respective profile file) to reload.On Windows:
Open Start and search for "Edit environment variables for your account."
Click Environment Variables....
Under User variables, click New.
Set the variable name as
ANDROID_HOME.Set the variable value to the path of your SDK (e.g.,
C:\Users\YourUsername\AppData\Local\Android\Sdk). You can find this path in Android Studio under Settings > Appearance & Behavior > System Settings > Android SDK.Then, find the
Pathvariable, click Edit, and add these two new entries:%ANDROID_HOME%\emulator%ANDROID_HOME%\platform-tools
Step 5: Fire It Up!
You've made it. Let's see your app in all its glory.
Start the Metro Bundler. This is the JavaScript bundler that serves your app's code. In your project directory, run:
bash
npm startKeep this terminal running.
In a new terminal window, navigate to your project folder and run your app.
For Android:
bash
npx react-native run-androidFor iOS (macOS only):
bash
npx react-native run-ios
If everything is set up correctly, the command will launch an emulator/simulator and build your app. You should see the default welcome screen!
Best Practices & Pro-Tips for 2025
Use a Physical Device When Possible: The emulators are great, but testing on a real device is always better for performance and feel. For Android, enable USB Debugging. For iOS, just connect your phone and Xcode will detect it.
Emulator Tips: On Apple Silicon Macs, use the "Apple Silicon" arm64 images for much better performance. On Windows, make sure Hardware Acceleration (Intel HAXM or Windows Hypervisor Platform) is enabled in your BIOS/UEFI settings.
Version Control from Day One: Initialize a git repo (
git init) in your project immediately. React Native's.gitignorefile is already pretty good.Consider the New Architecture: React Native's "New Architecture" (TurboModules & Fabric) is becoming the norm. For new projects in 2025, it's automatically configured. Just be aware if you're adding native libraries, as they need to be compatible.
FAQs: Your Burning Questions, Answered
Q: I get a "SDK location not found" error. Help!
A: This almost always means the ANDROID_HOME environment variable is not set correctly. Double-check the path and restart your terminal.
Q: The emulator is so slow! What can I do?
A: On macOS, use the iOS Simulator—it's generally very fast. On Windows/Mac for Android, ensure you're using an x86_64 or ARM64 system image (not x86) and that hardware acceleration is enabled.
Q: Can I use Expo instead?
A: Absolutely! Expo is a fantastic framework on top of React Native that simplifies setup even further. It's great for getting started quickly. However, this guide uses the "bare workflow" because it gives you more control and is essential knowledge for professional development, which is a core focus of the curriculum at codercrafter.in.
Q: My app runs, but it says "Metro has no connected clients."
A: This usually means the bundler and the app aren't talking. For Android, run adb reverse tcp:8081 tcp:8081. Sometimes, simply reloading the app (Press R twice in the Metro terminal, or shake the device to bring up the developer menu) fixes it.
Conclusion: You're Ready to Build!
Look at you! You've just navigated one of the most daunting parts of the React Native journey. Your environment is set up, you've run your first app, and you understand the core components of the system.
This is just the beginning. Now comes the fun part: turning your ideas into real, functioning applications. The world of mobile development is at your fingertips.
Remember, the initial setup is a one-time cost. The skills you've practiced here—following technical documentation, troubleshooting environment issues, and understanding your tools—are what separate hobbyists from professional developers. If you enjoyed this deep dive and want to master not just React Native but the entire ecosystem of modern web and mobile development, check out the comprehensive programs at Coder Crafter. To learn professional software development courses such as Python Programming, Full Stack Development, and MERN Stack, visit and enroll today at codercrafter.in.


