React Native Navigation Demystified: A 2025 Guide to Stack, Tab, and Drawer
Lost in React Native navigation? This in-depth guide breaks down React Navigation, Stack, Tabs, and Drawers with code examples, best practices, and FAQs. Master mobile app flow today!
Let's be real. You've got a killer app idea. You're buzzing with excitement, the code is flowing, and your first screen looks fire. But then it hits you... "How do I get from this login screen to the main feed? How does the user go from a product list to the product details?"
That, my friends, is where navigation comes in. It's the unsung hero (or the silent villain) of every great mobile app. If you get it wrong, users get frustrated and delete your app. If you get it right, they have a seamless, intuitive experience.
So, let's break down React Native navigation. We're going to go from "what even is this?" to "I am a navigation ninja." We'll talk about the libraries, the patterns, the code, and the best practices. Buckle up!
First Things First: Why Do We Need a Navigation Library?
You might be thinking, "Can't I just use a bunch of if statements and conditionally render components?" Well, technically, yes. But you'd be reinventing the wheel and building a square, wobbly one at that.
A dedicated navigation library gives you:
Native Feel: It handles the complex animations and gestures that make an app feel like an iOS or Android app.
State Management: It manages the history of your screens, so the back button just works.
Performance: It optimizes how screens are loaded and unmounted.
Ease of Use: It provides a declarative API to define your app's flow.
The King of the Hill: React Navigation
In the React Native world, React Navigation is the de-facto standard. It's built with JavaScript, which makes it incredibly flexible and easy to integrate with your state management. For most apps, it's the perfect choice.
There's also react-native-navigation by Wix, which wraps native navigation APIs, but it has a steeper learning curve. For this guide, we'll stick with React Navigation because it's the most common and, frankly, the easiest to get started with.
Setting Up The Vibe: Installation
First, you need to install the core library and the dependencies for the navigators you plan to use.
bash
npm install @react-navigation/native @react-navigation/stack @react-navigation/bottom-tabs @react-navigation/drawerThen, install the required peer dependencies. The React Navigation team makes this easy with a one-liner:
bash
npx expo install react-native-screens react-native-safe-area-context(If you're not using Expo, you might need to do some extra linking steps, but Expo makes life simpler).
Now, wrap your entire app in the NavigationContainer. This component manages our navigation tree and state.
javascript
// App.js
import * as React from 'react';
import { NavigationContainer } from '@react-navigation/native';

export default function App() {
  return (
    <NavigationContainer>
      {/* Our navigators will live here! */}
    </NavigationContainer>
  );
}
Boom. The stage is set.
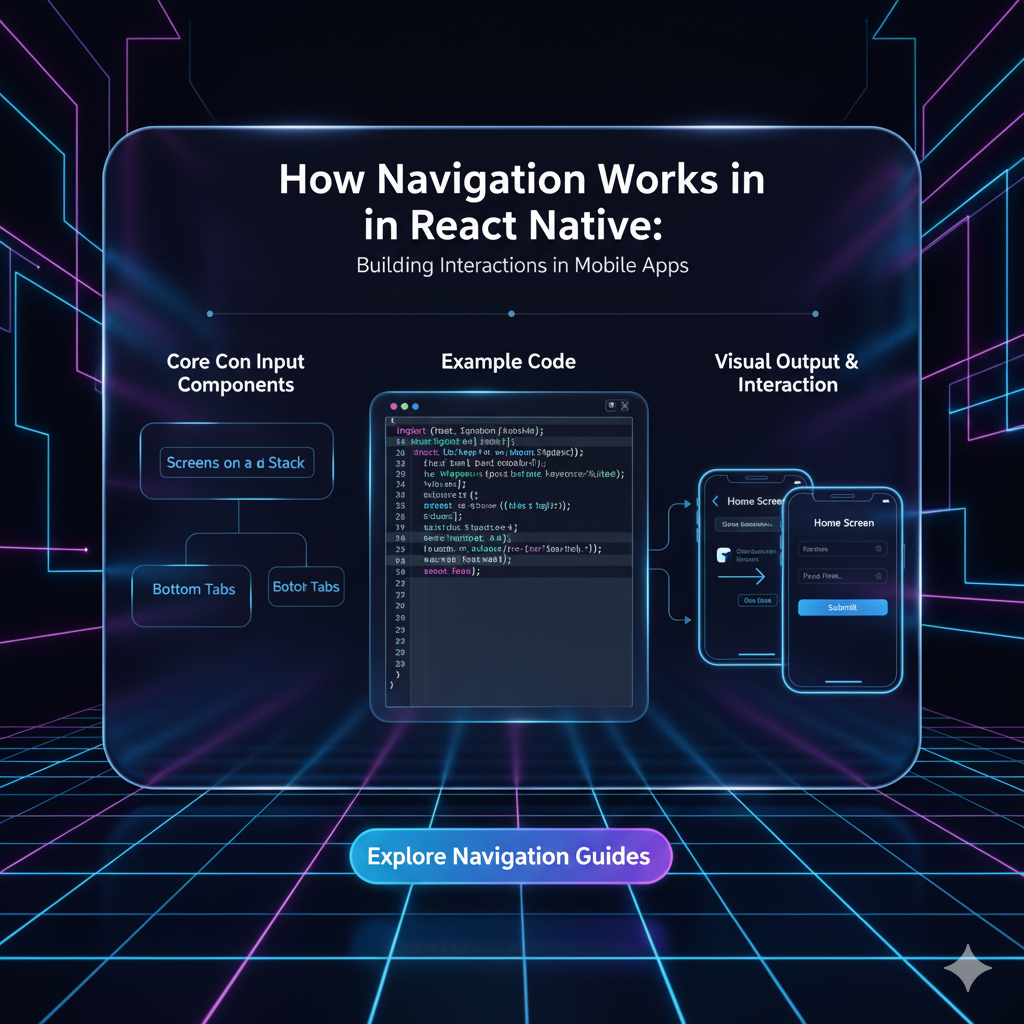
The Holy Trinity of Navigators: Stack, Tabs, and Drawer
Think of these as the core patterns for how users move through your app.
1. The Stack Navigator: Your App's "Back" Button Memory
This is the most common navigator. It works exactly like a stack of papers: you push a new screen on top, and you pop it off to go back. Every time you navigate to a new screen, it's added to the stack.
Real-World Use Case: Drilling down into details.
Home Feed (Stack Start) -> Tap a post -> Post Details Screen (Pushed) -> Tap a comment -> Comment Thread (Pushed) -> Hit back -> Back to Post Details -> Hit back -> Back to Home Feed.
Let's Code a Stack:
javascript
// First, let's create two simple screens
function HomeScreen({ navigation }) {
  return (
    <View style={{ flex: 1, alignItems: 'center', justifyContent: 'center' }}>
      <Text>Home Screen</Text>
      <Button
        title="Go to Details"
        onPress={() => navigation.navigate('Details')} // This is the magic line!
      />
    </View>
  );
}

function DetailsScreen({ navigation }) {
  return (
    <View style={{ flex: 1, alignItems: 'center', justifyContent: 'center' }}>
      <Text>Details Screen</Text>
      <Button title="Go back" onPress={() => navigation.goBack()} />
    </View>
  );
}

// Now, create the Stack Navigator
import { createStackNavigator } from '@react-navigation/stack';

const Stack = createStackNavigator();

function MyStack() {
  return (
    <Stack.Navigator>
      <Stack.Screen name="Home" component={HomeScreen} />
      <Stack.Screen name="Details" component={DetailsScreen} />
    </Stack.Navigator>
  );
}

// Finally, render MyStack in your NavigationContainer
export default function App() {
  return (
    <NavigationContainer>
      <MyStack />
    </NavigationContainer>
  );
}
See that navigation.navigate('Details')? That's how you move between screens. The navigation prop is automatically passed to every screen in your stack.
2. The Bottom Tab Navigator: For Switching Personalities
This one gives you those iconic tabs at the bottom (or top) of the screen, like in Instagram or Spotify. Each tab is its own little world, often with its own stack navigator inside.
Real-World Use Case: Main app sections.
Home, Search, Reels, Shop, Profile (Instagram).
Let's Code a Tab Navigator:
javascript
import { createBottomTabNavigator } from '@react-navigation/bottom-tabs';
import Ionicons from 'react-native-vector-icons/Ionicons'; // For icons!

const Tab = createBottomTabNavigator();

function MyTabs() {
  return (
    <Tab.Navigator
      screenOptions={({ route }) => ({
        tabBarIcon: ({ focused, color, size }) => {
          let iconName;
          if (route.name === 'Home') {
            iconName = focused ? 'home' : 'home-outline';
          } else if (route.name === 'Settings') {
            iconName = focused ? 'settings' : 'settings-outline';
          }
          // You can return any component here!
          return <Ionicons name={iconName} size={size} color={color} />;
        },
        tabBarActiveTintColor: 'tomato',
        tabBarInactiveTintColor: 'gray',
      })}
    >
      <Tab.Screen name="Home" component={HomeScreen} />
      <Tab.Screen name="Settings" component={SettingsScreen} />
    </Tab.Navigator>
  );
}
3. The Drawer Navigator: The Classic Hamburger Menu
The drawer slides in from the side, usually containing links to various sections of the app. It's a great way to taway less-common actions and keep your main interface clean.
Real-World Use Case: An app's main menu with many options.
Your Profile, Messages, Groups, Events, Pages, etc. (Facebook).
Let's Code a Drawer:
javascript
import { createDrawerNavigator } from '@react-navigation/drawer';

const Drawer = createDrawerNavigator();

function MyDrawer() {
  return (
    <Drawer.Navigator>
      <Drawer.Screen name="Home" component={HomeScreen} />
      <Drawer.Screen name="Profile" component={ProfileScreen} />
      <Drawer.Screen name="Settings" component={SettingsScreen} />
    </Drawer.Navigator>
  );
}
Leveling Up: Nesting Navigators (The Real Power)
This is where the magic happens. You don't choose one navigator; you combine them.
A typical app structure might look like this:
A Root Stack Navigator for authentication (Login Screen -> Signup Screen).
Inside the main app, a Tab Navigator for the main sections.
Inside each tab, a Stack Navigator for that section's flow.
Example: Instagram's Structure
javascript
function App() {
  return (
    <NavigationContainer>
      <RootStack.Navigator>
        <RootStack.Screen name="Login" component={LoginScreen} />
        <RootStack.Screen name="MainApp" component={MainApp} options={{ headerShown: false }} />
      </RootStack.Navigator>
    </NavigationContainer>
  );
}

function MainApp() {
  return (
    <Tab.Navigator>
      <Tab.Screen name="HomeTab" component={HomeStack} />
      <Tab.Screen name="SearchTab" component={SearchScreen} />
      <Tab.Screen name="ReelsTab" component={ReelsScreen} />
      <Tab.Screen name="ProfileTab" component={ProfileStack} />
    </Tab.Navigator>
  );
}

// A Stack Navigator just for the Home Tab
function HomeStack() {
  return (
    <Stack.Navigator>
      <Stack.Screen name="Feed" component={FeedScreen} />
      <Stack.Screen name="PostDetails" component={PostDetailsScreen} />
      <Stack.Screen name="UserProfile" component={UserProfileScreen} />
    </Stack.Navigator>
  );
}
Best Practices to Keep You Sane
Keep Navigation Logic Separate: Don't clutter your screen components with complex navigation logic. Use a well-defined file structure for your navigators.
Use TypeScript: The
@react-navigation/nativepackage has fantastic TypeScript support. It will catch typos in your screen names and ensure you're passing the correct parameters. It's a game-changer.Handle Authentication Flow: Use a root stack navigator to switch between your login screen and the main app. This is cleaner than trying to conditionally render tabs or drawers.
Pass Parameters Properly: Use the second argument of
navigateto pass data:navigation.navigate('Profile', { userId: '123' }). Access it in the target screen withroute.params.userId.Optimize Performance: For heavy screens, look into
React.memoor usingReact Navigation's built-in optimizations to prevent unnecessary re-renders.
Mastering these concepts is what separates hobbyists from professionals. To learn professional software development courses such as Python Programming, Full Stack Development, and MERN Stack, visit and enroll today at codercrafter.in. Our structured courses are designed to take you from fundamentals to job-ready, building real-world projects like the ones we've discussed.
FAQs: Stuff You're Probably Wondering
Q1: How do I pass data between screens?
A: Use parameters! navigation.navigate('Details', { itemId: 86, title: 'My Awesome Item' }). In your DetailsScreen, read it with route.params.itemId.
Q2: How do I customize the header?
A: Use the options prop on Stack.Screen. You can set the title, add buttons, or even replace the entire header with a custom component. options={{ title: 'My Home', headerRight: () => (<Button ... />) }}
Q3: How do I handle the hardware back button on Android?
A: React Navigation handles it by default in stack navigators. For more complex scenarios (e.g., showing a confirmation dialog), you can use the BackHandler API from React Native.
Q4: My tab bar icon isn't showing up!
A: Double-check your screenOptions for the tab navigator. Make sure the tabBarIcon function is defined and returning a valid component. Also, ensure your icon library is properly linked.
Q5: When should I use a native navigation library like Wix's?
A: If your app requires highly specific, 100% true-to-OS animations and behavior, or is extremely performance-critical, it's worth considering. For 95% of apps, React Navigation is more than sufficient and much easier to work with.
Conclusion: Your Map to Success
And there you have it! Navigation in React Native isn't some dark art. It's a powerful, logical system built from a few core concepts: Stack, Tabs, and Drawers.
Start simple. Build a stack. Then add some tabs. Then try nesting them. Before you know it, you'll be architecting the smooth, intuitive user flows that define modern mobile apps.
Remember, the goal is to make the app feel natural to the user. They shouldn't have to think about navigation—it should just work. And now, you have the tools to make that happen.
Feeling inspired to build that app? The journey from learning the basics to becoming a professional developer is an exciting one. If you're looking for a structured path with expert mentorship, check out the comprehensive courses at codercrafter.in. We're here to help you craft your future in code.


