Master REST APIs in React Native: A 2025 Guide for Developers
Learn how to connect REST APIs in React Native like a pro. Step-by-step tutorial using Fetch and Axios, handling states, errors, and best practices. Level up your skills at CoderCrafter.in!
Let's be real. You've got a killer idea for a React Native app. The UI looks fire, the navigation is smooth... but without real, live data from the internet, it's just a pretty shell. That's where REST APIs come in. They're the bridge that turns your static app into a dynamic, living, breathing thing that can show weather, user profiles, social media feeds, you name it.
But if you've ever tried to connect an API and got lost in a maze of fetch, .then, .catch, and weird error messages, you know the struggle is real.
Well, struggle no more. This guide is your no-fluff, step-by-step playbook for connecting REST APIs in React Native like a senior dev. We'll break it down from "what even is an API?" to handling complex real-world scenarios. Let's dive in.
First Things First: What's a REST API? (In Human Terms)
Think of a REST API as a waiter in a restaurant.
You (the React Native app) are the customer.
The kitchen (the server) has all the food (the data) you want.
You don't barge into the kitchen and start rummaging through the fridge. That's chaotic and unsafe.
Instead, you talk to the waiter (the REST API). You give them a clear order (a "request") like "I'd like a pepperoni pizza" (or "get me user #123's profile").
The waiter takes your order to the kitchen, the kitchen prepares it, and the waiter brings back your pizza (the "response").
In tech terms, a REST API is a set of rules that allows your app to communicate with a server using standard HTTP methods:
GET: "Hey, can I have this data?" (e.g., fetch a list of posts)
POST: "Hey, here's some new data for you to create." (e.g., create a new user account)
PUT/PATCH: "Hey, can you update this existing data?" (e.g., update a user's bio)
DELETE: "Hey, please delete this data." (e.g., delete a comment)
Your React Native app sends these requests to a specific URL (an "endpoint"), and the API sends back a response, usually in JSON format, which is just a structured way of representing data.
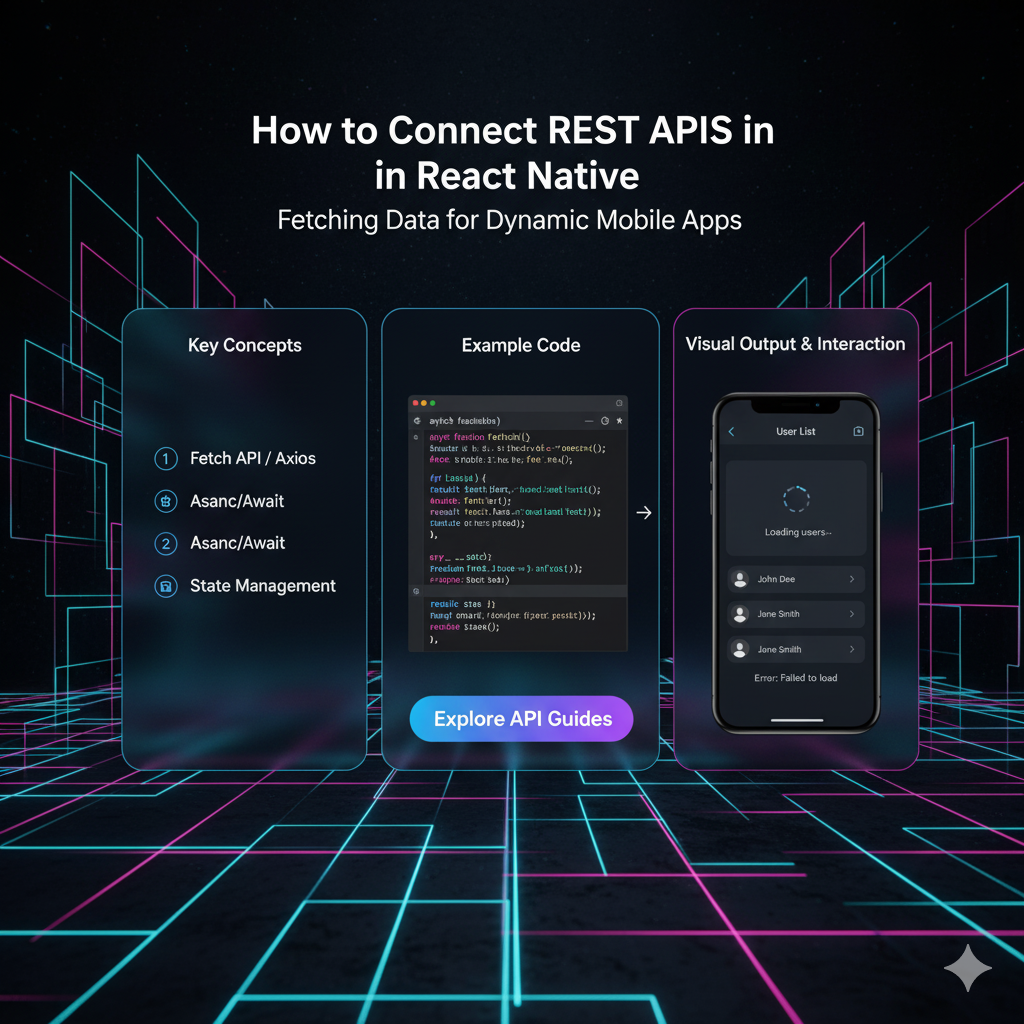
Setting the Stage: Your First API Call with fetch
React Native comes with a built-in fetch function. It's your go-to tool for making network requests. Let's build a simple app that fetches and displays a list of fake posts from JSONPlaceholder, a fantastic testing API.
Step 1: The Basic Fetch Request
We'll use the GET method to grab some data.
javascript
import React, { useEffect, useState } from 'react';
import { View, Text, FlatList, ActivityIndicator, StyleSheet } from 'react-native';

const ApiDemoApp = () => {
  // State to hold our posts
  const [data, setData] = useState([]);
  // State to handle loading animation
  const [isLoading, setIsLoading] = useState(true);
  // State to handle errors
  const [error, setError] = useState(null);

  useEffect(() => {
    // This function runs when the component mounts
    const fetchPosts = async () => {
      try {
        const response = await fetch('https://jsonplaceholder.typicode.com/posts');

        // Check if the response is okay (status code 200-299)
        if (!response.ok) {
          throw new Error(`HTTP error! status: ${response.status}`);
        }

        // Parse the JSON from the response
        const posts = await response.json();

        // Update state with the posts
        setData(posts);
      } catch (err) {
        // If anything goes wrong, catch the error here
        setError(err.message);
        console.error("Fetching failed:", err);
      } finally {
        // This runs regardless of success or failure
        setIsLoading(false);
      }
    };

    fetchPosts();
  }, []); // The empty dependency array means this runs only once on mount.

  // What to show the user
  if (isLoading) {
    return (
      <View style={styles.center}>
        <ActivityIndicator size="large" color="#0000ff" />
        <Text>Loading posts...</Text>
      </View>
    );
  }

  if (error) {
    return (
      <View style={styles.center}>
        <Text>Oops! Something went wrong.</Text>
        <Text>{error}</Text>
      </View>
    );
  }

  return (
    <View style={styles.container}>
      <FlatList
        data={data}
        keyExtractor={(item) => item.id.toString()}
        renderItem={({ item }) => (
          <View style={styles.post}>
            <Text style={styles.title}>{item.title}</Text>
            <Text>{item.body}</Text>
          </View>
        )}
      />
    </View>
  );
};

const styles = StyleSheet.create({
  container: { flex: 1, padding: 20 },
  center: { flex: 1, justifyContent: 'center', alignItems: 'center' },
  post: { marginBottom: 20, padding: 10, backgroundColor: '#f9f9f9' },
  title: { fontWeight: 'bold', fontSize: 16 }
});

export default ApiDemoApp;
Breakdown of what's happening:
State Setup: We use
useStateto manage three things: thedata, theisLoadingstate, and anyerror.useEffectHook: This runs our data-fetching function after the component renders on the screen.async/await: This makes our code look synchronous and avoids the messy "callback hell." Weawaitthefetchcall and thenawaitthe JSON parsing.Error Handling: We check
response.okand use atry/catchblock to gracefully handle network failures or server errors.UI States: We render a loading indicator, an error message, or the actual data based on the state. This is crucial for a good user experience.
Leveling Up: Why You Might Want to Use Axios Instead
fetch is great, but many developers (including myself) prefer Axios. It's a third-party library that does the same thing but with some sweet, sweet perks.
Automatically transforms JSON: No need to do
response.json().Better error handling: It throws errors for non-2xx status codes automatically, so you don't have to manually check
response.ok.Interceptors: Allows you to intercept requests and responses to do things like automatically add auth tokens to every request.
Wide browser support.
How to Use Axios
First, install it:
bash
npm install axios
# or
yarn add axios
Now, let's rewrite our example with Axios:
javascript
import React, { useEffect, useState } from 'react';
import { View, Text, FlatList, ActivityIndicator, StyleSheet } from 'react-native';
import axios from 'axios'; // Import Axios

const ApiDemoAppWithAxios = () => {
  const [data, setData] = useState([]);
  const [isLoading, setIsLoading] = useState(true);
  const [error, setError] = useState(null);

  useEffect(() => {
    const fetchPosts = async () => {
      try {
        // Axios automatically throws an error for non-2xx status codes
        const response = await axios.get('https://jsonplaceholder.typicode.com/posts');

        // The data is directly available in response.data
        setData(response.data);
      } catch (err) {
        setError(err.message);
        console.error("Fetching failed:", err);
      } finally {
        setIsLoading(false);
      }
    };

    fetchPosts();
  }, []);

  // ... (The rest of the component - JSX - remains exactly the same)
};

export default ApiDemoAppWithAxios;
See how much cleaner that is? No manual JSON parsing, and the error handling is more straightforward.
Real-World Use Cases & Going Beyond GET
Your app won't just read data; it will create, update, and delete it too. Let's look at a POST request, which is common for forms, logins, etc.
Example: Creating a New Post
javascript
const createPost = async (postData) => {
  try {
    setIsLoading(true);
    const response = await axios.post('https://jsonplaceholder.typicode.com/posts', postData, {
      headers: {
        'Content-Type': 'application/json',
        // You would often add an authorization header here
        // 'Authorization': 'Bearer YOUR_TOKEN_HERE'
      },
    });

    console.log('New post created:', response.data);
    // Often, you would then update your local state or refetch the list
    // setData(prevData => [response.data, ...prevData]);
    alert('Post created successfully!');
  } catch (err) {
    setError(err.message);
    alert('Failed to create post.');
  } finally {
    setIsLoading(false);
  }
};
Pro Moves: Best Practices You Shouldn't Ignore
Handle Loading and Error States ALWAYS: Never assume the network request will work. Your users will thank you.
Use a Custom Hook: If you're making API calls in multiple components, abstract the logic into a custom hook (e.g.,
useApi). This keeps your components clean and reusable.Consider a State Management Library: For large apps, tools like React Query (now TanStack Query) or Redux can manage server state, caching, and synchronization far more effectively than
useState.Secure Your API Keys: Never hardcode sensitive keys in your app! Use environment variables with something like
react-native-config.Clean Up Your Act: For actions like searching, use debouncing (e.g., with
lodash.debounce) to avoid making an API call on every single keystroke.
FAQs: Your Burning Questions, Answered
Q: I'm getting a network error. What gives?
A: For Android, you might need to add <uses-permission android:name="android.permission.INTERNET" /> to your AndroidManifest.xml. For iOS, ensure you're not on a restricted network. Also, make sure your API URL uses https and not http.
Q: What's the difference between PUT and PATCH?
A: PUT is generally used to replace an entire resource. PATCH is used to apply a partial update to a resource. Think of PUT as sending a whole new user profile, and PATCH as just sending the updated email field.
Q: How do I add authentication to my requests?
A: You typically add an Authorization header. The most common method is a "Bearer Token."
javascript
axios.get(URL, {
  headers: { 'Authorization': 'Bearer ' + userAuthToken }
});
Q: fetch vs Axios, which is better?
A: It's a matter of preference. fetch is built-in and doesn't add to your bundle size. Axios has a slightly more convenient syntax and powerful features like interceptors. For beginners, I'd recommend starting with fetch to understand the basics, then graduating to Axios for larger projects.
Conclusion: You're Now API-Ready!
Boom! You've just leveled up your React Native skills significantly. You now know how to talk to the outside world, fetch dynamic data, handle the different states of your app, and even send data back. This is a core pillar of modern app development.
Remember, the key is practice. Start with a simple API like JSONPlaceholder, then move on to more complex ones that require authentication.
And if you want to truly master this and build production-ready applications, you need a structured learning path.
To learn professional software development courses such as Python Programming, Full Stack Development, and MERN Stack, visit and enroll today at codercrafter.in. Our project-based curriculum is designed to take you from beginner to job-ready, teaching you how to build complex, real-world applications from the ground up.


