Master React Native Styling: A No-BS Guide to StyleSheet for 2025
Tired of messy React Native styles? Our in-depth guide breaks down StyleSheet, inline styles, and best practices to make your app look pro. Level up your skills at codercrafter.in!
Let's be real for a second. When you first start with React Native, styling feels... weird. You're not writing CSS, but it kinda looks like it? You can't use your favorite CSS frameworks, and you start throwing styles everywhere—inline, in variables, pure chaos.
We've all been there. You just want your View to center that Text properly, but it feels like you're wrestling with the universe.
What if I told you there's a better, cleaner, and more performant way? Enter StyleSheet. It's not just a utility; it's the foundational philosophy for organizing your app's look and feel.
In this deep dive, we're going to tear apart StyleSheet, see how it works, why it's better than the alternatives, and how the pros use it to build stunning, maintainable apps. Buckle up.
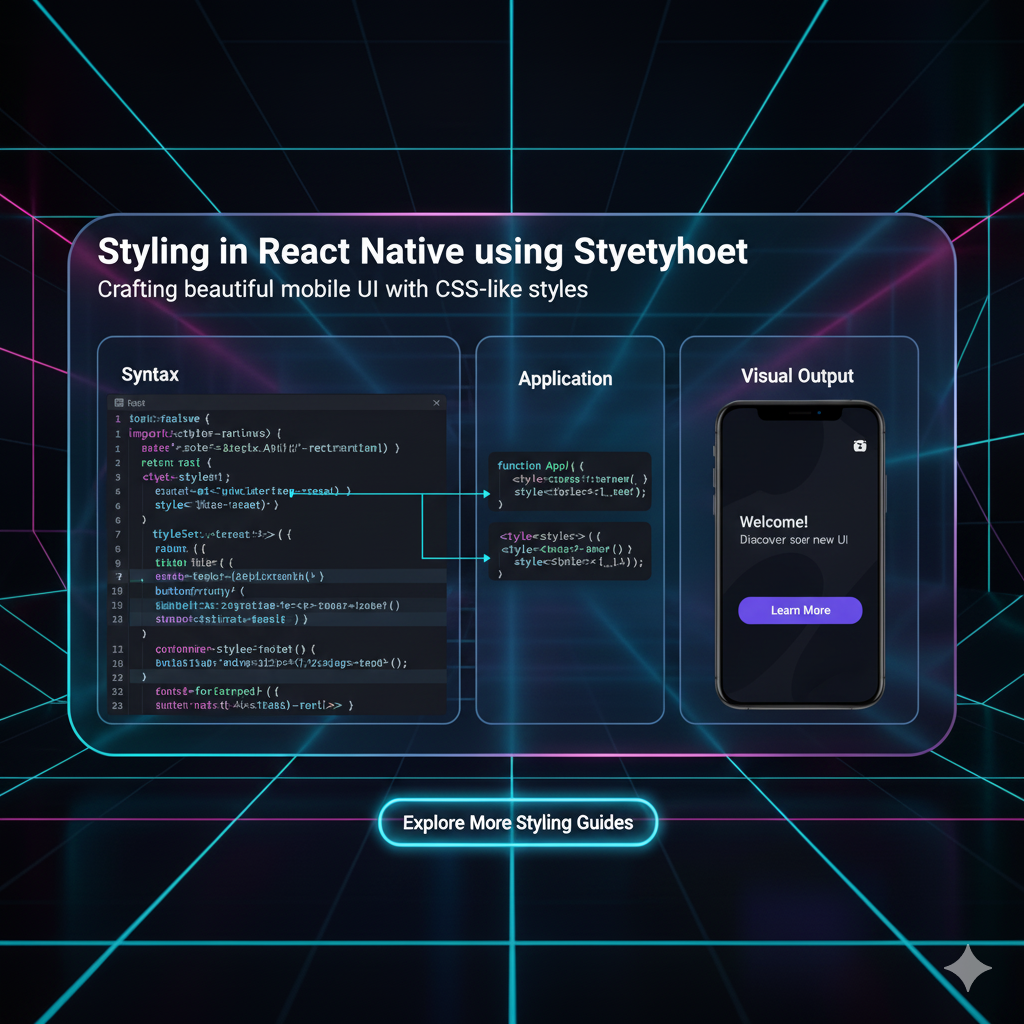
What Exactly is StyleSheet in React Native?
In the simplest terms, StyleSheet is React Native's way of telling you, "Hey, let's manage our styles like grown-ups."
It's an API that lets you create a style abstraction layer—similar to how you would use a separate .css file in web development. Instead of writing styles directly on your components (aka inline styles), you define them in a JavaScript object using StyleSheet.create().
Think of it as a dedicated stylist for your components. You give the stylist a lookbook (your style definitions), and they hand back a reference (a style object) that you can apply to your components.
Here’s the most basic example you'll ever see:
javascript
import { StyleSheet, View, Text } from 'react-native';

const App = () => {
  return (
    <View style={styles.container}>
      <Text style={styles.title}>Hello, Styling!</Text>
    </View>
  );
};

// This is where the magic happens
const styles = StyleSheet.create({
  container: {
    flex: 1,
    justifyContent: 'center',
    alignItems: 'center',
    backgroundColor: '#f0f0f0',
  },
  title: {
    fontSize: 24,
    fontWeight: 'bold',
    color: '#333',
  },
});

export default App;
Why Bother? The StyleSheet vs. Inline Style Showdown
I know what you're thinking. "Bro, I can just do this..." and you write <View style={{ backgroundColor: 'red' }}>. It's quick, it's easy. And for a one-off, tiny style, it's fine. But for anything serious, here's why StyleSheet claps back.
1. Performance & Memory (The Under-the-Hood Hero)
This is the big one. When you use StyleSheet.create(), your styles are serialized and sent to the native side (Objective-C/Swift for iOS, Java/Kotlin for Android) only once. The native code understands these style IDs and applies them efficiently.
Inline styles, on the other hand, are created fresh every time the component renders. This means a new JavaScript object is created on every render, which the bridge has to process repeatedly. It's a small overhead, but it adds up, leading to "janky" frames, especially in long lists or complex animations.
StyleSheet wins on performance, hands down.
2. Code Quality & Maintainability
Imagine coming back to your code in 3 months, or worse, inheriting someone else's component with 20 different inline styles. It's a nightmare.
StyleSheet forces you to organize your styles. They are all in one place, making it easy to:
Find what you need: No more hunting through your JSX.
Change things globally: Need to update your primary color? Change it in one spot.
Read your code: Your JSX stays clean and focused on structure, not styling clutter.
3. Validation & Type Safety
When you use StyleSheet.create(), React Native validates your style properties. If you typo backroundColor instead of backgroundColor, you'll get a helpful warning in your console. With inline styles, this mistake fails silently, leaving you wondering why your background isn't changing. This built-in linting is a lifesaver.
Leveling Up: Real-World Styling Patterns
Okay, so you know the basics. But how do you actually structure styles for a real app? Let's talk patterns.
Pattern 1: The Single Component File
This is what we saw in the first example. Perfect for components that are self-contained. You define your styles object at the bottom of the same file.
Pattern 2: Conditional & Dynamic Styling
Apps aren't static. You need styles that change based on state (like a pressed button) or props (like a premium user badge).
You don't need to abandon StyleSheet for this. You compose styles.
javascript
import { StyleSheet, View, Text, TouchableOpacity } from 'react-native';

const MyButton = ({ isPrimary }) => {
  // Conditionally choose which style object to apply
  const buttonStyle = isPrimary ? styles.primaryButton : styles.secondaryButton;
  const textStyle = isPrimary ? styles.primaryText : styles.secondaryText;

  return (
    <TouchableOpacity style={[styles.button, buttonStyle]}>
      <Text style={textStyle}>Press Me</Text>
    </TouchableOpacity>
  );
};

const styles = StyleSheet.create({
  button: {
    padding: 15,
    borderRadius: 8,
    alignItems: 'center',
  },
  primaryButton: {
    backgroundColor: '#007AFF', // iOS Blue
  },
  secondaryButton: {
    backgroundColor: '#E5E5EA', // Light Grey
  },
  primaryText: {
    color: 'white',
    fontWeight: '600',
  },
  secondaryText: {
    color: 'black',
    fontWeight: '600',
  },
});
See what we did there? We used an array of styles in the style prop. The styles on the right override the styles on the left. This is incredibly powerful for building reusable components.
Pattern 3: Theming and Global Styles
For brand colors, standard spacing, and fonts, you need a single source of truth.
1. Create a Central Styles File (theme.js):
javascript
// theme.js
export const theme = {
  colors: {
    primary: '#007AFF',
    secondary: '#FF3B30',
    background: '#F2F2F7',
    text: '#1C1C1E',
  },
  spacing: {
    s: 8,
    m: 16,
    l: 24,
    xl: 40,
  },
  textVariants: {
    header: {
      fontSize: 34,
      fontWeight: 'bold',
    },
    body: {
      fontSize: 17,
      lineHeight: 22,
    }
  }
};
2. Use it in Your Components:
javascript
// MyComponent.js
import { View, Text, StyleSheet } from 'react-native';
import { theme } from './theme';

const MyComponent = () => (
  <View style={styles.container}>
    <Text style={styles.header}>Welcome</Text>
    <Text style={styles.body}>This is theming done right.</Text>
  </View>
);

const styles = StyleSheet.create({
  container: {
    flex: 1,
    backgroundColor: theme.colors.background,
    padding: theme.spacing.m,
  },
  header: {
    ...theme.textVariants.header,
    color: theme.colors.text,
    marginBottom: theme.spacing.s,
  },
  body: {
    ...theme.textVariants.body,
    color: theme.colors.text,
  },
});
This pattern makes your app look consistent and is a game-changer for maintenance.
Best Practices to Make You Look Like a Pro
Name Your Styles Semantically: Use names like
container,headerImage,errorText,submitButton. Avoidstyle1,style2.Use
flexfor Layouts: Master Flexbox. It's the primary layout engine in React Native.flex: 1is your best friend for taking up all available space.Platform-Specific Styles: Need to style something differently on iOS and Android?
StyleSheethas you covered with thePlatformAPI.javascript
const styles = StyleSheet.create({
  container: {
    padding: 10,
    ...Platform.select({
      ios: {
        shadowColor: '#000',
        shadowOffset: { width: 0, height: 2 },
        shadowOpacity: 0.2,
      },
      android: {
        elevation: 3,
      },
    }),
  },
});
Reuse and Compose: Don't repeat yourself. If you find yourself writing the same
padding: 10, borderRadius: 5combo, create a base style and compose onto it.
Mastering these concepts is what separates hobbyists from professional developers. If you're serious about building a career in this, you need a structured learning path. To learn professional software development courses such as Python Programming, Full Stack Development, and the mighty MERN Stack, visit and enroll today at codercrafter.in. We break down these complex topics into digestible, project-based modules.
FAQs: Stuff You're Probably Wondering
Q: Can I use CSS classes or CSS files?
A: Nope. React Native doesn't use a CSS parser. Your styles are defined in JavaScript objects. However, libraries like styled-components can give you a CSS-like syntax.
Q: What about StyleSheet.flatten?
A: It's a utility to convert an array of styles (like [style1, style2]) into a single, flat style object. It's useful when you need to inspect the final, computed style.
Q: Is there z-index?
A: Yes! It works pretty much like CSS z-index for controlling the stacking order of components.
Q: How do I handle dark mode?
A: The modern approach is to use a context or a state management library (like Redux or Zustand) to hold a theme variable (e.g., 'light' or 'dark'). You then conditionally select style objects based on this variable, exactly like in the dynamic styling example above.
Conclusion: Style Smart, Don't Hard
Styling in React Native isn't about fighting the platform; it's about embracing its patterns. StyleSheet isn't just an option—it's the recommended, performant, and scalable way to style your applications.
Start with simple StyleSheet.create(), then move on to dynamic styling with arrays, and finally graduate to a full theme-based system. Your future self (and your teammates) will thank you for the clean, maintainable, and buttery-smooth UI you build.
Remember, great apps are built on a foundation of great code. If you're ready to solidify that foundation and build a portfolio of real-world projects, check out the comprehensive, industry-aligned courses at codercrafter.in. Let's build something amazing together.


