Master React Native Push Notifications with FCM
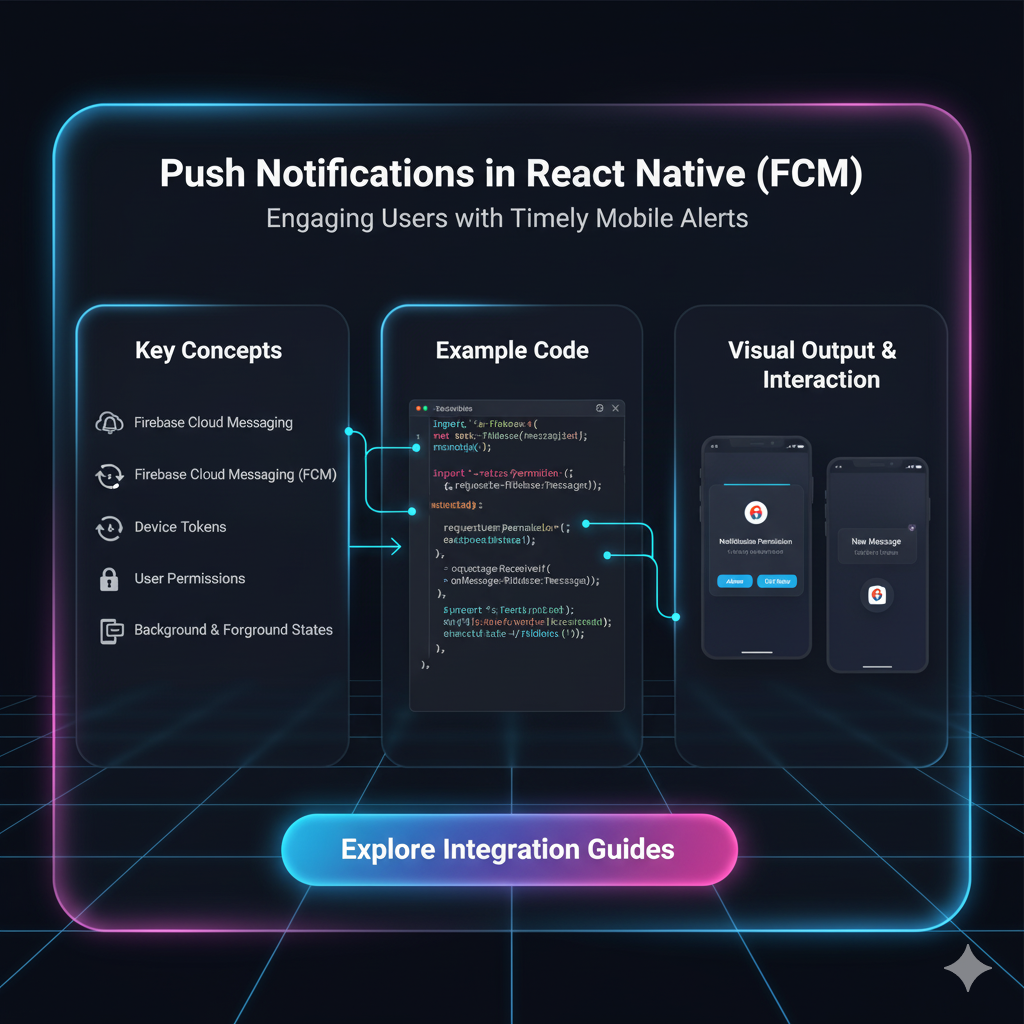
A complete, step-by-step guide to implementing Firebase Cloud Messaging (FCM) for push notifications in your React Native apps. Covers setup, handling, best practices, and FAQs. Level up your skills with CoderCrafter's courses!
Let's be real for a second. In the hyper-competitive world of mobile apps, keeping users engaged is the name of the game. You can build the most beautiful, feature-packed app ever, but if users install it, use it once, and forget about it, what's the point?
Enter the unsung hero of user retention: Push Notifications.
Think about it. A timely ping about a flash sale, a reminder for an unfinished task, or a personalized message can be the difference between an app that thrives and one that gets buried in a folder named "Useless." For React Native developers, the go-to solution for this is Firebase Cloud Messaging (FCM).
In this deep dive, we're not just skimming the surface. We're going to get our hands dirty with what FCM is, how to set it up from scratch, how to handle those notifications like a pro, and the best practices to avoid being that annoying app. Buckle up!
What Exactly is FCM? (And Why Should You Care?)
In simple terms, Firebase Cloud Messaging (FCM) is a free, cross-platform messaging solution that lets you reliably deliver messages and notifications at no cost.
For you, the React Native developer, it’s the bridge between your server and your users' devices. You can send notifications from your own server, or even without one using the Firebase console, to specific users, segments of your audience, or everyone at once.
Why FCM over other services?
It's Free: No hidden costs, which is a massive win for startups and indie devs.
Reliability: It's built on Google's infrastructure, so you know it's robust.
Ease of Use: The setup, while having a few steps, is well-documented and integrates seamlessly with the wider Firebase ecosystem.
Setting Up FCM in Your React Native Project: A Step-by-Step Walkthrough
Alright, let's move from theory to practice. Here’s how you can integrate FCM into your React Native app. We'll assume you're using a bare React Native project (if you're using Expo, you'd need to use EAS Build or prebuild to get access to native modules).
Step 1: Firebase Project Setup
Head over to the Firebase Console.
Click "Add project" and follow the prompts. Give it a name related to your app.
Once created, navigate to Project Settings (the gear icon).
In the "Your apps" section, click the Android icon to add your Android app.
You'll need your Android package name (found in
android/app/src/main/AndroidManifest.xml). Follow the rest of the steps, download thegoogle-services.jsonfile, and place it in yourandroid/app/directory.
Step 2: Installing the Necessary Packages
The most popular and maintained library for this is @react-native-firebase/messaging.
bash
# Install the app module (if not already installed)
npm install @react-native-firebase/app

# Install the messaging module
npm install @react-native-firebase/messaging

# For iOS, navigate to the ios/ directory and run
cd ios && pod install
Step 3: Android Configuration
You've already placed the google-services.json file. Now, make sure your build scripts are updated in android/build.gradle:
gradle
dependencies {
  // ... other dependencies
  classpath 'com.google.gms:google-services:4.3.10' // Use the latest version
}
And in android/app/build.gradle, apply the plugin at the very bottom:
gradle
apply plugin: 'com.google.gms.google-services'Step 4: iOS Configuration (A Bit Trickier)
iOS requires a few more steps because, well, it's iOS.
In the Firebase Console, add an iOS app to your project. You'll need your iOS bundle ID.
Download the
GoogleService-Info.plistfile and add it to your iOS project in Xcode.Ensure you have the necessary capabilities enabled in your Xcode project: Push Notifications and Background Modes (with Remote notifications checked).
You'll need to generate an APNs Auth Key from your Apple Developer Account and upload it to your Firebase project settings under the "Cloud Messaging" tab. This is crucial for FCM to communicate with Apple's servers.
Let's Write Some Code! Handling Notifications
Now for the fun part. How do you actually receive and handle these notifications in your JavaScript code?
1. Requesting User Permission
You can't just start sending notifications. You have to ask the user nicely first.
javascript
import messaging from '@react-native-firebase/messaging';

async function requestUserPermission() {
  const authorizationStatus = await messaging().requestPermission();

  if (authorizationStatus) {
    console.log('Permission status:', authorizationStatus);
  }
}
On iOS, this will trigger the native permission dialog. Android typically doesn't require this for most versions, but it's good practice to handle it for both.
2. Getting the FCM Token
This token is unique for each app instance. It's the address to which FCM will send notifications. You need to send this token to your backend server and store it.
javascript
import messaging from '@react-native-firebase/messaging';

const getFCMToken = async () => {
  try {
    const token = await messaging().getToken();
    console.log('FCM Token:', token);
    // Send this token to your backend API and store it in your database
    // await storeTokenInBackend(token);
    return token;
  } catch (error) {
    console.error('Failed to get FCM token', error);
    return null;
  }
};
3. Handling Notifications in Different States
This is a critical concept. A notification can be received in three main states:
Foreground: When the app is open and on the screen.
Background: When the app is open but in the background (minimized).
Quit/Killed: When the app is completely closed.
Here's how to handle them:
javascript
import messaging from '@react-native-firebase/messaging';
import { Alert } from 'react-native';

// 1. Handle FOREGROUND notifications
messaging().onMessage(async remoteMessage => {
  Alert.alert('A new FCM message arrived!', JSON.stringify(remoteMessage));
  // You can show an in-app alert, update UI, etc.
});

// 2. Handle BACKGROUND & QUIT/KILLED notifications
// Set a handler that will be called when a notification is tapped.
messaging().setBackgroundMessageHandler(async remoteMessage => {
  console.log('Message handled in the background!', remoteMessage);
  // You can perform background tasks here, but no UI updates.
});

// Also, to handle the notification when the app is opened from a quit state:
messaging()
  .getInitialNotification()
  .then(remoteMessage => {
    if (remoteMessage) {
      console.log('Notification caused app to open from quit state:', remoteMessage);
      // Example: navigate to a specific screen
      // navigation.navigate('OrderScreen', { orderId: remoteMessage.data.orderId });
    }
  });
Real-World Use Cases: Beyond "Hello World"
So, why would you actually use this? Let's think practically:
E-commerce: "Your order #1234 has been shipped!" or "Flash sale! 50% off for the next 2 hours."
Food Delivery: "Your food is on the way with Rahul." or "Enjoy your meal! Would you like to rate us?"
Social Media: "John Doe liked your photo." or "You have 3 new connection requests."
Productivity (Todo App): "Don't forget your 'Team Meeting' at 3 PM."
The key is to provide value, not just noise.
Best Practices: Don't Be That App
Personalize: Use user data to send relevant messages. "Hi [Name], we miss you!" is better than a generic broadcast.
Time it Right: Don't send notifications at 3 AM unless it's critically important.
Provide Value: Every notification should have a clear purpose and benefit for the user.
Segment Your Audience: Don't send a menswear promo to your entire user base if half are women. Use the FCM token groups or topics for this.
Make it Actionable: Include deep links that take the user directly to the relevant screen inside your app when they tap the notification.
Allow Easy Opt-Out: Respect user choice. If they turn off notifications, don't pester them to turn them back on constantly.
Mastering these concepts is what separates a good developer from a great one. If you're looking to solidify your understanding of full-stack principles and build real-world, scalable applications, our professional software development courses are the perfect next step. To learn professional software development courses such as Python Programming, Full Stack Development, and MERN Stack, visit and enroll today at codercrafter.in. We cover backend development, API integration, and state management—all the skills you need to power features like push notifications.
FAQs: Quick-Fire Round
Q: My notifications work on Android but not on iOS. What gives?
A: 99% of the time, it's an iOS configuration issue. Double-check your APNs Auth Key, bundle ID, and capabilities in Xcode. The iOS simulator also doesn't support push notifications, so always test on a real device.
Q: How can I send a notification from my own backend?
A: You can use the Firebase Admin SDK (for Node.js, Python, Java, etc.) to send messages. You'll need your Firebase project's service account key, and you'll send a payload to the FCM token(s).
Q: What's the difference between onMessage and setBackgroundMessageHandler?
A: onMessage is for when the app is in the foreground. setBackgroundMessageHandler is for when the app is in the background or quit state. The latter runs in a separate headless JS context.
Q: Can I send silent data messages?
A: Absolutely! You can send a notification without a notification payload, just a data payload. Your app can then process this data in the background (e.g., to silently update its state) without showing a visible notification to the user.
Conclusion
And there you have it! Push notifications with FCM in React Native are no longer a mystery. From setting up your Firebase project to handling notifications in all possible app states, you now have the blueprint to build more engaging and "sticky" applications.
Remember, with great power comes great responsibility. Use notifications to deliver value and enhance the user experience, not to spam. Now go forth and build something amazing!
Feeling inspired but want to master the backend that powers all of this? Dive deeper into the world of full-stack development with CoderCrafter. Our project-based curriculum is designed to take you from beginner to job-ready. Check out our courses on MERN Stack and more at codercrafter.in. Let's build the future, together
