Master React Native Permissions: A No-BS Guide to Camera & Location Access
Struggling with permissions in React Native? Our in-depth guide breaks down handling Camera and Location access on iOS & Android, with code examples, best practices, and pro tips.
Let's be real for a second. You've got a killer app idea. Maybe it's the next big social platform where everyone shares location-based videos, or a fitness app that tracks your runs. You fire up your code editor, get the basic UI looking slick, and then... you hit the wall. Permissions.
Suddenly, your sleek app is crashing on iOS, throwing cryptic errors on Android, and users are getting spooked by permission pop-ups at the worst possible times. Sound familiar? You're not alone.
Handling permissions in React Native is one of those gritty, not-so-glamorous tasks that separate a hobby project from a professional, user-ready application. But don't sweat it. This guide is your ultimate walkthrough for mastering permissions, specifically for Camera and Location – two of the most common and sensitive permissions out there.
We'll break it down, step-by-step, with code you can actually use. Let's dive in.
Why Bother? The "Why" Behind the Ask
Before we get to the "how," let's quickly talk about the "why." Users today are more privacy-conscious than ever. If your app randomly asks for their location the second they open it, they're likely to hit "Deny" and never look back.
The goal is to be respectful and strategic. You need to ask for permission at the right time, explain why you need it, and handle rejection gracefully. Nail this, and you build trust. Mess it up, and you'll see your uninstall rates skyrocket.
Gearing Up: The Modern Permission Library
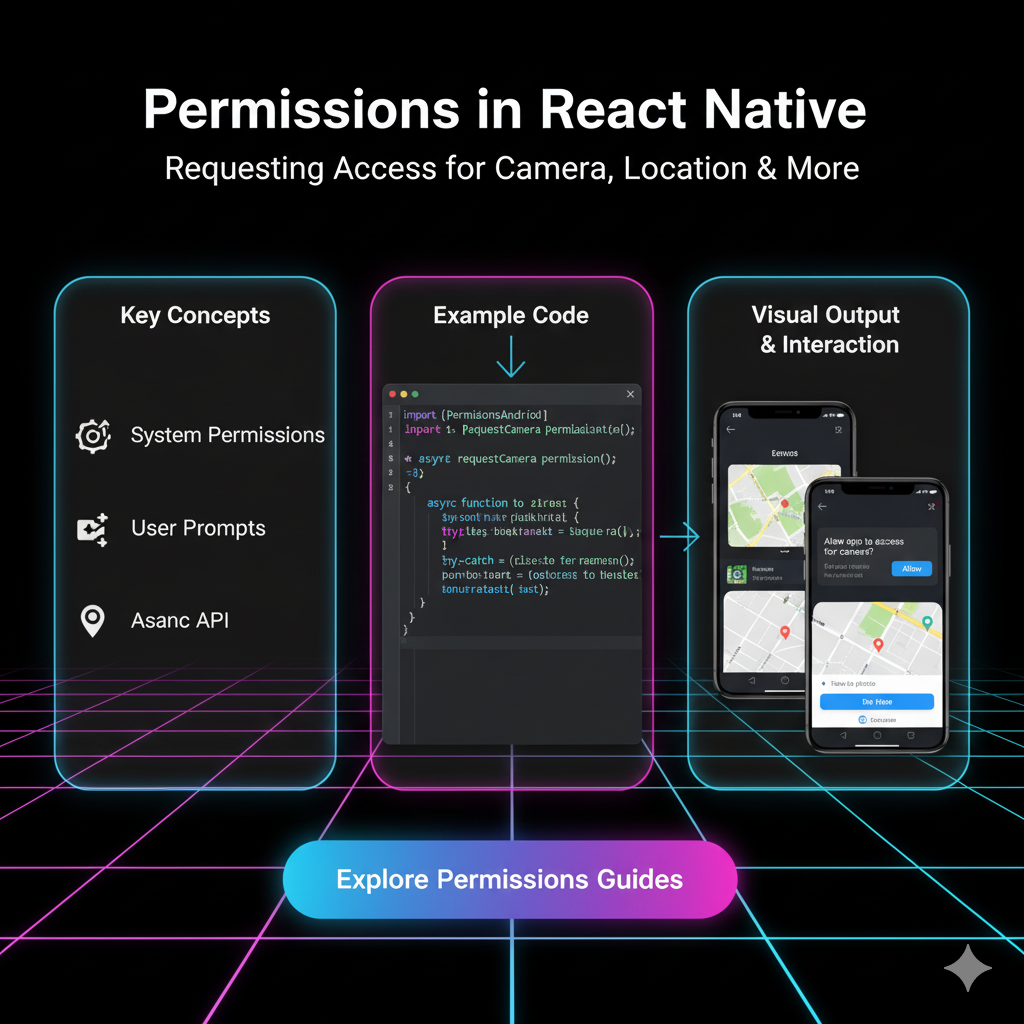
Gone are the days of wrestling with native code for every single permission. The community has blessed us with react-native-permissions, a fantastic library that provides a unified API for both iOS and Android.
Step 1: Install it.
bash
npm install react-native-permissions
# or
yarn add react-native-permissions
Step 2: Platform-Specific Setup (Don't Skip This!)
This is the most crucial part. The library needs you to configure your native projects.
For iOS: You need to add usage descriptions to your ios/YourProjectName/Info.plist file. These are the messages that show up in the permission dialog.
xml
<dict>
  <!-- For Camera -->
  <key>NSCameraUsageDescription</key>
  <string>We need access to your camera to take awesome profile pictures and scan QR codes.</string>

  <!-- For Location (When in Use) -->
  <key>NSLocationWhenInUseUsageDescription</key>
  <string>This app uses your location to show nearby spots and track your workouts.</string>

  <!-- For Location (Always - if needed) -->
  <key>NSLocationAlwaysAndWhenInUseUsageDescription</key>
  <string>This app needs your location even in the background to provide live tracking for your runs.</string>

  <!-- You'll also need this for iOS 10+ -->
  <key>NSLocationAlwaysUsageDescription</key>
  <string>This app needs your location even in the background to provide live tracking for your runs.</string>
</dict>
For Android: Permissions are declared in android/app/src/main/AndroidManifest.xml.
xml
<manifest>
  <!-- Camera Permission -->
  <uses-permission android:name="android.permission.CAMERA" />

  <!-- Location Permissions -->
  <uses-permission android:name="android.permission.ACCESS_FINE_LOCATION" />
  <uses-permission android:name="android.permission.ACCESS_COARSE_LOCATION" />

  <!-- If you need background location (Android 10+) -->
  <uses-permission android:name="android.permission.ACCESS_BACKGROUND_LOCATION" />
</manifest>
Heads up: Google Play has strict policies about background location. You'll need to justify its use during the app review process.
The Permission Flow in Action: A Code Walkthrough
Alright, theory is over. Let's look at how you actually use this in your components. The process generally follows these steps:
Check the current permission status.
If denied, request permission from the user.
Handle the result gracefully.
Example 1: Requesting Camera Permission
Let's say we have a screen with a "Take Picture" button. We shouldn't even show the camera preview until we have permission.
javascript
import React, { useState } from 'react';
import { View, Button, Alert, Text } from 'react-native';
import { check, request, PERMISSIONS, RESULTS } from 'react-native-permissions';
import { Platform } from 'react-native';

// Helper to get the correct permission type based on platform
const CAMERA_PERMISSION = Platform.select({
  ios: PERMISSIONS.IOS.CAMERA,
  android: PERMISSIONS.ANDROID.CAMERA,
});

const CameraScreen = () => {
  const [hasCameraPermission, setHasCameraPermission] = useState(null);

  const checkCameraPermission = async () => {
    try {
      const result = await check(CAMERA_PERMISSION);
      console.log('Permission check result:', result);
      switch (result) {
        case RESULTS.UNAVAILABLE:
          Alert.alert('Sorry', 'Camera is not available on this device.');
          break;
        case RESULTS.DENIED:
          // We haven't asked yet, so let's ask now.
          requestCameraPermission();
          break;
        case RESULTS.GRANTED:
          setHasCameraPermission(true);
          break;
        case RESULTS.BLOCKED:
          Alert.alert(
            'Permission Blocked',
            'You have denied camera access. Please enable it in your app settings to use this feature.'
          );
          break;
      }
    } catch (error) {
      console.warn('Error checking permission:', error);
    }
  };

  const requestCameraPermission = async () => {
    try {
      const result = await request(CAMERA_PERMISSION);
      if (result === RESULTS.GRANTED) {
        setHasCameraPermission(true);
      } else {
        // User denied the request
        Alert.alert('Permission Denied', 'We cannot open the camera without permission.');
      }
    } catch (error) {
      console.warn('Error requesting permission:', error);
    }
  };

  // When component mounts, check the permission status
  React.useEffect(() => {
    checkCameraPermission();
  }, []);

  if (hasCameraPermission === null) {
    return <Text>Checking for camera...</Text>;
  }

  return (
    <View style={{ flex: 1, justifyContent: 'center', alignItems: 'center' }}>
      {hasCameraPermission ? (
        <Text>Your Camera Preview Would Go Here!</Text>
        // Now you can safely render your <Camera> component
      ) : (
        <Button title="Grant Camera Access" onPress={checkCameraPermission} />
      )}
    </View>
  );
};

export default CameraScreen;
Example 2: Requesting Location Permission
Location is a bit trickier because you often have two tiers: "When in Use" and "Always." For most apps, "When in Use" is perfectly sufficient.
javascript
import React from 'react';
import { View, Button, Alert } from 'react-native';
import { check, request, PERMISSIONS, RESULTS } from 'react-native-permissions';
import { Platform } from 'react-native';

const LOCATION_PERMISSION = Platform.select({
  ios: PERMISSIONS.IOS.LOCATION_WHEN_IN_USE,
  android: PERMISSIONS.ANDROID.ACCESS_FINE_LOCATION,
});

const LocationScreen = () => {

  const getCurrentLocation = async () => {
    // First, check the status
    const status = await check(LOCATION_PERMISSION);

    if (status === RESULTS.GRANTED) {
      // You have permission, now get the location!
      // (e.g., using react-native-geolocation-service or @react-native-community/geolocation)
      Alert.alert('Success', 'Ready to get your location!');
    } else if (status === RESULTS.DENIED) {
      // Request permission
      const requestResult = await request(LOCATION_PERMISSION);
      if (requestResult === RESULTS.GRANTED) {
        getCurrentLocation(); // Try again now that we have permission
      }
    } else if (status === RESULTS.BLOCKED) {
      // Guide the user to settings
      Alert.alert(
        'Location Permission Required',
        'This feature needs location access. Please enable it in your device settings.',
        [
          { text: 'Cancel', style: 'cancel' },
          { text: 'Open Settings', onPress: () => Linking.openSettings() }, // You'll need to import Linking from 'react-native'
        ]
      );
    }
  };

  return (
    <View style={{ flex: 1, justifyContent: 'center', alignItems: 'center' }}>
      <Button title="Get My Location" onPress={getCurrentLocation} />
    </View>
  );
};

export default LocationScreen;
Best Practices: Don't Be "That" App
Ask at the Right Time: Don't ask on app launch. Ask in context. For example, ask for camera permission when the user taps the "Take Photo" button. This gives them a clear reason why you need it.
Explain Before You Ask: Sometimes, it's better to show your own custom dialog before the system pop-up, explaining the value. "Allow access to your location to find nearby coffee shops?" is much better than a cold system alert.
Handle "Blocked" Gracefully: If a user taps "Don't Allow" twice, the permission is blocked. You can't request it again. Your only option is to guide them to the device's Settings app to enable it manually. Use
Linking.openSettings()for this.Request Only What You Need: If your app just needs approximate location, don't ask for
ACCESS_FINE_LOCATIONon Android. Be minimal.Test, Test, Test: Permissions behave differently on iOS Simulator vs. real devices, and different Android versions. Test on real devices as much as possible.
Building robust features like this requires a deep understanding of the React Native ecosystem. If you're looking to master these professional-grade development skills, Codercrafter has got you covered. To learn professional software development courses such as Python Programming, Full Stack Development, and the MERN Stack, visit and enroll today at codercrafter.in.
FAQs: Quick Fire Round
Q: My app is crashing on iOS immediately when I check permissions. Why?
A: You almost certainly forgot to add the usage description keys (NSCameraUsageDescription, etc.) to your Info.plist file. Double-check that!
Q: What's the difference between check and request?
A: check just tells you the current status without bothering the user. request actually shows the system dialog. You should always check first.
Q: How do I handle Android's "Never Ask Again"?
A: On Android, when a user denies a permission and checks "Never ask again," the next request will immediately return RESULTS.BLOCKED. Handle it the same way as on iOS – guide them to settings.
Q: Can I ask for "Always" location permission directly?
A: On iOS, no. You must first request and be granted LOCATION_WHEN_IN_USE before you can request LOCATION_ALWAYS.
Conclusion
Permissions don't have to be the boogeyman of your React Native development journey. With the react-native-permissions library and a thoughtful, user-centric approach, you can integrate powerful device features like Camera and Location seamlessly.
Remember, it's all about communication and respect. By asking clearly, handling rejections politely, and only requesting what you need, you build user trust and create a much more polished final product.
Now go forth and build those permission-handling, user-delighting apps! And if you want to fast-track your journey from beginner to a hireable, professional developer, remember that codercrafter.in offers in-depth, project-based courses designed to make you industry-ready.


