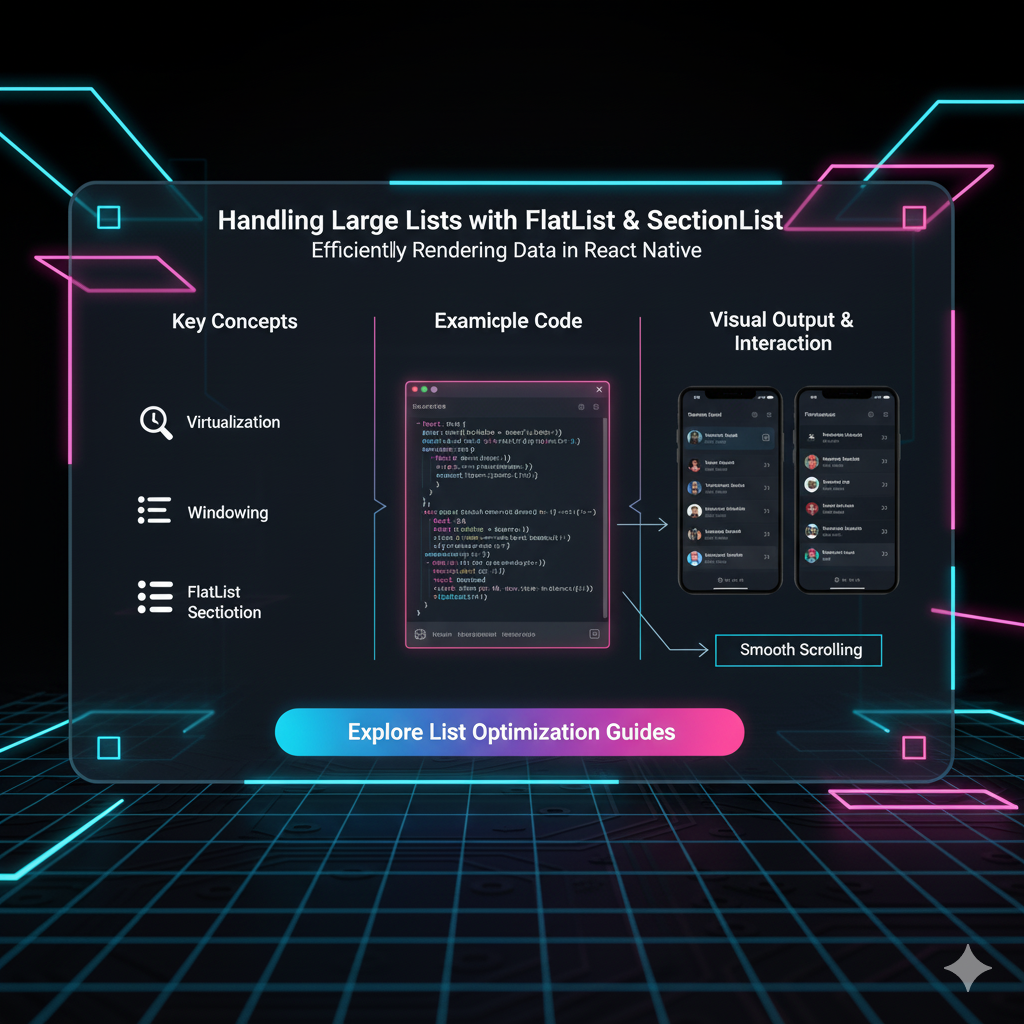
Stop crashing your React Native app! Learn how to handle large lists efficiently using FlatList and SectionList with code examples, best practices, and pro tips. Level up your skills at codercrafter.in!
Let's be real. You're building a killer React Native app. You've got the idea, the design is fire, and you're ready to code. You map through an array of data to render a list, and... everything is perfect. Until you add 100 more items. Then 1000. Suddenly, your buttery-smooth app is stuttering, freezing, and eventually, it just gives up and crashes.
Sound familiar? We've all been there. The culprit? Rendering everything at once. It's like trying to pour the entire ocean into a cup instead of taking one sip at a time.
But don't worry, the React Native gods have blessed us with not one, but two saviors: FlatList and SectionList. These components are the secret sauce to handling lists of any size with performance that feels like black magic.
In this deep dive, we're going to break down everything you need to know. No fluff, just the real, actionable stuff you need to level up your app-building game.
The ScrollView Trap: Why You (Probably) Shouldn't Use It for Lists
Before we meet the heroes, let's talk about the common mistake. ScrollView is a great component. It's perfect for scrolling through a limited amount of content, like a settings page or an article.
But here's the catch: ScrollView renders all of its children at once. Every single one. If you have a list of 10,000 items, it will try to create 10,000 views immediately. Your phone's memory (and your user's patience) will nope right out of there.
So, what's the alternative?
Enter FlatList: The MVP of List Rendering
FlatList is your go-to component for rendering long, one-dimensional lists. It's a performance powerhouse because it uses a technique called "windowing." In simple terms, it only renders what's on the screen (and a few items above and below for a smooth scroll). As you scroll, items that move off-screen are recycled and reused for the new items coming onto the screen. Mind-blowing, right?
FlatList in Action: A Social Media Feed
Think of your Instagram or Twitter feed. Thousands of posts, but it loads and scrolls seamlessly. That's FlatList magic.
Let's code a basic example:
javascript
import React from 'react';
import { FlatList, View, Text, Image, StyleSheet } from 'react-native';

const SocialFeed = () => {
  // This is your data - imagine it's coming from an API
  const feedData = [
    { id: '1', username: 'js_wizard', post: 'Just mastered React Native! 🚀', avatar: '...' },
    { id: '2', username: 'ui_queen', post: 'Check out my new design portfolio!', avatar: '...' },
    // ... hundreds more objects
  ];

  // This function tells FlatList how to render each item
  const renderFeedItem = ({ item }) => (
    <View style={styles.feedItem}>
      <Image source={{ uri: item.avatar }} style={styles.avatar} />
      <View style={styles.postContent}>
        <Text style={styles.username}>{item.username}</Text>
        <Text>{item.post}</Text>
      </View>
    </View>
  );

  return (
    <FlatList
      data={feedData}
      renderItem={renderFeedItem}
      keyExtractor={item => item.id} // Crucial for performance!
    />
  );
};

const styles = StyleSheet.create({
  feedItem: { flexDirection: 'row', padding: 10, borderBottomWidth: 1 },
  avatar: { width: 50, height: 50, borderRadius: 25, marginRight: 10 },
  username: { fontWeight: 'bold' },
  // ... more styles
});

export default SocialFeed;
Breaking down the key props:
data: The array of items you want to render.renderItem: A function that takes an item from the data and returns a component.keyExtractor: Tells the list how to uniquely identify each item. This is non-negotiable for efficient re-rendering.
Leveling Up Your FlatList Game
A basic list is cool, but let's make it pro-level.
1. Pull-to-Refresh & Infinite Scroll
These are UX staples. FlatList makes it easy.
javascript
const [refreshing, setRefreshing] = React.useState(false);
const [data, setData] = React.useState(initialData);
const [loadingMore, setLoadingMore] = React.useState(false);

const onRefresh = async () => {
  setRefreshing(true);
  // Fetch new data from your API
  const newData = await fetchLatestPosts();
  setData(newData);
  setRefreshing(false);
};

const loadMoreData = async () => {
  if (loadingMore) return; // Prevent duplicate calls
  setLoadingMore(true);
  // Fetch the next page of data
  const nextPageData = await fetchNextPage();
  setData(prevData => [...prevData, ...nextPageData]);
  setLoadingMore(false);
};

return (
  <FlatList
    data={data}
    renderItem={renderFeedItem}
    keyExtractor={item => item.id}
    onRefresh={onRefresh} // Built-in pull-to-refresh!
    refreshing={refreshing}
    onEndReached={loadMoreData} // Trigger infinite scroll
    onEndReachedThreshold={0.5} // Load more when 50% from the end
    ListFooterComponent={loadingMore ? <ActivityIndicator /> : null} // Show a loader
  />
);
2. The getItemLayout Prop for Ultimate Speed
If your items are a fixed height, use getItemLayout. This skips the measurement phase for off-screen items, making rendering even faster.
javascript
const getItemLayout = (data, index) => ({
  length: 80, // The height of each item
  offset: 80 * index, // The pixel position of each item
  index,
});

// In your FlatList:
<FlatList
  // ... other props
  getItemLayout={getItemLayout}
/>
When Your List Needs Headers: Meet SectionList
What if your data isn't just a flat list? What if you have a contacts app (A, B, C...), a settings menu (General, Privacy, About), or a food delivery app (Appetizers, Main Course, Desserts)? This is where SectionList shines.
SectionList is like FlatList's more organized cousin. It expects data grouped into sections, each with its own header.
SectionList in Action: A Contacts List
javascript
import React from 'react';
import { SectionList, Text, View, StyleSheet } from 'react-native';

const ContactsApp = () => {
  const contactsData = [
    {
      title: 'A',
      data: [
        { id: '1', name: 'Alice' },
        { id: '2', name: 'Andrew' },
      ],
    },
    {
      title: 'B',
      data: [
        { id: '3', name: 'Bob' },
        { id: '4', name: 'Brittany' },
      ],
    },
    // ... more sections
  ];

  const renderSectionHeader = ({ section }) => (
    <View style={styles.sectionHeader}>
      <Text style={styles.sectionHeaderText}>{section.title}</Text>
    </View>
  );

  const renderContact = ({ item }) => (
    <View style={styles.contactItem}>
      <Text>{item.name}</Text>
    </View>
  );

  return (
    <SectionList
      sections={contactsData}
      keyExtractor={item => item.id}
      renderSectionHeader={renderSectionHeader}
      renderItem={renderContact}
      stickySectionHeadersEnabled={true} // This makes the headers stick! 👏
    />
  );
};

const styles = StyleSheet.create({
  sectionHeader: { backgroundColor: '#f5f5f5', padding: 10 },
  sectionHeaderText: { fontWeight: 'bold', fontSize: 16 },
  contactItem: { padding: 15, borderBottomWidth: 1 },
});

export default ContactsApp;
Key SectionList Props:
sections: The array of section objects.renderSectionHeader: Renders the header for each section.renderItem: Same as FlatList, but now theitemis fromsection.data.stickySectionHeadersEnabled: A beautiful UX touch that makes headers stick to the top as you scroll through that section.
Best Practices: Don't Just Code, Code It Right
Always Use
keyExtractor: Seriously. Use a unique and stable ID from your data. Never use the array index as a last resort unless your list is static.Optimize Your
renderItem: Keep the components you render insiderenderItemas light as possible. Avoid heavy logic and complex calculations inside them. UseReact.memoto prevent unnecessary re-renders.Leverage
getItemLayoutfor Fixed Heights: If you know the height of your items, this prop is a free performance boost.Use
initialNumToRenderandmaxToRenderPerBatch: Tweak these to control how many items are rendered initially and per batch. The defaults are good, but for very long lists, you might need to adjust.Avoid Anonymous Functions in
renderItem: Don't define functions inside therenderItemfunction. This creates a new function on every render, breaking optimizations. Define it outside or useuseCallback.
FAQs: Your Burning Questions, Answered
Q: FlatList vs SectionList: When do I use which?
A: It's simple. Use FlatList for a simple, continuous list (like a feed). Use SectionList for any list that needs to be grouped into categories with headers (like contacts, settings, menu).
Q: My list is still janky. What gives?
A: The problem might not be the FlatList itself. Check your renderItem component. Is it doing an expensive image transform? Is it using a complex loop? Profile your app using the React Native Dev Menu's "Perf Monitor" to find the real bottleneck.
Q: Can I have a horizontal list?
A: Absolutely! Both FlatList and SectionList have a horizontal prop. Just set it to true.
Q: How do I handle totally dynamic item heights?
A: This is the trickiest scenario. Avoid it if you can. If you can't, FlatList will handle it, but you lose the getItemLayout optimization. Ensure your UI can handle the slight layout shift as the item is measured.
Conclusion: Go Forth and Scroll
Mastering FlatList and SectionList is a non-negotiable skill for any serious React Native developer. They are the difference between an amateur-looking app that crashes and a professional, polished product that users love. By understanding the concepts of windowing, using the right key extractors, and implementing features like pull-to-refresh and sticky headers, you can handle lists of any size with confidence.
This is just the tip of the iceberg in modern mobile development. To learn professional software development courses such as Python Programming, Full Stack Development, and the MERN Stack, visit and enroll today at codercrafter.in. Our project-based curriculum is designed to take you from beginner to industry-ready, teaching you how to build scalable, high-performance applications from the ground up.