Master React Native Animations with Reanimated 3 | A 2025 Deep Dive
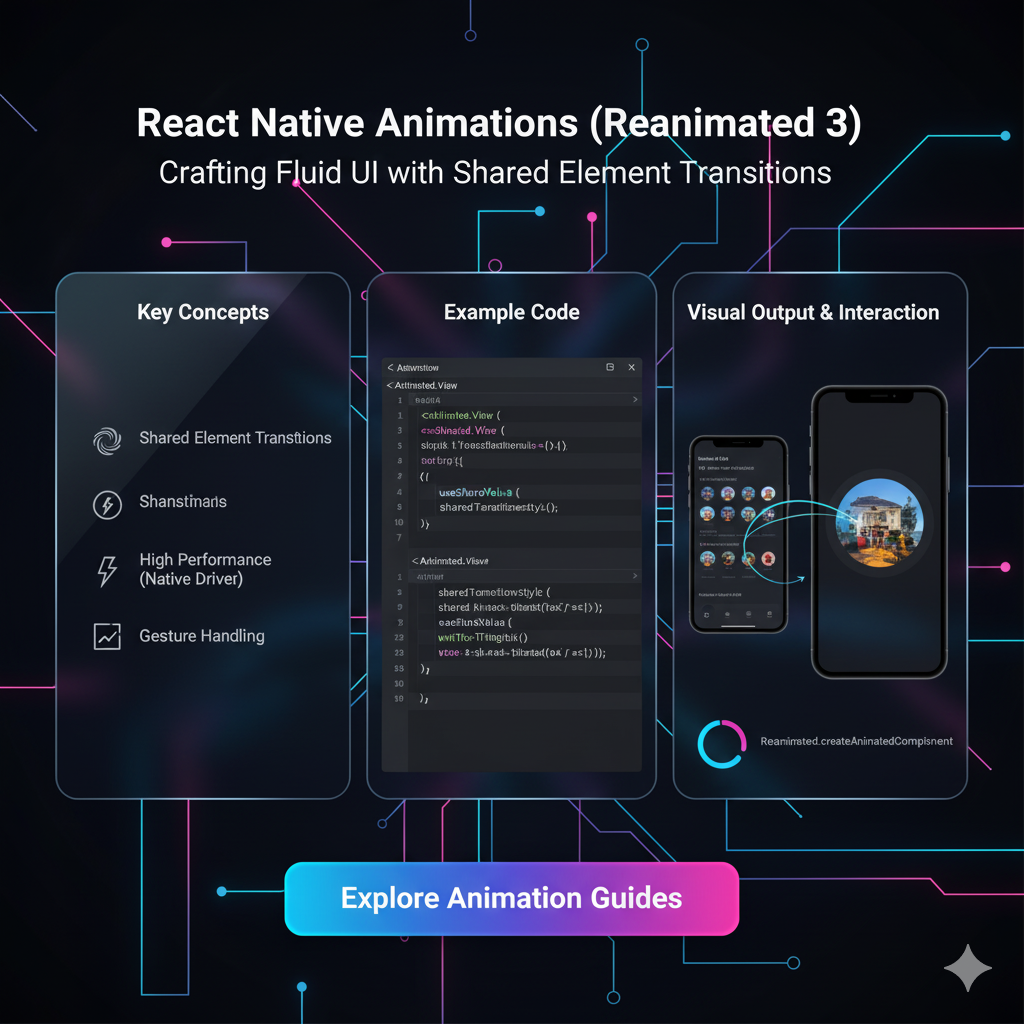
Tired of janky animations? Unlock 60 FPS magic with React Native Reanimated 3. Learn hooks, gestures, best practices, and build stunning app experiences. Level up your skills at CoderCrafter!
Let's be real for a second. We've all been there. You spend hours crafting the perfect UI for your React Native app. It looks fire in the simulator. You ship it. And then... the animations feel off. They're janky, they drop frames, and they just don't have that native "feel" that makes users go "wow."
For the longest time, this was the pain point of React Native animation. The JavaScript thread and the UI thread were like two people trying to coordinate a dance over a bad phone connection. The result? A laggy, out-of-sync mess.
But what if I told you there's a library that fixes this? A library that lets you run your animations on the UI thread, completely bypassing the JavaScript bridge, giving you buttery-smooth 60 FPS magic?
Enter React Native Reanimated 3.
In this deep dive, we're not just going to scratch the surface. We're going to get our hands dirty, understand the "why" behind the magic, and build the kind of animations that make your app stand out in a crowded marketplace. Buckle up!
What is Reanimated 3, and Why Should You Care?
In simple terms, Reanimated is a library for creating the smoothest, most powerful animations and interactions in React Native. It's like giving your app a performance turbo-boost.
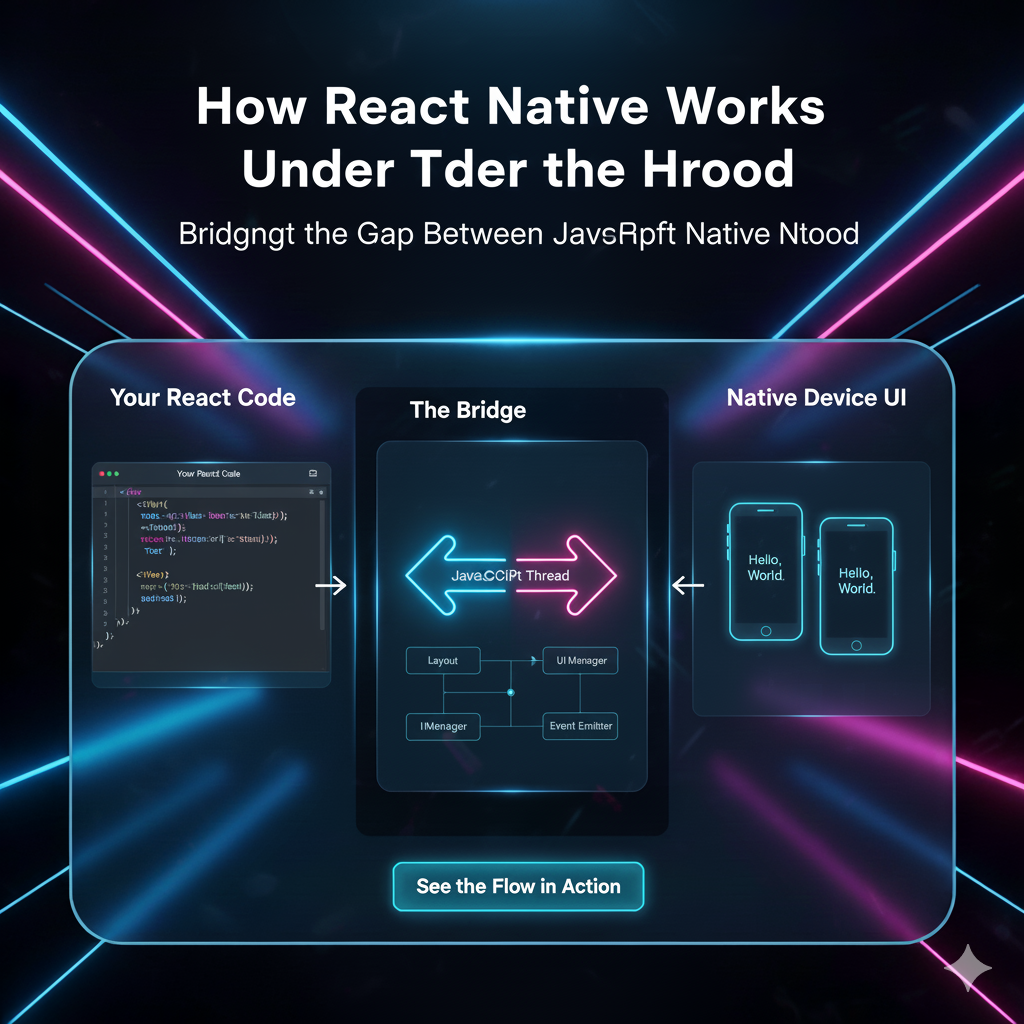
Here’s the technical tea: Traditional React Native animations (like the built-in Animated API) run on the JavaScript thread. Every frame of an animation has to be calculated in JS and then shipped over the "bridge" to the native side to be rendered. This communication is slow and can easily get blocked, causing those dreaded frame drops.
Reanimated changes the game. It allows you to define your animation logic and gestures in JavaScript, but it executes them entirely on the native UI thread. No bridge, no communication delays. This means your animations are perfectly in sync with the device's refresh rate. It's a game-changer.
With version 3, the team doubled down on developer experience. It's more intuitive, has a cleaner API with hooks like useSharedValue and useAnimatedStyle, and it fully embraces a "worklet"-based architecture that makes writing performant animations feel almost effortless.
The Core Concepts: Your Animation Toolkit
Before we start building, let's get familiar with the key players in the Reanimated 3 universe.
1. Shared Values (useSharedValue)
Think of Shared Values as the single source of truth for your animation's state. They are pieces of data that live on the UI thread but can be accessed and modified from both the JS thread and the UI thread.
javascript
import { useSharedValue } from 'react-native-reanimated';

function MyAnimatedComponent() {
  // This value is now "shared" and can drive animations
  const opacity = useSharedValue(0);
  const translateX = useSharedValue(-100);

  // ... rest of the component
}
You don't change these values directly like opacity = 1. You use the .value property: opacity.value = 1.
2. Animated Styles (useAnimatedStyle)
This is where the magic happens. useAnimatedStyle is a hook that creates a style object that automatically updates whenever the Shared Values it depends on change. And the best part? these updates happen on the UI thread!
javascript
import { useAnimatedStyle } from 'react-native-reanimated';

// Inside our component...
const animatedStyle = useAnimatedStyle(() => {
  return {
    opacity: opacity.value,
    transform: [{ translateX: translateX.value }],
  };
});
You then pass this animatedStyle to your animated component.
3. Animated Components
Reanimated provides its own set of core components like Animated.View, Animated.Text, and Animated.Image. You must use these to apply your animated styles.
javascript
// Make sure to import the animated components!
import Animated from 'react-native-reanimated';

// Then in your JSX:
<Animated.View style={[regularStyles.box, animatedStyle]} />
4. Animating Changes (withTiming, withSpring)
You don't just instantly change a Shared Value. You animate the change. Reanimated provides a set of animation functions for this.
withTiming: For smooth, timed transitions. You can configure duration and easing.javascript
opacity.value = withTiming(1, { duration: 500 });withSpring: For physics-based, bouncy animations. This is what gives that native feel.javascript
translateX.value = withSpring(0, { damping: 10, stiffness: 100 });
Let's Build: A Real-World "Like Button" Animation
Enough theory, let's code something you'd actually use. We'll build a heart button that scales and fills with color when pressed.
javascript
import React from 'react';
import { Pressable } from 'react-native';
import Animated, {
  useSharedValue,
  useAnimatedStyle,
  withSpring,
} from 'react-native-reanimated';

const AnimatedPressable = Animated.createAnimatedComponent(Pressable);

const LikeButton = () => {
  // 1. Define our Shared Values
  const scale = useSharedValue(1);
  const liked = useSharedValue(0); // 0 for not liked, 1 for liked

  // 2. Create Animated Styles for the heart
  const heartStyle = useAnimatedStyle(() => {
    // Interpolate color based on the 'liked' value
    const fill = liked.value === 1 ? '#e91e63' : '#ccc';
    return {
      transform: [{ scale: scale.value }],
      color: fill, // For an icon library like Vector Icons
      // backgroundColor: fill, // If it was a View
    };
  });

  // 3. Handle the press event
  const onPress = () => {
    // Toggle the liked state with a spring animation
    liked.value = withSpring(liked.value === 0 ? 1 : 0);

    // Add a little "pop" scale effect
    scale.value = withSpring(1.2, {}, (finished) => {
      // This callback runs when the spring is complete
      if (finished) {
        scale.value = withSpring(1);
      }
    });
  };

  return (
    <AnimatedPressable onPress={onPress}>
      {/* Let's assume we're using an icon here */}
      <Animated.Text style={heartStyle}>❤️</Animated.Text>
    </AnimatedPressable>
  );
};

export default LikeButton;
What's happening here?
We track the
scaleand whether it'sliked.heartStyledynamically changes thescaleandcolorbased on the shared values.On press, we animate
likedto toggle between 0 and 1, and we run a quick scale-up-then-down sequence for tactile feedback.
This is a simple but powerful pattern you see in top-tier apps like Instagram and Twitter.
Leveling Up: Gesture-Based Animations with react-native-gesture-handler
The real power of Reanimated shines when combined with gestures. Let's make a draggable box.
javascript
import React from 'react';
import { StyleSheet } from 'react-native';
import Animated, {
  useSharedValue,
  useAnimatedStyle,
  useAnimatedGestureHandler,
} from 'react-native-reanimated';
import {
  PanGestureHandler,
  PanGestureHandlerGestureEvent,
} from 'react-native-gesture-handler';

const DraggableBox = () => {
  const translateX = useSharedValue(0);
  const translateY = useSharedValue(0);

  const panGestureEvent = useAnimatedGestureHandler<
    PanGestureHandlerGestureEvent,
    { startX: number; startY: number } // context type
  >({
    onStart: (event, context) => {
      // Store the starting position when the gesture begins
      context.startX = translateX.value;
      context.startY = translateY.value;
    },
    onActive: (event, context) => {
      // Update the position based on the gesture's movement
      translateX.value = context.startX + event.translationX;
      translateY.value = context.startY + event.translationY;
    },
    onEnd: () => {
      // You could add a spring back to origin or friction here
      // translateX.value = withSpring(0);
      // translateY.value = withSpring(0);
    },
  });

  const animatedStyle = useAnimatedStyle(() => {
    return {
      transform: [
        { translateX: translateX.value },
        { translateY: translateY.value },
      ],
    };
  });

  return (
    <PanGestureHandler onGestureEvent={panGestureEvent}>
      <Animated.View style={[styles.box, animatedStyle]} />
    </PanGestureHandler>
  );
};

const styles = StyleSheet.create({
  box: {
    width: 100,
    height: 100,
    backgroundColor: 'teal',
    borderRadius: 20,
  },
});

export default DraggableBox;
This pattern is the foundation for swipeable list items, bottom sheets, and custom sliders. The performance is flawless because the entire gesture tracking and position update happens on the UI thread.
Best Practices to Keep Your Animations Fire
Use Shared Values Sparingly: Don't put everything in a Shared Value. Only the properties that are actively being animated.
Embrace
withSpring: It’s your best friend. A well-configured spring feels infinitely better than a timing animation. It makes your app feel alive and physical.Avoid Non-UI Logic in Worklets: The functions inside
useAnimatedStyleanduseAnimatedGestureHandlerare "worklets." Keep them focused on UI calculations. Don't make API calls or update complex React state inside them.Use the
reduceMotionAccessibility Setting: Always checkAccessibilityInfo.isReduceMotionEnabled()and provide simpler animations or turn them off for users who prefer it. It's not just good practice; it's essential.Profile Your Animations: Use the FPS monitor in your simulator/device to ensure you're maintaining 60 FPS (or even 120 FPS on ProMotion devices!).
FAQs: Quick Answers to Your Burning Questions
Q: Is Reanimated 3 hard to learn?
A: If you're already comfortable with React hooks, the learning curve is surprisingly gentle. The hooks-based API (useSharedValue, useAnimatedStyle) is very intuitive. The harder part is mastering the gesture-handler integration and animation timing.
Q: Should I use Reanimated for every single animation?
A: Not necessarily. For super simple, one-off opacity or scale changes, the built-in Animated API might be enough. But for anything complex, interactive, or gesture-driven, Reanimated is the undisputed champion.
Q: What's the difference between Reanimated 2 and 3?
A: Reanimated 3 was mostly about under-the-hood improvements, stability, and a more refined API. The core concepts from v2 remain the same, so if you learn v3, you know v2.
Q: Can I use it with class components?
A: It's heavily optimized for functional components and hooks. While possible with class components, it's not the intended path. Embrace the functional paradigm!
Conclusion: Go Forth and Animate!
React Native Reanimated 3 isn't just another library; it's a fundamental shift in what's possible for UX in React Native. It empowers you to build immersive, responsive, and truly native-feeling experiences that users love.
By mastering Shared Values, Animated Styles, and Gestures, you're no longer just a developer; you're an app experience artist. The difference between a good app and a great app often lies in these subtle, polished details.
Feeling inspired to not just master animations, but the entire world of modern software development? This is the kind of cutting-edge, industry-relevant skill we focus on. To learn professional software development courses such as Python Programming, Full Stack Development, and MERN Stack, visit and enroll today at codercrafter.in. We break down complex topics like these into manageable, project-based lessons that will get you job-ready.
So, open up your code editor, install react-native-reanimated and react-native-gesture-handler, and start making something amazing. The only limit is your imagination.
