Master Image Upload & Compression in React Native
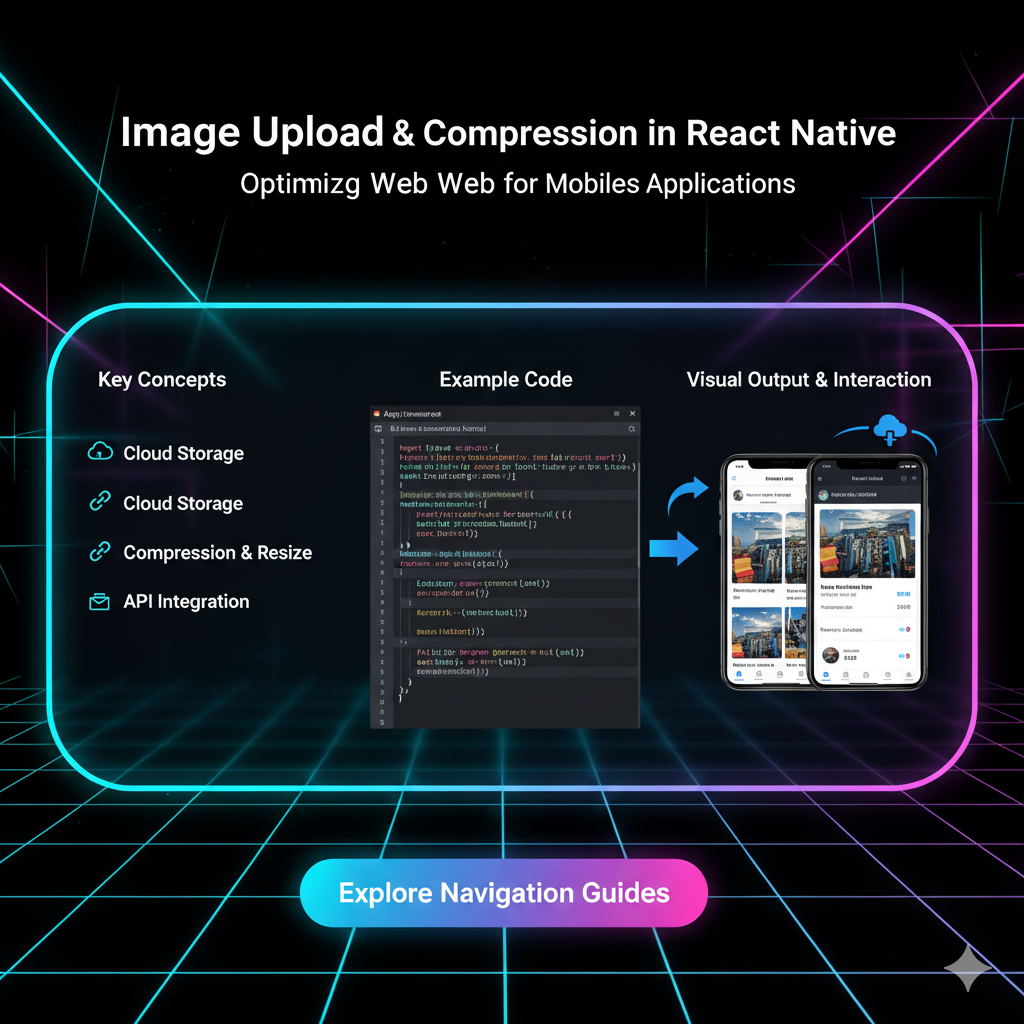
Struggling with heavy images in your React Native app? This in-depth guide covers image upload, compression, best practices, and FAQs to boost your app's performance. Enroll in CoderCrafter's Full Stack courses today!
Let's be real. In today's app-driven world, if your React Native app can't handle images smoothly, you're fighting a losing battle. Users expect to share their high-res photos, see crisp profile pictures, and browse product galleries without the app stuttering or eating up all their data.
We've all been there. You build a cool feature, integrate the camera roll, and BAM—the user uploads a 10MB monster straight from their iPhone 48. Your app slows down, your server groans under the load, and your user's mobile data plan weeps silently.
So, how do you fix this? The answer is a robust system for image upload and compression.
In this guide, we're not just skimming the surface. We're diving deep into how you can implement a slick, user-friendly, and performance-optimized image handling system in your React Native app. Let's get your app handling images like a pro.
Why Bother? The "Why" Behind Image Compression
Before we get into the "how," let's quickly understand the "why." Compressing images isn't just a "nice-to-have"; it's essential for three core reasons:
Performance: Smaller images mean faster uploads and less waiting for your users. They also load quicker in your app's UI, leading to a smoother feel.
Cost: If you're using a cloud service (like AWS S3 or Cloudinary) for storage, every megabyte you save is money in your pocket. It also reduces bandwidth costs for your servers.
User Experience: Nobody wants to burn through their monthly data allowance just by using your app. Efficient compression is a sign of a respectful, well-built product.
The Toolbox: Essential Libraries for the Job
You could try to build everything from scratch, but why reinvent the wheel? The React Native ecosystem has some fantastic libraries that do the heavy lifting for us.
1. Picking the Image: react-native-image-picker
This is the go-to library for accessing the camera and the device's image gallery. It's well-maintained and provides a simple API to get the image file.
Installation:
bash
npm install react-native-image-picker
# Or for CocoaPods
cd ios && pod install
Basic Usage Example:
javascript
import {launchCamera, launchImageLibrary} from 'react-native-image-picker';

const openImagePicker = () => {
  const options = {
    mediaType: 'photo',
    includeBase64: false,
    maxHeight: 2000,
    maxWidth: 2000,
  };

  launchImageLibrary(options, (response) => {
    if (response.didCancel) {
      console.log('User cancelled image picker');
    } else if (response.error) {
      console.log('ImagePicker Error: ', response.error);
    } else {
      // You have the image object here: response.assets[0]
      const image = response.assets[0];
      console.log(image.uri, image.fileName, image.type, image.fileSize);
      // Now, pass this `image` object to your compression function
      handleCompressImage(image);
    }
  });
};
2. Squeezing the File: react-native-image-resizer
This library is a powerhouse for compressing and resizing images directly on the user's device. This is key because you want to compress before you upload, saving precious bandwidth.
Installation:
bash
npm install react-native-image-resizer
cd ios && pod install
Basic Usage Example:
javascript
import ImageResizer from 'react-native-image-resizer';

const handleCompressImage = async (image) => {
  try {
    const compressedImage = await ImageResizer.createResizedImage(
      image.uri,        // the original image URI
      1024,             // new maximum width
      1024,             // new maximum height
      'JPEG',           // compress format
      70,               // quality (0 - 100)
      0,                // rotation
      null,             // output path (null will create a temporary file)
      false,            // keep metadata?
      { mode: 'cover', onlyScaleDown: true } // resize mode
    );

    // compressedImage.uri is the path to the new, smaller file!
    console.log('Compressed Image URI:', compressedImage.uri);
    console.log('Compressed Size:', compressedImage.size); // You'll see a huge reduction

    // Now, upload this compressedImage.uri
    await uploadImage(compressedImage.uri);

  } catch (err) {
    console.log('Compression Error:', err);
  }
};
Let's Build It: The Complete Real-World Flow
Theory is cool, but let's wire it all together into a single, functional component you can use in your app.
javascript
import React, { useState } from 'react';
import { View, Button, Image, Alert, Text } from 'react-native';
import { launchImageLibrary } from 'react-native-image-picker';
import ImageResizer from 'react-native-image-resizer';
import { uploadToCloudService } from './your-upload-service'; // Your custom function

const ImageUploader = () => {
  const [compressedUri, setCompressedUri] = useState(null);
  const [uploading, setUploading] = useState(false);

  const handleImagePick = () => {
    const options = {
      mediaType: 'photo',
      quality: 1, // Start with original quality for compression later
    };

    launchImageLibrary(options, (response) => {
      if (response.error) {
        Alert.alert('Error', 'Failed to pick image.');
      } else if (!response.didCancel && response.assets) {
        compressAndUploadImage(response.assets[0]);
      }
    });
  };

  const compressAndUploadImage = async (imageAsset) => {
    setUploading(true);
    try {
      // Step 1: Compress the image
      const compressedImage = await ImageResizer.createResizedImage(
        imageAsset.uri,
        1080, // Max width
        1080, // Max height
        'JPEG',
        60,   // Good quality at 60%
        0,
        null
      );

      setCompressedUri(compressedImage.uri); // Show a preview

      // Step 2: Upload the compressed image
      const downloadUrl = await uploadToCloudService(compressedImage.uri);
      Alert.alert('Success!', 'Your image has been uploaded!');
      console.log('File available at', downloadUrl);

    } catch (error) {
      console.error(error);
      Alert.alert('Upload Failed', 'Something went wrong.');
    } finally {
      setUploading(false);
    }
  };

  return (
    <View style={{ flex: 1, justifyContent: 'center', alignItems: 'center' }}>
      <Button
        title="Pick an Image"
        onPress={handleImagePick}
        disabled={uploading}
      />
      {uploading && <Text>Uploading and compressing...</Text>}
      {compressedUri && (
        <Image
          source={{ uri: compressedUri }}
          style={{ width: 200, height: 200, marginTop: 20 }}
        />
      )}
    </View>
  );
};

export default ImageUploader;
Level Up: Best Practices for a Pro Implementation
Show a Preview: Always show a preview of the selected/compressed image. It gives users confidence and a better experience.
Provide Feedback: Use loaders or progress indicators during compression and upload. Silence during these operations makes users anxious.
Handle Errors Gracefully: Networks fail, permissions are denied. Use
try/catchblocks and inform the user with friendly alerts.Manage Permissions: On Android (API 33+) and iOS, you need to request permissions for
CAMERAandREAD_MEDIA_IMAGES/PHOTO_LIBRARY. UsePermissionsAndroidfrom React Native or a library likereact-native-permissions.Clean Up Temporary Files: Libraries like
react-native-image-resizercan create temporary files. Consider cleaning them up after a successful upload to avoid cluttering the device's storage.Consider a Cloud Solution: For advanced needs like transformations, CDN delivery, or more robust compression, services like Cloudinary or Imgix are worth every penny. They handle the upload, compression, storage, and delivery in one seamless package.
FAQs: Your Burning Questions, Answered
Q: What's a good compression quality value?
A: It's a trade-off. For most use cases (profile pictures, social posts), a value between 60% and 80% provides a great balance between quality and file size. Test with different images to see what works for your app.
Q: Can I compress multiple images at once?
A: Absolutely! You can use a Promise.all() pattern to process an array of selected images. Just be mindful of the device's resources—don't try to compress 100 images at once.
Q: My compressed image looks blurry. What gives?
A: You're probably compressing too aggressively. Increase the quality percentage or the maxWidth/maxHeight values. Remember, the goal is to find the smallest file size without noticeable quality loss for your use case.
Q: How do I actually upload the file to a server?
A: You would use the FormData API to create a multipart/form-data request. Here's a snippet:
javascript
const uploadImage = async (imageUri) => {
  const formData = new FormData();
  formData.append('file', {
    uri: imageUri,
    type: 'image/jpeg', // or image.type
    name: 'upload.jpg',
  });

  try {
    const response = await fetch('https://your-api.com/upload', {
      method: 'POST',
      body: formData,
      headers: {
        'Content-Type': 'multipart/form-data',
        // Don't forget to add your auth token if needed!
        // 'Authorization': `Bearer ${yourToken}`,
      },
    });
    const data = await response.json();
    return data.url; // The URL of the uploaded image on your server
  } catch (error) {
    console.error('Upload error:', error);
    throw error;
  }
};
Wrapping Up
Mastering image upload and compression is a non-negotiable skill for any serious React Native developer. It directly impacts your app's performance, your operational costs, and most importantly, user satisfaction. By leveraging libraries like react-native-image-picker and react-native-image-resizer, you can implement a robust solution that feels native and efficient.
This is the kind of professional, detail-oriented development we focus on at CoderCrafter. Understanding the full stack—from the client-side logic in React Native to the server-side handling and database management—is what separates a good developer from a great one.
If you're looking to build a solid foundation in modern software development and create impressive, full-featured applications, To learn professional software development courses such as Python Programming, Full Stack Development, and MERN Stack, visit and enroll today at codercrafter.in. We'll guide you through every step of the journey.
