Want to build IoT fitness trackers or smart home apps? This in-depth guide teaches you how to use BLE (Bluetooth Low Energy) with React Native, complete with code examples and best practices.
Let's be real. Our phones are magic. They connect us to people, to memes, to food delivery. But what if I told you they could connect to, well, everything else? Your fitness band, the smart thermostat, that weird little tag on your keys—that’s the magic of Bluetooth Low Energy (BLE).
And if you're a React Native developer, you have a superpower. You can build cross-platform apps that bridge the digital and physical worlds. But let's be honest, BLE can feel like a secret club with a complicated handshake. The docs are dense, the concepts are weird, and it's easy to get lost.
Well, consider this your all-access pass. We're breaking down BLE in React Native, no prior hardware knowledge needed. Let's get our apps talking to things.
First Things First: What Even is BLE?
Before we dive into code, let's get our heads straight. BLE isn't your classic Bluetooth you use for streaming music to a speaker (that's Bluetooth Classic). That guy is a power-hungry beast for continuous data streams.
BLE is the energy-efficient cousin. It's designed for short bursts of data. It sleeps most of the time, wakes up to send a tiny packet of info (like "heart rate is 72 BPM" or "temperature is 21°C"), and then goes back to sleep. This is why your Fitbit lasts for days, but your wireless headphones need a charge every night.
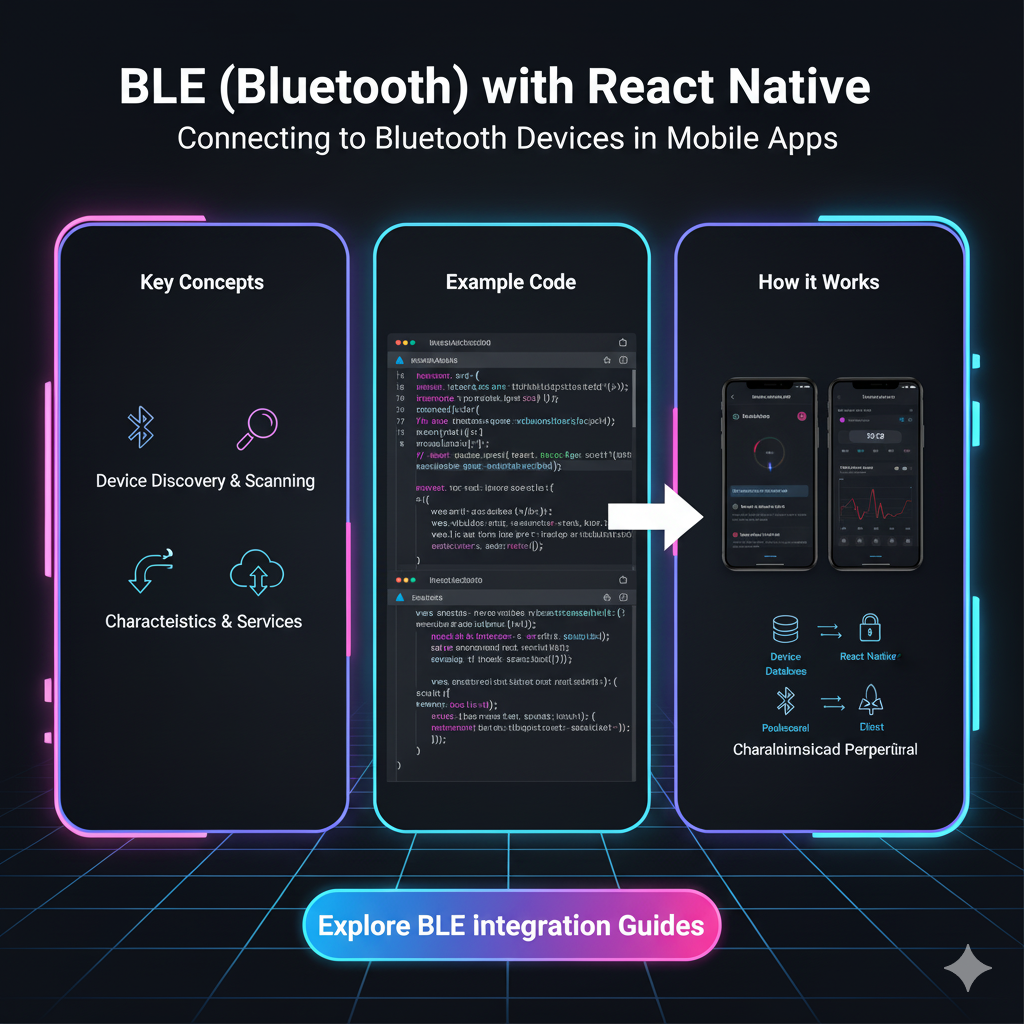
The GATT Protocol: The "Language" of BLE
Every BLE device you interact with speaks a language called GATT (Generic ATTribute profile). Don't let the acronym scare you. Think of it like this:
Peripheral: The "slave" device. It's the one providing data or functionality. Your heart rate monitor, your smart lightbulb. It advertises its presence.
Central: The "master" device. This is your React Native app running on a phone/tablet. It scans for peripherals and initiates connections.
Once a Central connects to a Peripheral, it discovers the device's GATT Profile. This profile is just a structured list of services and characteristics. Let's break that down:
Services: A container for related pieces of data/functionality. A heart rate monitor might have a "Battery Service" and a "Heart Rate Service." Each service has a unique ID (a UUID).
Characteristics: The actual data points inside a service. The "Heart Rate Service" would contain a "Heart Rate Measurement" characteristic. This is where the real data lives. You can read from, write to, or notify (get pushed updates) from characteristics.
So, the flow is: App (Central) scans -> Finds Device (Peripheral) -> Connects -> Discovers Services -> Discovers Characteristics -> PROFIT!
Gearing Up: The React Native BLE Plx Library
The React Native community has blessed us with an excellent library: react-native-ble-plx. It's well-maintained and has a great API. This is what we'll be using.
Installation:
bash
# Install the package
npm install react-native-ble-plx

# If you're using React Native >= 0.60, it auto-links.
# For iOS, you need to install pods:
cd ios && pod install

# For Android, you need to add these permissions to android/app/src/main/AndroidManifest.xml
<uses-permission android:name="android.permission.BLUETOOTH"/>
<uses-permission android:name="android.permission.BLUETOOTH_ADMIN"/>
<uses-permission android:name="android.permission.ACCESS_FINE_LOCATION" />
(Note: The location permission is required on Android because finding BLE devices can be used to infer your location. Yeah, privacy!)
Let's Build: A Simple BLE Connection Flow
Enough theory, let's get our hands dirty. We'll walk through the core steps of any BLE app.
Step 1: Setting up the Manager
First, create a manager instance. This is your command center for all BLE operations.
javascript
import { BleManager } from 'react-native-ble-plx';

const manager = new BleManager();
Step 2: Requesting Permissions (The Necessary Evil)
This is the most "ugh" part, but it's crucial. You need to ask the user for permission to use Bluetooth and location.
javascript
import { PermissionsAndroid, Platform } from 'react-native';

const requestPermissions = async () => {
  if (Platform.OS === 'android') {
    const granted = await PermissionsAndroid.requestMultiple([
      PermissionsAndroid.PERMISSIONS.ACCESS_FINE_LOCATION,
      PermissionsAndroid.PERMISSIONS.BLUETOOTH_SCAN,
      PermissionsAndroid.PERMISSIONS.BLUETOOTH_CONNECT,
    ]);
    return granted === PermissionsAndroid.RESULTS.GRANTED;
  }
  // On iOS, you'll handle permissions via the `react-native-ble-plx` API and Info.plist entries.
  return true;
};
Step 3: Scanning for Devices
Now for the fun part: hunting for devices! We'll start scanning and listen for devices that pop up.
javascript
const startScan = () => {
  manager.startDeviceScan(null, null, (error, device) => {
    if (error) {
      // Handle error (scanning stopped, Bluetooth is off, etc.)
      console.error(error);
      return;
    }

    // Check if it's a device you're interested in.
    // You can check by device name, service UUIDs, etc.
    if (device.name?.includes('My-Device')) {
      console.log(`Found ${device.name} with id: ${device.id}`);
      // You might want to stop scanning now
      manager.stopDeviceScan();
      // And connect to it!
      connectToDevice(device);
    }
  });
};
Step 4: Connecting and Discovering
You found a device! Now, let's connect to it and figure out what it can do.
javascript
const connectToDevice = async (device) => {
  try {
    const connectedDevice = await device.connect();
    console.log('Connected!');

    // Now, discover all services and characteristics
    await connectedDevice.discoverAllServicesAndCharacteristics();
    console.log('Discovered all services and chars!');

    // Now you're ready to read/write/listen!
    readCharacteristic(connectedDevice);

  } catch (error) {
    console.log('Connection failed:', error);
  }
};
Step 5: Reading & Listening to Data
Let's read from a characteristic. You'll need to know the service UUID and characteristic UUID from your device's documentation.
javascript
const readCharacteristic = async (device) => {
  const serviceUUID = '180D'; // Example: Heart Rate Service
  const characteristicUUID = '2A37'; // Example: Heart Rate Measurement

  try {
    const reading = await device.readCharacteristicForService(
      serviceUUID,
      characteristicUUID
    );
    console.log('Raw data:', reading.value); // This is a base64 encoded string!
    // You need to decode base64 to get usable data
    const decodedData = decodeHeartRate(reading.value);
    console.log('Heart Rate:', decodedData);
  } catch (error) {
    console.error('Read failed:', error);
  }
};

// A super simple decoder for heart rate (real decoding is more complex)
const decodeHeartRate = (base64Value) => {
  const buffer = Buffer.from(base64Value, 'base64');
  // The first byte is flags, the second is the actual value (in this simple case)
  return buffer.readUInt8(1);
};
But reading is so 2010. The real power is in notifications. This lets the device push data to your app whenever it changes.
javascript
const setupNotifications = async (device) => {
  const serviceUUID = '180D';
  const characteristicUUID = '2A37';

  await device.monitorCharacteristicForService(
    serviceUUID,
    characteristicUUID,
    (error, characteristic) => {
      if (error) {
        console.error('Notification error:', error);
        return;
      }
      // This callback fires every time the characteristic's value changes!
      const newHeartRate = decodeHeartRate(characteristic.value);
      console.log('Live Heart Rate Update:', newHeartRate);
      // Update your UI state here
      setHeartRate(newHeartRate);
    }
  );
};
Real-World Use Cases: Where Would You Even Use This?
This isn't just academic. This is how real products are built.
Fitness & Health Apps: Connecting to heart rate monitors, smart scales, blood pressure cuffs.
Smart Home Control: Building your own app to control BLE-enabled lights, locks, or thermostats.
Proximity & Location: Building indoor navigation or "find my item" features using BLE beacons.
Data Logging: Reading data from industrial sensors (temperature, humidity, pressure) onto a tablet.
The possibilities are literally all around you. Mastering BLE opens up a whole new category of apps you can build.
Feeling inspired? This is just the tip of the iceberg. To learn professional software development courses such as Python Programming, Full Stack Development, and the MERN Stack, visit and enroll today at codercrafter.in. Our project-based curriculum helps you build real-world skills, just like this.
Best Practices & Gotchas (Save Yourself the Headache)
Always Clean Up: BLE is stateful. If you leave a connection hanging or a notification monitoring, it will cause problems.
javascript
// Stop scanning when you don't need it.
manager.stopDeviceScan();

// Cancel notifications on unmount.
const subscription = device.monitorCharacteristicForService(...);
// Later...
subscription.remove();

// Disconnect when you're done.
device.cancelConnection();
Handle the "Bluetooth Off" State: Your app shouldn't crash if Bluetooth is off. Use
manager.state()to monitor the state and prompt the user to turn it on.Android Location is a Thing: Never forget the location permission on Android. It's the #1 cause of "why can't I see any devices?!" issues.
UUIDs are Your Friends: Know the specific service and characteristic UUIDs for your device. You can't just guess them.
FAQs
Q: My app can't find any devices on Android. What's wrong?
A: 99% of the time, it's one of two things: 1) You forgot the ACCESS_FINE_LOCATION permission, or 2) The user didn't grant the permission, or 3) Location/GPS is turned off on the phone (yes, really).
Q: Can I simulate a BLE peripheral with React Native?
A: Not with this library. react-native-ble-plx is a BLE Central client. To create a Peripheral (like a virtual heart rate monitor), you'd need a different native approach or a different library.
Q: How do I debug this? It's not working!
A: Use BleManager.enableLogging(). It will spit out a ton of useful logs into your console. Also, test with a known-good BLE device and a generic BLE scanner app (like "nRF Connect" or "LightBlue") to verify the device is working and to find its UUIDs.
Q: Is it possible to connect to multiple devices at once?
A: Yes! The library allows you to manage multiple connections. Just be mindful of performance and battery life.
Conclusion: You're Now in the Club
See? The handshake wasn't so bad. You've just unlocked a powerful skill. You now understand the core concepts of BLE, how to use the primary React Native library, and how to navigate the common pitfalls.
The journey from here is about practice. Find an old BLE device, grab its UUIDs from the spec sheet, and just try to read a value. Then try to get a notification. The sense of accomplishment when your app reacts to something in the real world is unbeatable.
The world of IoT is exploding, and developers who can build the mobile apps that control it are in high demand. If you're serious about leveling up your career and building complex, in-demand applications, a structured learning path is key. CoderCrafter offers comprehensive courses in Full Stack Development and the MERN Stack that cover advanced topics like this, giving you the professional edge. Check out our courses at codercrafter.in to start building your future today.