Level Up Your React Native App with AI: A Practical Guide to TensorFlow.js
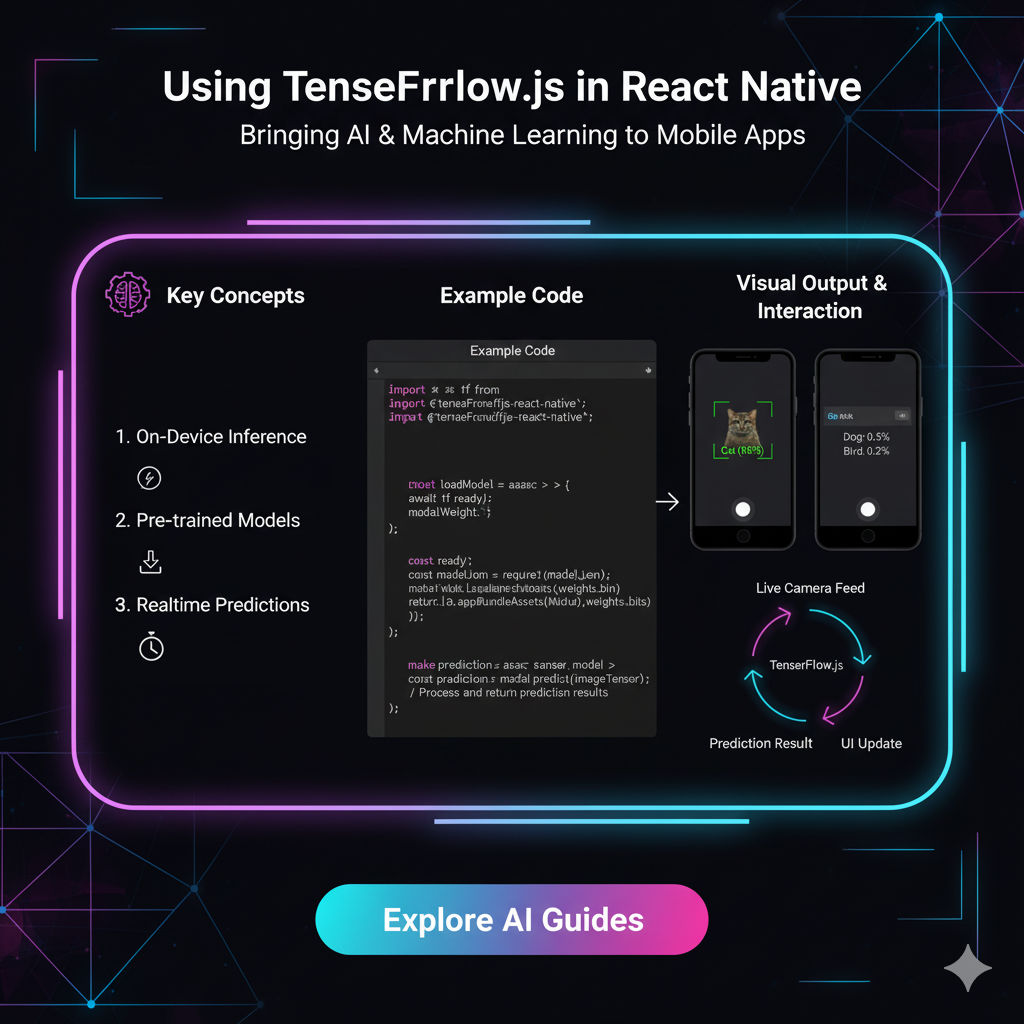
Want to add machine learning to your mobile app? Learn how to integrate TensorFlow.js into React Native for image recognition, toxicity filters, and more. Step-by-step guide included!
Alright, let's talk about the next big thing in mobile app development. It's not just about slick animations or a perfect UI anymore (though those are still crucial, don't get me wrong). The real game-changer is intelligence.
Imagine an app that can identify plants through your camera, a social media filter that automatically blocks toxic comments, or a fitness app that analyzes your workout form in real-time. This isn't sci-fi anymore. This is the power of machine learning (ML) in your pocket.
And the best part? You don't need to be a PhD in data science or write complex Python scripts to make it happen. If you're a JavaScript developer already building apps with React Native, you've got a secret weapon: TensorFlow.js.
In this deep dive, we're going to break down exactly how you can sprinkle this AI magic into your React Native projects. No fluff, just actionable steps and real-world code. Let's get into it.
First Off, What Even is TensorFlow.js?
In simple terms, TensorFlow.js (or TFJS) is a JavaScript library for training and deploying machine learning models directly in the browser or on a Node.js server. It brings the power of Google's TensorFlow framework to the JavaScript world.
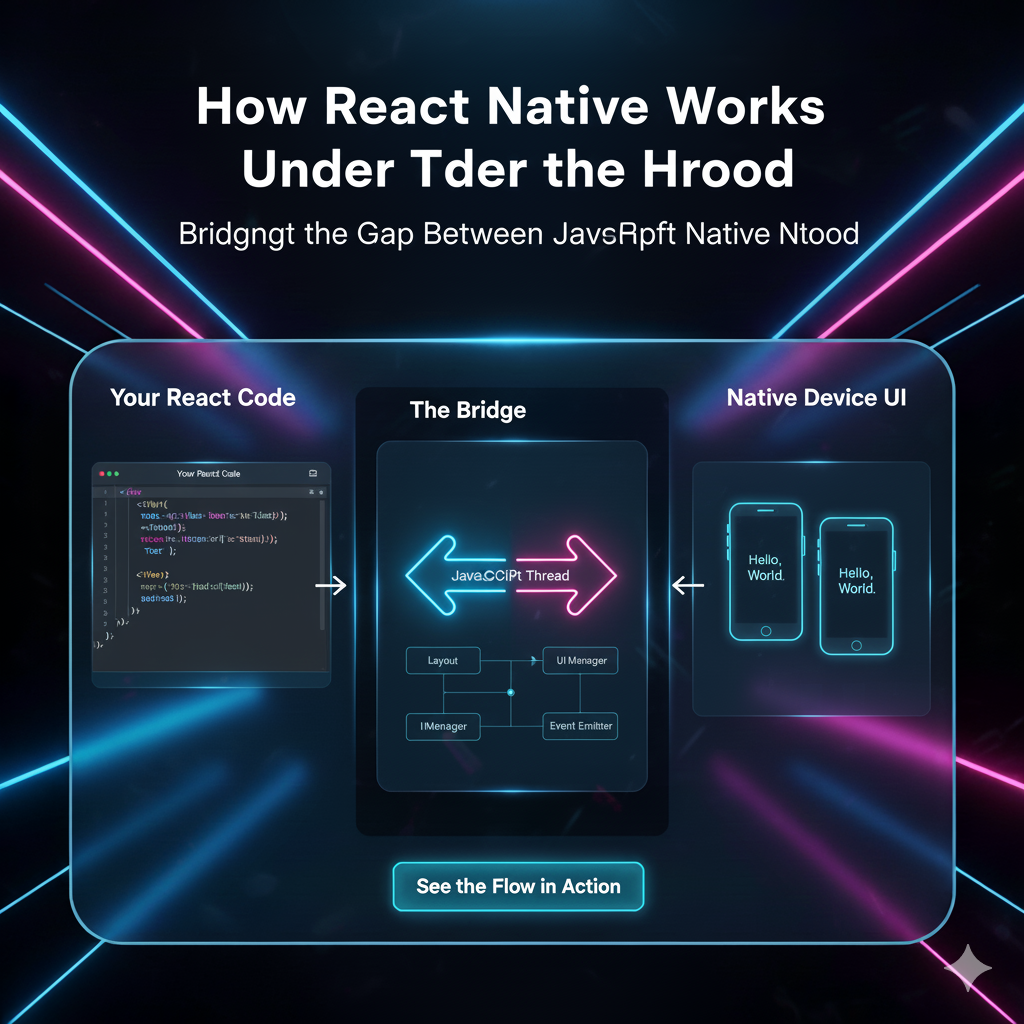
But wait, we're talking about React Native, which isn't a browser. Great point. This is where it gets interesting. The core @tensorflow/tfjs library is designed for the web. For React Native, we use a community-driven, rock-solid package called @tensorflow/tfjs-react-native. This package acts as a bridge, giving TFJS the superpowers it needs to work with mobile-specific elements like the camera roll and the device's accelerometer.
Why Should You, a React Native Dev, Care?
Privacy-First: Run ML models directly on the user's device. No sensitive data (like photos or messages) ever needs to leave their phone.
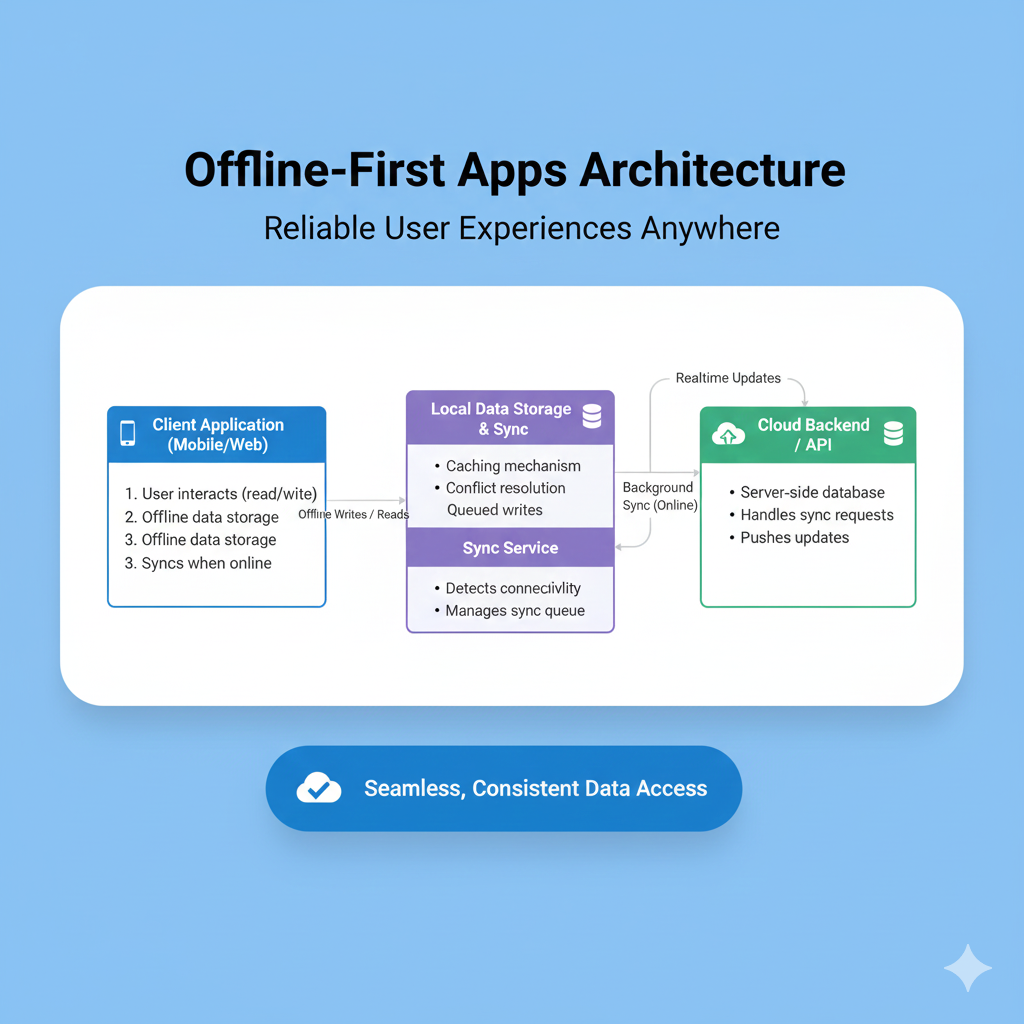
It's Offline-Friendly: Once the model is bundled with your app or downloaded, everything works without an internet connection. Perfect for travel apps, on-the-go tools, etc.
Real-Time Interaction: No network latency. You can process camera feeds or sensor data instantly, which is essential for AR experiences or instant translations.
You Already Speak the Language: You're using JavaScript/TypeScript. No context switching to Python or C++. The learning curve is significantly smoother.
Setting Up The Deets: Getting TFJS Running in Your RN App
Theory is cool, but let's get our hands dirty. Setting this up requires a few steps, but it's straightforward. We'll assume you have a React Native project ready to go (if not, run npx react-native init MyAICoolApp).
Step 1: Install the Packages
Open your terminal in the project root and run:
bash
npm install @tensorflow/tfjs-react-native
npm install @tensorflow/tfjs
npm install async @react-native-async-storage/async-storage
npm install react-native-fs
npx pod-install@tensorflow/tfjs: The core library.@tensorflow/tfjs-react-native: The bridge for React Native.async&@react-native-async-storage/async-storage: Needed for file system operations (like loading model files).react-native-fs: Another file system utility to help us access bundled model files.
Step 2: The Crucial Initialization
You can't use TFJS immediately on app start. You have to wait for the native backend to be ready. Here's how you do it safely, typically in your app's entry point (like App.js).
javascript
import React, { useEffect, useState } from 'react';
import { View, Text, ActivityIndicator } from 'react-native';
import * as tf from '@tensorflow/tfjs';
import '@tensorflow/tfjs-react-native';

const App = () => {
  const [isTfReady, setIsTfReady] = useState(false);

  useEffect(() => {
    const initializeTf = async () => {
      try {
        // Wait for TensorFlow.js to be ready
        await tf.ready();
        console.log("TensorFlow.js is ready to rock! 🚀");
        setIsTfReady(true);
      } catch (error) {
        console.error("Failed to initialize TensorFlow:", error);
      }
    };

    initializeTf();
  }, []);

  if (!isTfReady) {
    return (
      <View style={{ flex: 1, justifyContent: 'center', alignItems: 'center' }}>
        <ActivityIndicator size="large" />
        <Text>Loading TensorFlow...</Text>
      </View>
    );
  }

  // Your main app content goes here once TF is ready
  return (
    <View style={{ flex: 1, justifyContent: 'center', alignItems: 'center' }}>
      <Text>Let's build something intelligent!</Text>
    </View>
  );
};

export default App;
Boom! You now have a working TensorFlow.js environment in your React Native app.
Let's Build Something Real: Image Classification
Let's create a feature where a user can select a photo from their gallery, and the app will tell them what's in it.
1. Choose a Pre-trained Model
We're not training a model from scratch—that's a whole other marathon. We're using a pre-trained model called MobileNet. It's lightweight, fast, and perfect for mobile devices. It can classify images into 1000 categories (like "German Shepherd," "espresso," "sports car").
We'll load this model from a server.
2. The Code
We'll need a way to pick an image. Let's use react-native-image-picker. Install it with npm install react-native-image-picker.
javascript
import React, { useState } from 'react';
import { View, Text, Image, Button, Alert } from 'react-native';
import { launchImageLibrary } from 'react-native-image-picker';
import * as tf from '@tensorflow/tfjs';
import { fetch, decodeJpeg } from '@tensorflow/tfjs-react-native';
import * as mobilenet from '@tensorflow-models/mobilenet';

const ImageClassifier = () => {
  const [image, setImage] = useState(null);
  const [predictions, setPredictions] = useState([]);
  const [model, setModel] = useState(null);

  // Load the model when the component mounts
  useEffect(() => {
    const loadModel = async () => {
      await tf.ready();
      const loadedModel = await mobilenet.load();
      setModel(loadedModel);
      console.log("Model loaded!");
    };
    loadModel();
  }, []);

  const selectImage = () => {
    launchImageLibrary({ mediaType: 'photo' }, async (response) => {
      if (response.assets && !response.didCancel) {
        const uri = response.assets[0].uri;
        setImage(uri);

        // Step 1: Convert the image to a Tensor
        const imageAssetPath = Platform.OS === 'ios' ? `file://${uri}` : uri;
        const response = await fetch(imageAssetPath, {}, { isBinary: true });
        const imageData = await response.arrayBuffer();
        const imageTensor = decodeJpeg(new Uint8Array(imageData));

        // Step 2: Classify the image!
        if (model) {
          const predictionResults = await model.classify(imageTensor);
          setPredictions(predictionResults);
          console.log(predictionResults);
        }

        // Step 3: Dispose the tensor to avoid memory leaks!
        tf.dispose(imageTensor);
      }
    });
  };

  return (
    <View style={{ padding: 20 }}>
      <Button title="Pick an Image" onPress={selectImage} />
      {image && <Image source={{ uri: image }} style={{ width: 300, height: 300, marginVertical: 20 }} />}
      <View>
        {predictions.map((pred, index) => (
          <Text key={index}>{`${pred.className}: ${Math.round(pred.probability * 100)}%`}</Text>
        ))}
      </View>
    </View>
  );
};

export default ImageClassifier;
And just like that, you have an image classifier! The key steps are converting the image URI into a tensor that TFJS can understand and then passing it to the model's classify method.
Other Dope Use Cases
This is just the tip of the iceberg. Here’s what else you can build:
Toxicity Filter: Use the
@tensorflow-models/toxicitymodel to scan user-generated content (comments, chat messages) for harassment, insults, and identity-based hate.Pose Detection: With
@tensorflow-models/pose-detection, you can build fitness apps that check your squat form or yoga apps that guide your alignment.Object Detection: Don't just classify the whole image; draw bounding boxes around multiple objects within it. Perfect for inventory management apps.
Style Transfer: Let users take a photo and apply the style of Van Gogh or Picasso to it.
The possibilities are literally endless. Mastering these skills puts you in the top tier of mobile developers. If you're thinking, "I want to build complex, industry-ready apps like this," you're on the right track. To learn professional software development courses such as Python Programming, Full Stack Development, and MERN Stack, visit and enroll today at codercrafter.in. Our courses are designed to take you from basics to building advanced, AI-integrated applications.
Best Practices & Gotchas
Memory Management is NON-NEGOTIABLE: TensorFlow.js uses GPU memory. If you don't clean up, your app will crash. Always call
tf.dispose()on tensors you're done with, or usetf.tidy().Bundle Size is a Thing: Pre-trained models can be large (several MBs). Consider letting users download models after the app is installed, or use your own CDN.
Performance Matters: For video or real-time processing, consider using lower-resolution models or downsizing your input images to speed things up.
Test on Real Devices: The iOS simulator and Android emulator can behave very differently from actual phones, especially with camera and performance.
FAQs
Q: Can I train a model from scratch in React Native?
A: Technically, yes. Practically, it's a bad idea. Training is computationally intensive and will drain the user's battery. Train your models on powerful servers (using Python), then convert and load them into your React Native app for inference (prediction).
Q: How do I use my own custom-trained model?
A: You can convert your Python-trained TensorFlow or Keras models to the TFJS format using the TensorFlow.js converter tool. Then, you host the model files and load them into your app using tf.loadGraphModel(MODEL_URL).
Q: Is the performance as good as native (Swift/Kotlin) ML libraries?
A: For many use cases, it's surprisingly good and often "fast enough." However, for the absolute best performance and access to the latest device-optimized hardware (like Apple's Neural Engine), native libraries like Core ML (iOS) and ML Kit (Android) will have an edge.
Conclusion
Integrating TensorFlow.js with React Native opens up a world of possibilities for creating intelligent, engaging, and context-aware mobile applications. The barrier to entry is lower than ever. You leverage your existing JavaScript knowledge to build features that were once the domain of specialized ML engineers.
Start with a simple image classifier, experiment with the toxicity model, and then let your imagination run wild. The future of app development is intelligent, and you now have the tools to build it.
