How to Add a Payment Gateway in React Native (2025 Guide)
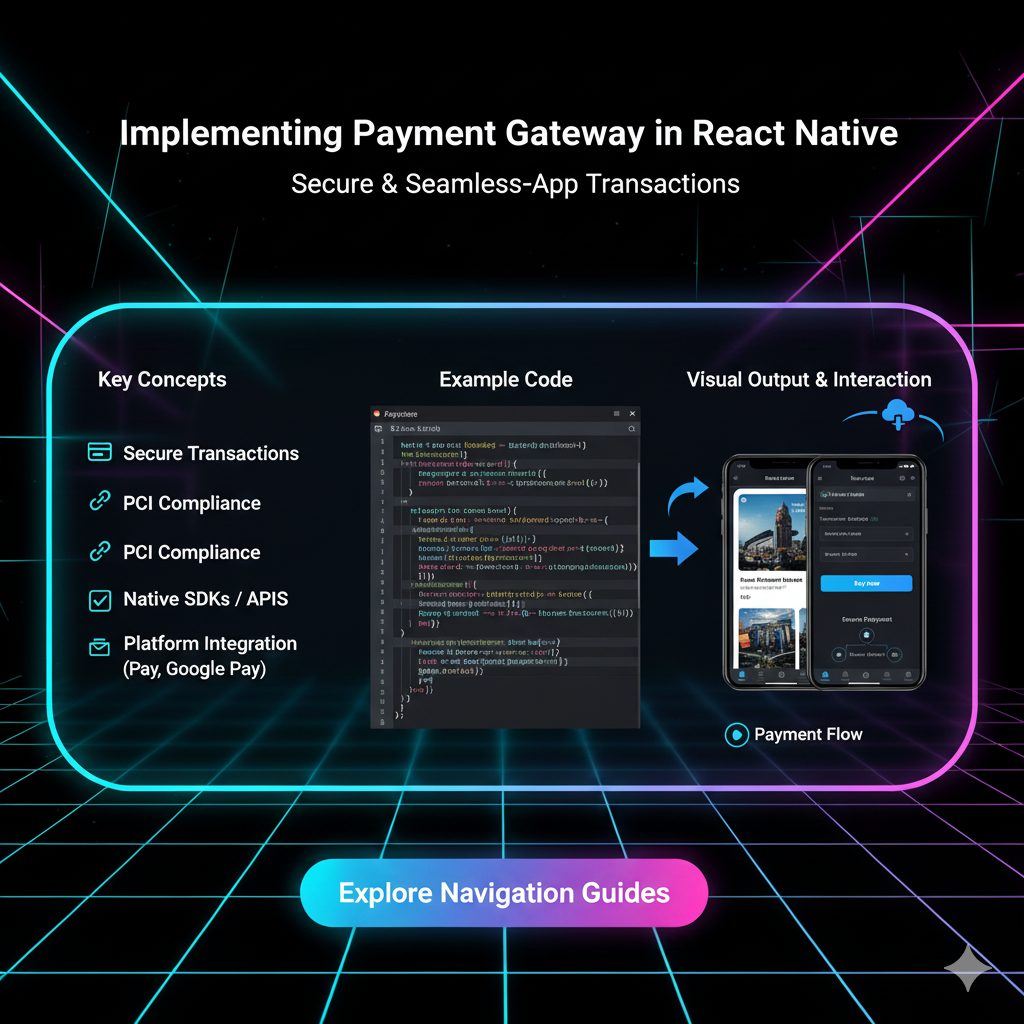
Ready to monetize your React Native app? This in-depth guide walks you through integrating payment gateways like Stripe and Razorpay, with code examples, best practices, and security tips. Start getting paid today!
So, you've built an awesome React Native app. It’s slick, it solves a real problem, and users are starting to trickle in. But now comes the million-dollar question (literally): how do you actually get paid?
Whether you're running an e-commerce store, a subscription service, or just selling digital content, integrating a payment gateway is that crucial bridge between your app and your revenue. It can seem like a daunting task, right? Security, compliance, UX—it's a lot.
But don't sweat it. In this guide, we're breaking down everything you need to know about implementing a payment gateway in React Native. We’ll talk about the what, the why, and most importantly, the how, with practical examples and best practices. Let's turn your app into a money-making machine. 🚀
First Things First: What Even is a Payment Gateway?
Think of a payment gateway as the digital version of a card-swiping machine you see in physical stores. It’s the middleman that securely takes your customer's payment information (like credit card details), encrypts it, and sends it to the payment processor. The processor then checks with the bank to see if the transaction is legit and has the funds, and then sends a "yay" or "nay" back to your app.
In the context of your React Native app, this "middleman" is a combination of:
A backend server (which you control) that handles the secure parts of the transaction.
An SDK or library inside your React Native app that provides the UI components for collecting payment info.
Popular Payment Gateway Options for React Native
You've got choices, and the best one depends on your region, business model, and target audience.
Stripe: The developer darling. Stripe is famous for its incredible documentation, powerful APIs, and beautiful, pre-built UI components like
@stripe/stripe-react-native. It's a great choice for a global audience.Razorpay: A major player in the Indian market. If your primary user base is in India, Razorpay is a no-brainer. Their React Native SDK is robust and supports all popular Indian payment methods (UPI, Net Banking, Wallets, etc.).
Braintree: A PayPal company. Braintree is a solid alternative that also facilitates PayPal, Venmo (in the US), and credit/debit card payments.
PayPal: Still a giant. Many users trust PayPal, and offering it as an option can increase conversion rates.
For this guide, we'll focus on Stripe because of its popularity and excellent React Native support.
Let's Get Our Hands Dirty: Implementing Stripe in React Native
We're going to build a simple checkout flow. The key thing to remember is the flow of events:
App → Your Backend → Stripe → Your Backend → App
Your React Native app never directly handles sensitive card details. It talks to your backend, which then communicates with Stripe using secret keys.
Step 1: Set Up Your Backend (The Brain)
First, you need a server to create "Payment Intents." This is a Stripe object that tracks the payment process. We'll use Node.js for this example.
1. Install Stripe on your server:
bash
npm install stripe2. Create a basic endpoint to create a Payment Intent:
javascript
// server.js (using Express)
const express = require('express');
const app = express();
const stripe = require('stripe')('sk_test_your_secret_key_here'); // Use your SECRET key from the Stripe dashboard

app.use(express.json());

app.post('/create-payment-intent', async (req, res) => {
  try {
    const { amount, currency } = req.body;

    // Create a PaymentIntent with the order amount and currency
    const paymentIntent = await stripe.paymentIntents.create({
      amount: amount, // Amount in smallest currency unit (e.g., cents)
      currency: currency,
      automatic_payment_methods: {
        enabled: true,
      },
    });

    // Send the client secret back to the app
    res.send({
      clientSecret: paymentIntent.client_secret,
    });
  } catch (error) {
    res.status(500).send({ error: error.message });
  }
});

app.listen(3000, () => console.log('Server running on port 3000'));
Step 2: Set Up Your React Native App (The Face)
Now, let's move to the mobile app.
1. Install the Stripe React Native SDK:
bash
npx expo install @stripe/stripe-react-native
# or if you're using bare React Native
npm install @stripe/stripe-react-native
2. The Main Checkout Component:
This is where the magic happens in your app.
javascript
// CheckoutScreen.js
import React, { useState, useEffect } from 'react';
import { View, Alert, Text } from 'react-native';
import { StripeProvider, useStripe } from '@stripe/stripe-react-native';

function CheckoutScreen() {
  return (
    <StripeProvider
      publishableKey="pk_test_your_publishable_key_here" // Get this from Stripe Dashboard
      merchantIdentifier="merchant.identifier" // Required for Apple Pay
    >
      <CheckoutForm />
    </StripeProvider>
  );
}

function CheckoutForm() {
  const { initPaymentSheet, presentPaymentSheet } = useStripe();
  const [loading, setLoading] = useState(false);
  const [clientSecret, setClientSecret] = useState('');

  // 1. Fetch the client secret from YOUR backend
  const fetchPaymentSheetParams = async () => {
    const response = await fetch('http://your-local-ip:3000/create-payment-intent', {
      method: 'POST',
      headers: {
        'Content-Type': 'application/json',
      },
      body: JSON.stringify({
        amount: 2000, // $20.00
        currency: 'usd',
      }),
    });
    const { clientSecret } = await response.json();
    return { clientSecret };
  };

  // 2. Initialize the Payment Sheet
  const initializePaymentSheet = async () => {
    const { clientSecret } = await fetchPaymentSheetParams();
    setClientSecret(clientSecret);

    const { error } = await initPaymentSheet({
      paymentIntentClientSecret: clientSecret,
      merchantDisplayName: 'My Awesome Store, Inc.',
    });

    if (error) {
      Alert.alert(`Error code: ${error.code}`, error.message);
    }
  };

  // 3. Present the Payment Sheet and handle the result
  const openPaymentSheet = async () => {
    setLoading(true);
    const { error } = await presentPaymentSheet({ clientSecret });

    if (error) {
      Alert.alert(`Payment failed: ${error.code}`, error.message);
    } else {
      Alert.alert('Success', 'Your payment was confirmed!');
      // Here, you can navigate to a "Success" screen
    }
    setLoading(false);
  };

  useEffect(() => {
    initializePaymentSheet();
  }, []);

  return (
    <View style={{ flex: 1, justifyContent: 'center', alignItems: 'center' }}>
      <Text onPress={openPaymentSheet} disabled={loading}>
        {loading ? 'Loading...' : 'Checkout for $20.00'}
      </Text>
    </View>
  );
}

export default CheckoutScreen;
And just like that, you have a fully functional, secure payment flow! The presentPaymentSheet method handles the entire UI, including card entry, Apple Pay, and Google Pay, making your life infinitely easier.
Best Practices You Can't Ignore
Never, Ever Hardcode Keys: Your Stripe secret key should live on your backend. Your publishable key is safe in the frontend, but still, use environment variables (like
react-native-config) to manage them.Security is King: Adhere to PCI DSS compliance. By using Stripe's SDK, you're already offloading most of the compliance burden, as the sensitive data never hits your server.
Test, Test, Test: Use the test keys and card numbers provided by Stripe (like
4242 4242 4242 4242) in your development and staging environments.Handle Errors Gracefully: Network failures, declined cards, invalid details—your app should handle these scenarios smoothly without crashing. Always use
try/catchblocks.UX Matters: Show clear loading indicators. Provide a seamless experience. If a payment fails, tell the user why in simple language and suggest a next step (e.g., "Try a different card").
FAQs (Frequently Asked Questions)
Q1: Do I absolutely need a backend server?
Yes, 100%. You need a secure place to store your Stripe secret key and create Payment Intents. Putting your secret key in your mobile app is a massive security risk and will lead to your Stripe account being compromised.
Q2: Which gateway is best for my app?
Global Audience: Stripe or Braintree.
Indian Audience: Razorpay.
Users who prefer wallets: Consider PayPal or region-specific options.
Q3: How much does it cost?
Most gateways, including Stripe and Razorpay, operate on a per-transaction fee model (e.g., 2.9% + $0.30 for Stripe in the US). Check their latest pricing pages.
Q4: My payment works in development but fails in production. Why?
Double-check your API keys. You were probably using test keys (pk_test, sk_test) in development and forgot to switch to live keys (pk_live, sk_live) in production. Also, ensure your backend server is deployed and accessible.
Q5: Can I customize the look of the Stripe Payment Sheet?
Yes! The @stripe/stripe-react-native library offers several appearance customization options to match your app's theme.
Conclusion
Integrating a payment gateway into your React Native app might seem complex at first glance, but by leveraging powerful tools like the Stripe SDK, it becomes a very manageable and structured process. Remember the golden rule: keep sensitive operations on your backend and let the specialized SDKs handle the complex UI and security.
By following the steps and best practices outlined above, you're not just adding a payment method; you're building a trustworthy and professional experience for your users, which is the foundation of any successful app.
Ready to build the next big thing? This is just the tip of the iceberg in modern software development. To learn professional, in-demand skills like Python Programming, Full Stack Development, and the MERN Stack with hands-on projects and expert guidance, visit and enroll today at codercrafter.in. We'll help you craft your coding career from the ground up. 🚀
