Firebase Auth in React Native: A No-BS Guide to Secure Logins (2025)
Tired of building login screens from scratch? Learn how to implement Firebase Authentication in React Native for email, Google, and Facebook sign-in. Step-by-step code, best practices & more!
Let's be real for a second. Building a full-fledged authentication system from scratch is a pain. You have to worry about security, password hashing, email verification, social logins, and a million other things that can (and will) go wrong. It's the kind of work that keeps you up at 2 AM wondering if you left a security hole wide open.
What if I told you there's a better way? A way to hand off the heavy lifting of auth to a service that's battle-tested by Google and used by millions of apps? Enter Firebase Authentication.
In this guide, we're not just going to skim the surface. We're going to dive deep into implementing Firebase Auth in your React Native app. We'll set up email/password login, add slick Google Sign-In, manage user state like a pro, and talk about the best practices to keep your users' data safe. No fluff, just the good stuff.
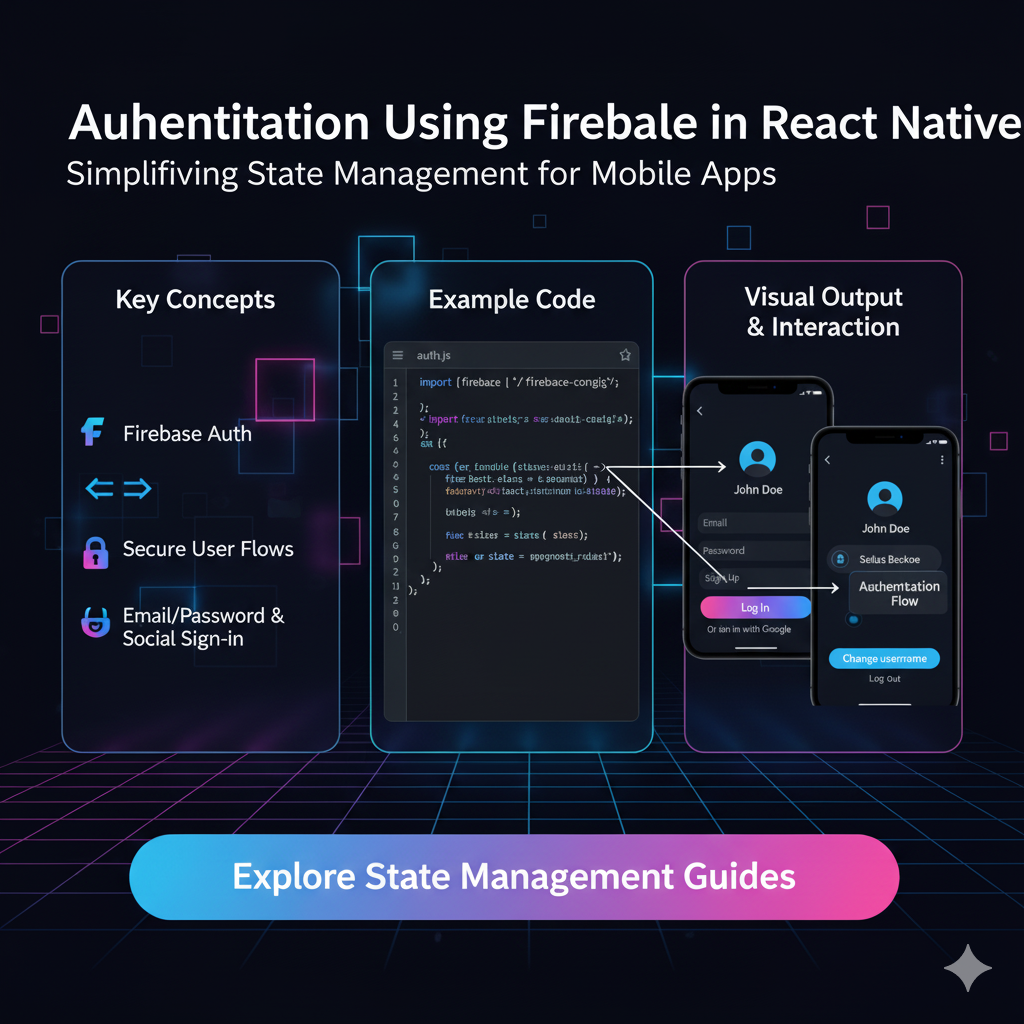
What is Firebase Authentication, Anyway?
In simple terms, Firebase Authentication (or Firebase Auth) is a service from Google that provides backend services, easy-to-use SDKs, and ready-made UI libraries to authenticate users to your app. It takes care of the entire process, so you can focus on building the features that make your app unique.
Think of it as the ultimate bouncer for your app's VIP section. It checks IDs (passwords, social tokens) and only lets the right people in.
Why should you even care?
It's Stupidly Easy to Set Up: You can have a working login system in under an hour.
Security is Their Job: Firebase handles all the security best practices, so you don't have to be a cryptography expert.
Multiple Login Methods: Support email/password, Google, Facebook, Twitter, Apple, GitHub—you name it.
It Scales with You: Whether you have 10 users or 10 million, Firebase Auth can handle the load.
Setting the Stage: Your React Native Project & Firebase
Before we start writing any code, we need to get our tools ready.
Step 1: Create a Firebase Project
Head over to the Firebase Console.
Click "Add project" and give it a cool name.
Follow the setup steps (Google Analytics is optional, but useful).
Step 2: Register Your App
In your Firebase project console, click the Android icon (
</>) to add a web app. (Yes, for React Native, we often use the web configuration).Give it a nickname and register it. You'll get a
firebaseConfigobject. Keep this handy; it's your app's ID card.
Step 3: Install the Dependencies in Your React Native Project
Navigate to your React Native project directory and let's get our hands dirty with the command line.
bash
# Core Firebase SDK
npm install firebase

# If you're using Expo, you might need to install the app and auth packages separately
# npx expo install firebase

# For Google Sign-In, we need an additional community package
npm install @react-native-google-signin/google-signin
Pro Tip: If you're on iOS, you'll need to do some additional pod installation (cd ios && pod install). Always check the official documentation for the latest setup steps.
Let's Get Coding: Implementing Email/Password Auth
This is the bread and butter. Let's build a simple login/signup flow.
1. Initialize Firebase in Your App
Create a file like firebase.js at the root of your project. This keeps our initialization clean.
javascript
// firebase.js
import { initializeApp } from 'firebase/app';
import { getAuth } from 'firebase/auth';

// Your web app's Firebase configuration
const firebaseConfig = {
  apiKey: "your-api-key",
  authDomain: "your-project.firebaseapp.com",
  projectId: "your-project-id",
  storageBucket: "your-project.appspot.com",
  messagingSenderId: "123456789",
  appId: "your-app-id"
};

// Initialize Firebase
const app = initializeApp(firebaseConfig);

// Initialize Firebase Authentication and get a reference to the service
export const auth = getAuth(app);
export default app;
2. Create a Sign-Up Function
Now, let's create a function that allows users to create an account.
javascript
import { createUserWithEmailAndPassword } from 'firebase/auth';
import { auth } from './firebase';

const signUp = async (email, password) => {
  try {
    const userCredential = await createUserWithEmailAndPassword(auth, email, password);
    // Signed up successfully!
    const user = userCredential.user;
    console.log('User created:', user);
    // You can navigate to the home screen here
  } catch (error) {
    const errorCode = error.code;
    const errorMessage = error.message;
    console.error('Sign-up error:', errorCode, errorMessage);
    // Handle errors (e.g., show an alert to the user)
    if (errorCode === 'auth/email-already-in-use') {
      alert('That email address is already in use!');
    }
  }
};
3. Create a Sign-In Function
Similarly, here's the function for logging in existing users.
javascript
import { signInWithEmailAndPassword } from 'firebase/auth';
import { auth } from './firebase';

const signIn = async (email, password) => {
  try {
    const userCredential = await signInWithEmailAndPassword(auth, email, password);
    // Logged in successfully!
    const user = userCredential.user;
    console.log('User logged in:', user);
  } catch (error) {
    const errorCode = error.code;
    const errorMessage = error.message;
    console.error('Sign-in error:', errorCode, errorMessage);
    if (errorCode === 'auth/wrong-password' || errorCode === 'auth/user-not-found') {
      alert('Invalid email or password!');
    }
  }
};
Leveling Up: Adding Google Sign-In
Let's be honest, nobody likes filling out forms. Google Sign-In is a game-changer for user conversion.
Setup on Firebase Console
In your Firebase Console, go to Authentication > Sign-in method.
Enable "Google" as a sign-in provider.
Add your app's SHA-1 fingerprint (crucial for Android).
Implementing the Code
javascript
import { GoogleSignin } from '@react-native-google-signin/google-signin';
import { auth } from './firebase';
import { GoogleAuthProvider, signInWithCredential } from 'firebase/auth';

// Configure Google Sign-In
GoogleSignin.configure({
  webClientId: 'your-web-client-id-from-google-cloud-console', // <-- This is important!
});

const onGoogleButtonPress = async () => {
  try {
    // Check if your device supports Google Play
    await GoogleSignin.hasPlayServices({ showPlayServicesUpdateDialog: true });
    // Get the user's ID token
    const { idToken } = await GoogleSignin.signIn();

    // Create a Google credential with the token
    const googleCredential = GoogleAuthProvider.credential(idToken);

    // Sign-in the user with the credential
    const userCredential = await signInWithCredential(auth, googleCredential);
    console.log('User signed in with Google:', userCredential.user);
  } catch (error) {
    console.error('Google Sign-In error:', error);
  }
};
The Secret Sauce: Managing User State
So, a user logs in... now what? How does your app know they're logged in? This is where state management comes in. The most elegant way is using an auth state observer.
javascript
import { onAuthStateChanged } from 'firebase/auth';
import { auth } from './firebase';
import { useState, useEffect } from 'react';

// Inside your main component or a context provider
const [user, setUser] = useState(null);
const [loading, setLoading] = useState(true); // To show a splash screen

useEffect(() => {
  const unsubscribe = onAuthStateChanged(auth, (currentUser) => {
    setUser(currentUser);
    setLoading(false);
  });

  // Cleanup subscription on unmount
  return () => unsubscribe();
}, []);

// Now, in your app, you can conditionally render:
if (loading) {
  return <SplashScreen />;
}

return (
  <NavigationContainer>
    {user ? <AppTabs /> : <AuthStack />}
  </NavigationContainer>
);
This pattern is pure gold. It automatically redirects the user to the main app if they're already logged in, creating a seamless experience.
Real-World Use Cases & Why It Matters
You might be thinking, "This is cool, but where would I actually use this?" The answer is: almost everywhere.
E-commerce Apps: Remember user addresses, payment info, and order history.
Social Media Apps: Create personalized feeds, direct messaging, and user profiles.
Fitness Apps: Track individual user progress, workouts, and goals.
Productivity Apps: Sync tasks, notes, and calendars across a user's devices.
Firebase Auth is the foundation for any app that needs to provide a personalized experience.
Best Practices You Shouldn't Ignore
Secure Your Firebase Rules: This is non-negotiable. In your Firebase Console, go to Firestore Database > Rules and ensure only authenticated users can read/write data. A starter rule looks like this:
javascript
rules_version = '2';
service cloud.firestore {
  match /databases/{database}/documents {
    match /{document=**} {
      allow read, write: if request.auth != null;
    }
  }
}
Handle Errors Gracefully: Don't just log errors to the console. Show user-friendly alerts. "Invalid Password" is better than
auth/wrong-password.Use Loading States: When a user taps "Login," show a spinner. It provides feedback and prevents double-tapping.
Protect Sensitive Routes: Use your user state to guard screens that require authentication. If
userisnull, redirect to login.Keep Credentials Safe: Never hardcode your
firebaseConfigor API keys in a public repository. Use environment variables (like withreact-native-config).
FAQs: Stuff Everyone Asks
Q: Is Firebase Auth free?
A: Yes, for most startups and small-to-medium apps, it's completely free. You get 10,000 verifications per month on the free Spark plan. You only start paying when you have massive scale.
Q: Can I use Firebase Auth with my own backend?
A: Absolutely! You can get the user's ID token on the client and send it to your backend. Your server can then verify this token with Firebase Admin SDK to ensure it's legitimate.
Q: What about Apple Sign-In for iOS?
A: It's supported! And if you're distributing on the App Store, it's required if you offer any other social login. The setup is similar to Google's but requires some iOS-specific configuration.
Q: My app logs users out randomly. Why?
A: This usually happens when you're not persisting the auth state correctly. Firebase Auth persists the user by default in a local storage, but ensure you're using the onAuthStateChanged listener as shown above to restore the session.
Wrapping Up
And there you have it! You've just built a robust, scalable, and secure authentication system for your React Native app. You're handling email/password logins, slick social sign-ins, and managing user state like a seasoned pro. This is a huge milestone for any app developer.
The best part? You can now channel all the time and energy you saved into building the incredible features that will make your app stand out.
Ready to go beyond authentication and build complete, production-ready applications? This is just the beginning. To learn professional software development courses such as Python Programming, Full Stack Development, and the MERN Stack, visit and enroll today at codercrafter.in. We'll take you from beginner to job-ready developer, teaching you how to architect, build, and deploy real-world software.


