Tired of prop drilling? Learn how to use Context API in React Native for smooth, global state management. We cover setup, real-world examples, best practices, and more. Level up your app development skills today!
Let's be real for a second. You're building a React Native app, and it's going great. Components are popping up, the UI looks slick, and you're feeling like a coding wizard. But then, it happens.
You have a piece of data—maybe the user's profile, a theme setting, or a shopping cart—that needs to be available on a screen deep, deep down in your component tree.
Your first instinct? You start "passing props." You pass it from a parent, to a child, to a grandchild, to a... great-grandchild? Suddenly, your clean components are cluttered with props they don't even use, just to ferry data down to the one component that actually needs it. This, my friends, is the dreaded "prop drilling," and it's a surefire way to make your code messy, hard to debug, and a pain to maintain.
So, what's the solution? Do you need to immediately install Redux or MobX and learn a bunch of complex new concepts?
Not necessarily.
Enter the Context API – a built-in, powerful, and surprisingly simple state management solution that's perfect for a huge range of use cases in React Native. Let's break it down, no fluff, just the good stuff.
What Exactly is the Context API? (In Human Terms)
In official docs language, Context provides a way to pass data through the component tree without having to pass props down manually at every level.
In our language? Think of it like this:
Without Context: You're at a big family dinner, and you want to pass the salt to your cousin at the far end of the table. You have to hand it to your sibling, who hands it to your mom, who hands it to your aunt, who finally gives it to your cousin. Exhausting, right?
With Context: You put the salt (your data) in the middle of the table (the Context). Now, anyone at the table (any component in the tree) can just grab the salt directly, without going through a chain of people.
Context creates a global space—a "context"—for your data that any component can tap into, provided it's within the right "family" (the Provider).
When Should You Actually Use Context?
Context isn't a replacement for all component state. For data that's only used by a component and its immediate children, useState is still your best friend.
You should reach for Context when you have data that needs to be accessible by many components at different nesting levels. Classic examples include:
Theme Data (Light/Dark Mode): The entire app needs to know the current theme to style components accordingly.
User Authentication: The logged-in user's info (name, email, profile pic) is needed in the header, settings screen, and profile screen.
Localization/I18n: The app's language preference affects text across the entire UI.
Shopping Cart: Cart items and total need to be accessible from the product list, product detail, and cart screen.
Building Your First Context: A Step-by-Step Guide
Let's build a classic example: a Theme Context to toggle between light and dark mode in your React Native app.
Step 1: Create the Context
First, we create the context itself. This is like defining the "shape" of the data that will be available.
javascript
// ThemeContext.js
import React, { createContext, useState, useContext } from 'react';

// Create the Context object. The default value is used if a component
// tries to consume this context without a Provider above it.
const ThemeContext = createContext();

export default ThemeContext;
Step 2: Create the Provider Component
The Provider component is what you wrap around your component tree. It's the "source of truth" that holds the data and makes it available to all its descendants.
javascript
// ThemeProvider.js
import React, { useState } from 'react';
import ThemeContext from './ThemeContext';

const ThemeProvider = ({ children }) => {
  // This state holds the actual value we want to share
  const [isDarkMode, setIsDarkMode] = useState(false);

  // The function to toggle the theme
  const toggleTheme = () => {
    setIsDarkMode(prevMode => !prevMode);
  };

  // The value we pass to the Provider is an object containing
  // both the state and the function to update it.
  const value = {
    isDarkMode,
    toggleTheme,
  };

  return (
    <ThemeContext.Provider value={value}>
      {children}
    </ThemeContext.Provider>
  );
};

export default ThemeProvider;
Step 3: Wrap Your App with the Provider
Now, you need to make this Provider a parent to the components that need access to the theme. Typically, this is done at the very top level of your app, in App.js.
javascript
// App.js
import React from 'react';
import { StatusBar } from 'react-native';
import ThemeProvider from './ThemeProvider';
import Navigation from './Navigation'; // Your main navigator

export default function App() {
  return (
    <ThemeProvider>
      <Navigation />
    </ThemeProvider>
  );
}
Step 4: Consume the Context in Your Components
Finally, any component inside the Navigation tree can now access the isDarkMode value and the toggleTheme function. We use the useContext Hook for this.
A. In a Screen Component (using useContext):
javascript
// HomeScreen.js
import React, { useContext } from 'react';
import { View, Text, TouchableOpacity, StyleSheet } from 'react-native';
import ThemeContext from './ThemeContext';

const HomeScreen = () => {
  // useContext hook gives us direct access to the `value` from the Provider
  const { isDarkMode, toggleTheme } = useContext(ThemeContext);

  const containerStyle = {
    flex: 1,
    justifyContent: 'center',
    alignItems: 'center',
    backgroundColor: isDarkMode ? '#121212' : '#F5F5F5',
  };

  const textStyle = {
    color: isDarkMode ? '#FFFFFF' : '#000000',
  };

  return (
    <View style={containerStyle}>
      <Text style={textStyle}>
        Current Theme: {isDarkMode ? 'Dark' : 'Light'}
      </Text>
      <TouchableOpacity onPress={toggleTheme} style={styles.button}>
        <Text style={textStyle}>Toggle Theme</Text>
      </TouchableOpacity>
    </View>
  );
};

const styles = StyleSheet.create({
  button: {
    marginTop: 20,
    padding: 10,
    backgroundColor: '#007AFF',
    borderRadius: 5,
  },
});

export default HomeScreen;
Boom! That's it. You've successfully created a global theme state without passing a single prop down the tree. Pretty cool, right?
Level Up: Creating a Custom Hook for Even Cleaner Code
Using useContext(ThemeContext) in every component is fine, but we can make it cleaner and more reusable. Let's create a custom hook.
javascript
// ThemeContext.js (updated)
import React, { createContext, useState, useContext } from 'react';

const ThemeContext = createContext();

// This is our custom hook!
export const useTheme = () => {
  const context = useContext(ThemeContext);
  if (!context) {
    throw new Error('useTheme must be used within a ThemeProvider');
  }
  return context;
};

// Our Provider component remains the same...
const ThemeProvider = ({ children }) => {
  const [isDarkMode, setIsDarkMode] = useState(false);

  const toggleTheme = () => {
    setIsDarkMode(prevMode => !prevMode);
  };

  const value = {
    isDarkMode,
    toggleTheme,
  };

  return (
    <ThemeContext.Provider value={value}>
      {children}
    </ThemeContext.Provider>
  );
};

export default ThemeProvider;
Now, in your component, it becomes even simpler and more declarative:
javascript
// HomeScreen.js (updated)
import React from 'react';
import { View, Text, TouchableOpacity, StyleSheet } from 'react-native';
import { useTheme } from './ThemeContext'; // Import the custom hook

const HomeScreen = () => {
  // Clean and self-documenting
  const { isDarkMode, toggleTheme } = useTheme();

  // ... rest of the component remains the same
};
This is a best practice you'll see in almost every professional codebase. It makes the code more readable and encapsulates the context logic.
Best Practices & Things to Watch Out For
Don't Overuse It: Context is great for global state. Don't use it to avoid passing props one or two levels down. That's what components are for!
Performance Considerations: When the value in the Context Provider changes, every component that consumes that context will re-render. This is fine for things like themes that change infrequently. But if your context value changes often (e.g., a value that updates every second) and has many consumers, it can cause performance issues. In such cases, consider more specialized state management libraries or splitting contexts.
Split Contexts Logically: Instead of having one giant context for your entire app, split them by domain. Have a
UserContext, aSettingsContext, aCartContext, etc. This prevents unnecessary re-renders and keeps your code organized.
FAQs
Q: Can I use multiple Contexts in one app?
A: Absolutely! In fact, it's encouraged. You can nest Providers as needed.
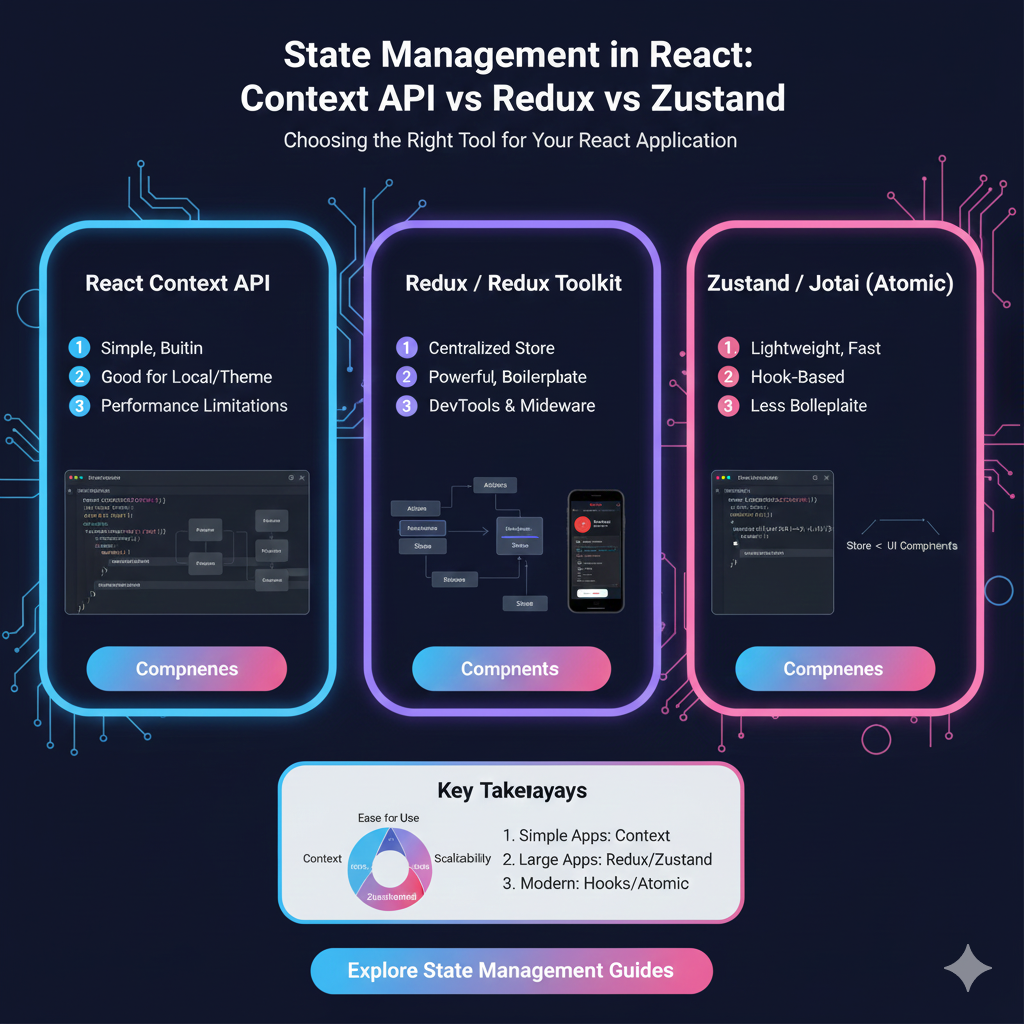
Q: Context API vs Redux: Which one should I use?
A: For many apps, Context API combined with useReducer is sufficient. Redux is still a powerful tool for extremely complex state interactions, middleware needs (like advanced logging, async actions), and when you need the powerful Redux DevTools. Start with Context, and only reach for Redux when you feel Context is becoming cumbersome.
Q: How do I update context state from a deeply nested component?
A: Just as we did with toggleTheme! You pass down the state setter function (or a function that calls it) through the context itself. Any component that consumes the context can then call that function to update the global state.
Mastering state management is a core pillar of modern app development. The Context API is an essential tool in every React Native developer's toolkit. It simplifies your code, makes it more maintainable, and unlocks the ability to build complex, data-driven applications.
To learn professional software development courses such as Python Programming, Full Stack Development, and MERN Stack, visit and enroll today at codercrafter.in. Our project-based curriculum is designed to take you from beginner to job-ready, teaching you how to build real-world applications with tools like the Context API, React Native, and much more.
Conclusion
So, there you have it. The Context API isn't some arcane, complex feature—it's a straightforward and incredibly useful mechanism for sharing state across your React Native app. It eliminates prop drilling, makes your code cleaner, and is built right into React.
The next time you find yourself passing a prop down through five different components just to get it to the sixth, stop. Create a Context, wrap your app in a Provider, and use the useContext hook. Your future self, who has to debug and add new features, will thank you for it.