Build a Modern Chat App: A Full-Stack Dev Guide (UI + Backend
Ready to build a real-time chat app? This in-depth guide walks you through implementing the frontend UI and backend with Socket.IO. Perfect for devs looking to level up their full-stack skills.
Beyond "Hello World": Building a Real-Time Chat App That Doesn't Suck
Alright, let's be real. You've built your to-do list, you've crunched some numbers with a calculator app, and you've maybe even styled a decent-looking portfolio. But there's this itch, right? The itch to build something that feels alive. Something that doesn't just sit there but reacts, in real-time.
That's where building a chat application comes in. It's the classic "next step" for a reason. It forces you to think about full-stack architecture, real-time data, and creating a smooth user experience. It’s the project that takes you from a coder who follows tutorials to a developer who builds experiences.
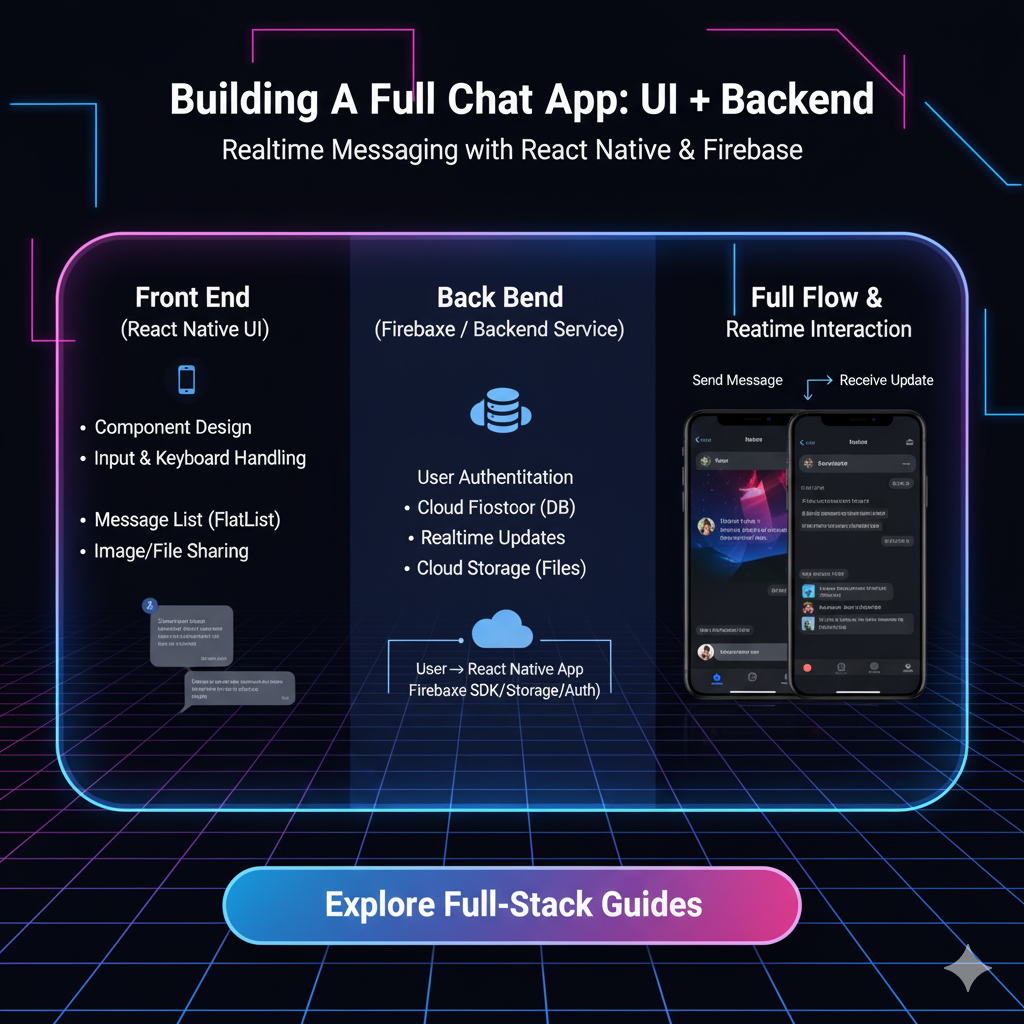
In this deep dive, we're not just going to slap together a basic chat box. We're going to break down the entire process—from the pixels on the screen (the frontend UI) to the magic happening on the server (the backend). Buckle up.
The Core Concept: How Chat Apps Actually Work (No Rocket Science, I Promise)
Before we write a single line of code, let's get the theory out of the way. Traditional web apps work on a "request-response" model. You click a button, your browser (client) requests something from the server, and the server responds. It's like sending letters back and forth—reliable, but slow.
A real-time chat app needs something faster. It needs a persistent, two-way communication channel. Think of it as an open walkie-talkie line between the client and the server. This is where WebSockets come in.
WebSockets create a constant connection. The server can now push information to the client the moment it has it. When you send a message, it goes to the server, which immediately broadcasts it to all other connected clients. No waiting, no refreshing.
To make our lives easier, we'll use Socket.IO, a brilliant library that simplifies working with WebSockets. It provides a clean API for sending and receiving events (like "new message," "user joined," "user typing").
The Tech Stack: Choosing Your Weapons
For this build, here's a modern, industry-relevant stack:
Frontend (The UI): React.js with Tailwind CSS. React's component-based structure is perfect for a dynamic UI, and Tailwind lets us style it quickly without context-switching to a CSS file.
Backend (The Brain): Node.js with Express.js. It's the go-to for JavaScript on the server and pairs perfectly with Socket.IO.
Real-Time Magic: Socket.IO library on both the client and server.
Want to master these technologies? This is the exact kind of professional software development we teach at CoderCrafter.in. Our Full Stack Development and MERN Stack courses dive deep into building complex, real-world projects like this. Visit and enroll today at codercrafter.in to turn your ideas into deployable applications.
Part 1: Building the Backend (The Engine Room)
Let's start where the magic happens—the server.
Step 1: Setting Up the Project
bash
mkdir chat-app-backend
cd chat-app-backend
npm init -y
npm install express socket.io cors
Step 2: The Server Code (server.js)
Here’s a heavily commented version to explain what's happening.
javascript
const express = require('express');
const http = require('http'); // Native Node module for creating a server
const { Server } = require('socket.io'); // Import Socket.IO
const cors = require('cors');

const app = express();
app.use(cors()); // Allow requests from our React frontend

// Create an HTTP server and wrap our Express app with it
const server = http.createServer(app);

// Initialize Socket.IO and allow CORS for our frontend origin
const io = new Server(server, {
  cors: {
    origin: "http://localhost:3000", // Your React app's URL
    methods: ["GET", "POST"]
  }
});

// Let's store connected users (in a real app, use a database like Redis)
const connectedUsers = new Map();

// Listen for a client connection
io.on('connection', (socket) => {
  console.log(`User Connected: ${socket.id}`); // Every client has a unique socket.id

  // Listen for when a user joins the chat and provides their username
  socket.on('user_joined', (username) => {
    connectedUsers.set(socket.id, username);
    console.log(`User ${username} (${socket.id}) joined the chat.`);

    // Broadcast to everyone ELSE that a user has joined
    socket.broadcast.emit('user_joined_notification', `${username} has entered the chat.`);

    // Send the updated list of online users to everyone
    io.emit('online_users_update', Array.from(connectedUsers.values()));
  });

  // Listen for an incoming chat message
  socket.on('send_message', (messageData) => {
    console.log('Message Received:', messageData);

    // Broadcast the message to EVERY connected client, including the sender
    io.emit('receive_message', {
      id: socket.id,
      username: connectedUsers.get(socket.id),
      message: messageData.message,
      timestamp: new Date().toLocaleTimeString()
    });
  });

  // Listen for a "typing" event
  socket.on('typing_start', () => {
    const username = connectedUsers.get(socket.id);
    // Let everyone know (except the sender) that this user is typing
    socket.broadcast.emit('user_typing', username);
  });

  socket.on('typing_stop', () => {
    socket.broadcast.emit('user_stopped_typing');
  });

  // Handle user disconnect (e.g., closing the tab)
  socket.on('disconnect', () => {
    const username = connectedUsers.get(socket.id);
    console.log(`User Disconnected: ${username} (${socket.id})`);

    if (username) {
      // Remove user from our list and notify others
      connectedUsers.delete(socket.id);
      socket.broadcast.emit('user_left_notification', `${username} has left the chat.`);
      io.emit('online_users_update', Array.from(connectedUsers.values()));
    }
  });
});

const PORT = process.env.PORT || 3001;
server.listen(PORT, () => {
  console.log(`CHAT SERVER RUNNING ON PORT ${PORT}`);
});
Key Takeaways for the Backend:
We use
io.emit()to send an event to everyone.We use
socket.broadcast.emit()to send an event to everyone except the sender.We're storing users in a simple
Map, but for a production app, you'd use a volatile in-memory database like Redis to handle scale.
Part 2: Crafting the Frontend (The User's World)
Now, let's build the interface users will actually interact with.
Step 1: Create a React App and Install Dependencies
bash
npx create-react-app chat-app-frontend
cd chat-app-frontend
npm install socket.io-client
Step 2: The Main Chat Component (App.js)
We'll build a single, comprehensive component for simplicity.
javascript
import React, { useState, useEffect, useRef } from 'react';
import io from 'socket.io-client';
import './App.css';

// Connect to our backend server
const socket = io('http://localhost:3001');

function App() {
  // State Hooks
  const [username, setUsername] = useState('');
  const [currentMessage, setCurrentMessage] = useState('');
  const [messageList, setMessageList] = useState([]);
  const [onlineUsers, setOnlineUsers] = useState([]);
  const [isTyping, setIsTyping] = useState('');
  const [hasJoined, setHasJoined] = useState(false);

  // Ref for auto-scrolling to new messages
  const messagesEndRef = useRef(null);

  const scrollToBottom = () => {
    messagesEndRef.current?.scrollIntoView({ behavior: "smooth" });
  };

  useEffect(scrollToBottom, [messageList]);

  // Socket Event Listeners - setup once on component mount
  useEffect(() => {
    // Listen for new messages
    socket.on('receive_message', (data) => {
      setMessageList((list) => [...list, data]);
    });

    // Listen for user join/leave notifications
    socket.on('user_joined_notification', (notification) => {
      // We could add this to messageList as a system message
      console.log(notification);
    });

    socket.on('user_left_notification', (notification) => {
      console.log(notification);
    });

    // Listen for online users list updates
    socket.on('online_users_update', (users) => {
      setOnlineUsers(users);
    });

    // Listen for typing indicators
    socket.on('user_typing', (user) => {
      setIsTyping(`${user} is typing...`);
    });

    socket.on('user_stopped_typing', () => {
      setIsTyping('');
    });

    // Cleanup on component unmount
    return () => {
      socket.off('receive_message');
      socket.off('user_joined_notification');
      // ... off all other listeners
    };
  }, []);

  // Function to join the chat
  const joinChat = () => {
    if (username !== '') {
      socket.emit('user_joined', username);
      setHasJoined(true);
    }
  };

  // Function to send a message
  const sendMessage = async () => {
    if (currentMessage !== '') {
      const messageData = {
        message: currentMessage,
      };

      // Emit the message to the server
      socket.emit('send_message', messageData);

      // Clear the input field
      setCurrentMessage('');
      // Stop the typing indicator
      socket.emit('typing_stop');
    }
  };

  // Function to handle the Enter key
  const handleKeyPress = (event) => {
    if (event.key === 'Enter') {
      sendMessage();
    }
  };

  // Function to handle typing events
  const handleTyping = () => {
    socket.emit('typing_start');
  };

  if (!hasJoined) {
    return (
      <div className="joinChatContainer">
        <h3>Join The Chat</h3>
        <input
          type="text"
          placeholder="Enter your username..."
          onChange={(event) => { setUsername(event.target.value); }}
          onKeyPress={(event) => { event.key === 'Enter' && joinChat(); }}
        />
        <button onClick={joinChat}>Join</button>
      </div>
    );
  }

  return (
    <div className="chat-window">
      <div className="chat-header">
        <p>Live Chat</p>
        <div className="online-indicator">
          🟢 {onlineUsers.length} Online
        </div>
      </div>

      <div className="chat-body">
        {messageList.map((messageContent, index) => (
          <div
            key={index}
            className="message"
            id={username === messageContent.username ? "you" : "other"}
          >
            <div className="message-meta">
              <span id="author">{messageContent.username}</span>
              <span id="time">{messageContent.timestamp}</span>
            </div>
            <div className="message-content">
              <p>{messageContent.message}</p>
            </div>
          </div>
        ))}
        <div ref={messagesEndRef} />
      </div>

      <div className="typing-indicator">
        {isTyping}
      </div>

      <div className="chat-footer">
        <input
          type="text"
          value={currentMessage}
          placeholder="Type a message..."
          onChange={(event) => {
            setCurrentMessage(event.target.value);
            handleTyping();
          }}
          onKeyPress={handleKeyPress}
          onBlur={() => socket.emit('typing_stop')}
        />
        <button onClick={sendMessage}>➤</button>
      </div>
    </div>
  );
}

export default App;
(You would then style this with a corresponding App.css file to make it look sleek with flexbox, colors, and message bubbles.)
Real-World Use Cases & Scaling This Up
This basic structure is the foundation for so many things:
Customer Support Chats: Add rooms for different support agents.
Collaboration Tools (like Slack): Implement channels, direct messages, and file sharing.
Live Event Streaming: Broadcast messages to thousands of users.
Multiplayer Games: Sync player actions and in-game chat.
To scale, you'd need to:
Use a Redis Adapter with Socket.IO to run multiple server instances.
Persist messages in a real database like MongoDB or PostgreSQL.
Add user authentication (e.g., with JWT tokens).
Implement reconnection logic and delivery guarantees.
FAQs
Q: Can I use this with other frontend frameworks, like Vue or Angular?
A: Absolutely! The Socket.IO client library works with any framework. The backend logic remains exactly the same.
Q: Is Socket.IO production-ready?
A: 100%. It's used by massive companies like Microsoft, Trello, and Zillow. It handles fallbacks for browsers that don't support WebSockets and is built for reliability.
Q: This uses a local state for users. What happens when the server restarts?
A: All user data is lost! This is why a production app must use an external store like Redis for managing sessions and rooms.
Q: I'm struggling with connecting the frontend and backend. Any tips?
A: This is where many self-taught devs get stuck. Understanding the full-stack flow is a core skill. If you want guided, project-based learning, check out the professional software development courses at codercrafter.in, including our Python Programming and MERN Stack tracks, where we build complex projects like this together.
Conclusion: You've Built a Living, Breathing App
And there you have it. You've just moved beyond static web pages and entered the world of real-time, dynamic applications. You've seen how the frontend and backend communicate seamlessly through events, how to manage state on both ends, and how to create a genuinely interactive user experience.
This chat app is a fantastic portfolio piece. But more importantly, the concepts you've learned here—real-time data flow, client-server communication, event-driven architecture—are fundamental to modern web development.
Take this foundation, break it, improve it, add features, and make it your own. The skills you practice here are exactly what the industry is looking for.


