React Native Device Permissions: The 2025 Guide to Doing It Right
Master React Native device permissions handling. Learn best practices, see real code examples, and avoid common pitfalls. Build secure, user-friendly apps.
Let’s be real for a second. You’ve got this killer app idea. It needs the user’s location to find cool spots, their camera to scan stuff, maybe their contacts to share things easily. You fire up your code editor, build the core features, and then... you hit the permissions wall.
That moment when your app crashes on a user’s phone because you tried to access the camera without asking nicely first. Or worse, your app gets a one-star review saying "Spammy! Asked for my location right away, deleted."
Sound familiar? You’re not alone. Handling device permissions in React Native is one of those make-or-break aspects of development that separates a polished, professional app from a janky one. It’s not just about technical implementation; it’s about user trust, experience, and app store approval.
So, let’s cut through the jargon and build this the right way. This isn’t just a tutorial; it’s your playbook for permission-handling that users won’t hate.
What Are Device Permissions, and Why Should You Care?
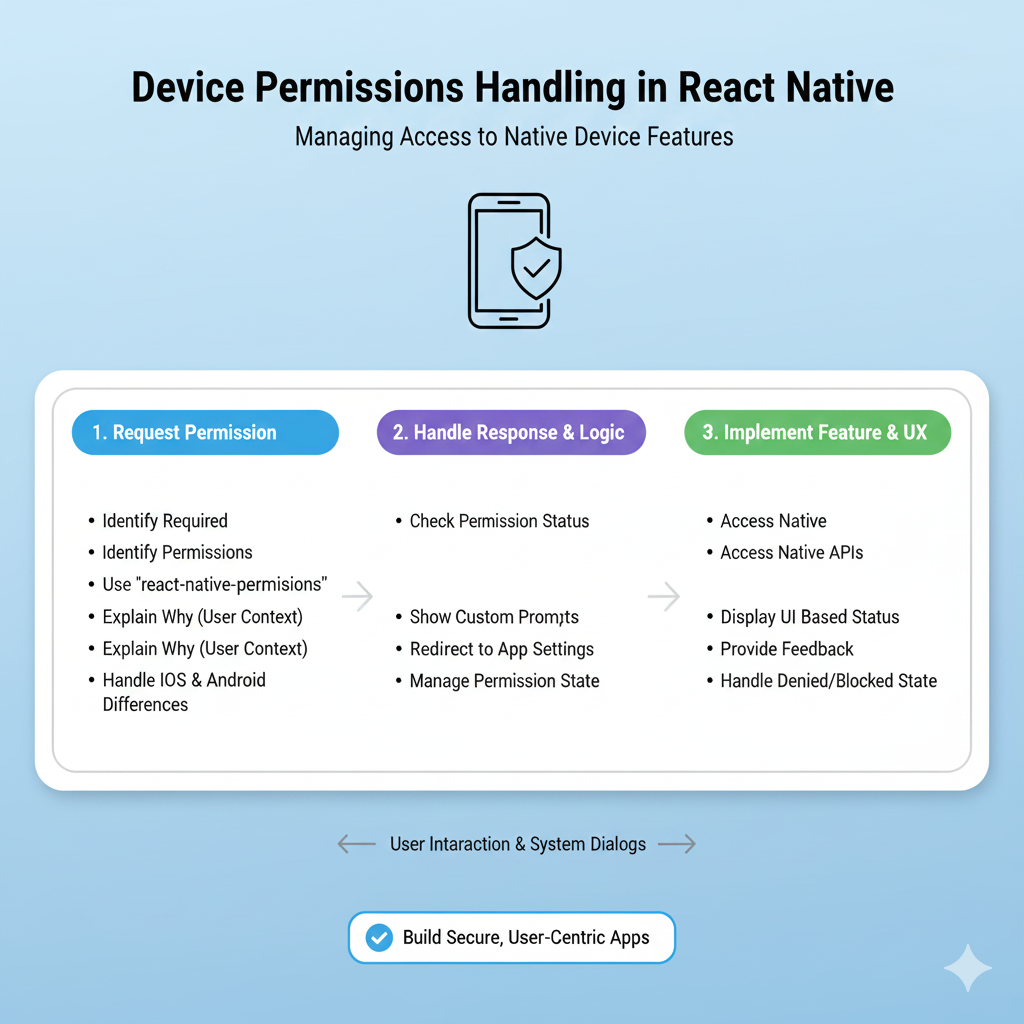
In simple terms, permissions are your app’s way of raising its hand and saying, “Hey, can I use this super-sensitive part of your phone?” Think of the camera, microphone, photo gallery, precise location, contacts, and notifications.
From a user’s perspective, a permission request is a trust checkpoint. Every time that system dialog pops up, they’re subconsciously asking: "Do I trust this app enough? Is the value it’s providing worth the privacy trade-off?"
Get it wrong, and you get denied, uninstalled, or bad-mouthed. Get it right, and you build a seamless, secure experience that feels native and respectful.
The Modern React Native Permission Toolkit: react-native-permissions
Gone are the days of messy, platform-specific native code for every single permission. The community has blessed us with the react-native-permissions library. This is the industry standard, and for good reason. It provides a unified API for both iOS and Android, handles all the edge cases, and is constantly updated for new OS versions.
First things first, install it:
bash
npm install react-native-permissions
# or
yarn add react-native-permissions
Follow the detailed post-installation instructions in their README for both iOS (Podfile and Info.plist edits) and Android (AndroidManifest.xml and build.gradle changes). This part is non-negotiable. Miss a step, and it just won’t work.
Let’s Code: Handling a Permission from Start to Finish (Camera Example)
Let’s walk through a real-world example: requesting camera access for a feature that lets a user scan a QR code.
1. The Setup: Import and Define
We need to know exactly what permission we’re asking for. The library uses constants.
javascript
import { check, request, PERMISSIONS, RESULTS } from 'react-native-permissions';
import { Platform, Alert, View, Button } from 'react-native';

// Platform-specific permission strings are CRUCIAL
const CAMERA_PERMISSION = Platform.select({
  ios: PERMISSIONS.IOS.CAMERA,
  android: PERMISSIONS.ANDROID.CAMERA,
  default: null,
});
2. The "Check-Before-You-Ask" Pattern (This is Key!)
Never, ever just blast a request dialog. First, see the current status.
javascript
const checkCameraPermission = async () => {
  if (!CAMERA_PERMISSION) return;

  try {
    const result = await check(CAMERA_PERMISSION);
    console.log('Permission check result:', result);

    switch (result) {
      case RESULTS.UNAVAILABLE:
        console.log('This feature/device is not available');
        break;
      case RESULTS.DENIED:
        // Good! We can now request it.
        requestCameraPermission();
        break;
      case RESULTS.GRANTED:
        console.log('The permission is granted! Open the camera.');
        // Launch your camera component here
        openCamera();
        break;
      case RESULTS.BLOCKED:
        // The user hard-denied, and we need to guide them to settings.
        showPermissionBlockedAlert();
        break;
    }
  } catch (error) {
    console.warn('Error checking permission:', error);
  }
};
3. The Polite Request
If the status is DENIED, we ask.
javascript
const requestCameraPermission = async () => {
  try {
    const result = await request(CAMERA_PERMISSION);
    if (result === RESULTS.GRANTED) {
      openCamera();
    } else if (result === RESULTS.BLOCKED) {
      showPermissionBlockedAlert();
    }
    // If it's denied again, we don't pester. They said no.
  } catch (error) {
    console.warn('Error requesting permission:', error);
  }
};
4. Handling the "Blocked" State – The Graceful Recovery
This is what separates pro apps from amateur ones. When a user taps "Don’t Allow" twice (on iOS) or denies and checks "Never ask again" (on Android), the permission is BLOCKED. The only way out is for the user to manually enable it in the app settings.
javascript
const showPermissionBlockedAlert = () => {
  Alert.alert(
    'Permission Required',
    'Camera access is completely denied. To use this feature, please enable it in your device settings.',
    [
      { text: 'Cancel', style: 'cancel' },
      {
        text: 'Open Settings',
        onPress: () => Linking.openSettings(), // You'll need to import `Linking`
      },
    ]
  );
};
Real-World Use Cases & Patterns
Location: Don’t ask on app launch. Ask in context. "To find coffee shops near you, we need your location." Use
PERMISSIONS.IOS.LOCATION_WHEN_IN_USEandPERMISSIONS.ANDROID.ACCESS_FINE_LOCATION. For background tracking, you'll need additional justification and a separate permission.Photo Library: On iOS 14+, you have new granular levels:
PHOTO_LIBRARY(read/write) vsPHOTO_LIBRARY_ADD_ONLY(write-only, amazing for saving memes without accessing all photos!). Use the limitedADD_ONLYpermission when you can—it’s a huge privacy win.Notifications: These are often requested post-onboarding or after a user performs an action that would benefit from alerts (like placing an order). The flow is similar but often tied to a "Enable Push Notifications?" CTA in your UI, not just a system dialog.
Best Practices You Can't Afford to Ignore
Context is Everything: Use an in-app explanation before the system dialog. A simple modal saying "We need your camera to scan QR codes for quick login" with a "Continue" button that then triggers the
request()function increases grant rates dramatically.Ask-on-Need, Not on Launch: Bombarding users at startup is a great way to get deleted. Request permissions when the user actively tries to use the feature that needs them.
Respect the "No": If a user denies, don’t ask again immediately. Guide them to the feature, and if they try to use it again, show a friendly screen explaining why it’s needed with a button that says "Enable in Settings."
Android
onRequestPermissionResult: If you're handling permissions in a native module or using certain navigation libraries, remember to forward the result on Android in your MainActivity.react-native-permissionsdocs cover this.Test, Test, Test: Test on real devices with different OS versions. Simulate the "Blocked" state. Test the flow from denial to settings and back.
FAQs
Q: What’s the difference between DENIED and BLOCKED?
A: DENIED means it’s the first time asking, or they said no but can be asked again. BLOCKED means they’ve permanently denied, and you must direct them to system settings.
Q: Do I need to ask for permissions on both iOS Simulator and Android Emulator?
A: Yes, but the behavior differs. Emulators often grant by default. Always test denial flows on real devices.
Q: My Android app crashes when requesting permission. Why?
A: 99% of the time, you missed a step in the AndroidManifest.xml. Double-check you’ve added the correct <uses-permission android:name="..." /> tag for the permission you’re requesting.
Q: How do I handle permissions for iOS’s privacy manifest?
A: For App Store submissions, you now need to declare reason strings in your Info.plist (which react-native-permissions often does automatically) and fill out the privacy manifest in Xcode. This is a crucial step for app review.
Wrapping It Up: Permissions Are a Feature, Not a Checkbox
Think of permission handling not as a boring necessity, but as a core part of your app’s UX. It’s a conversation with your user about privacy and value. A well-implemented permission flow feels invisible and builds immense trust.
Ready to build React Native apps that feel truly professional and user-friendly? This deep dive into permissions is just the start. To learn professional software development courses such as Python Programming, Full Stack Development, and MERN Stack—all of which include mastering crucial concepts like this for real-world applications—visit and enroll today at codercrafter.in. We’ll help you bridge the gap between tutorials and building production-ready, polished software.


