Master FlatList Optimization: Make Your React Native Lists Buttery Smooth
Struggling with laggy React Native lists? This in-depth, 2000+ word guide covers advanced FlatList optimization techniques, real-world examples, and best practices to boost performance. Learn pro tips today.
Let's be real: in the world of React Native, nothing kills a user's vibe faster than a janky, laggy list. You know the one—scrolling feels like dragging your app through mud, items pop in like they're fashionably late to a party, and your phone starts warming up like a pocket heater. We've all been there. But here's the truth: the culprit is almost never the data or the design. It's how we're handling our beloved (and sometimes beastly) FlatList.
Think of FlatList as the engine of your social media feed, your product catalog, your message thread. It's the workhorse. And like any workhorse, if you don't treat it right, it'll get sluggish. So, let's dive deep beyond the basics. This isn't just another "use keyExtractor" tutorial. This is your playbook for making lists so smooth, your users will think they're on a native system app.
Why Should You Even Care? The Performance Penalty
Before we fix it, let's understand the pain. An unoptimized FlatList doesn't just scroll badly. It:
Drains Batteries: Constant re-renders and heavy JS thread work chew through power.
Crashes Apps: Memory overload from too many images or large items? Goodbye, app.
Frustrates Users: In a world of instant gratification, lag is a sin. They'll uninstall.
Optimization isn't "nice-to-have"—it's essential for retention.
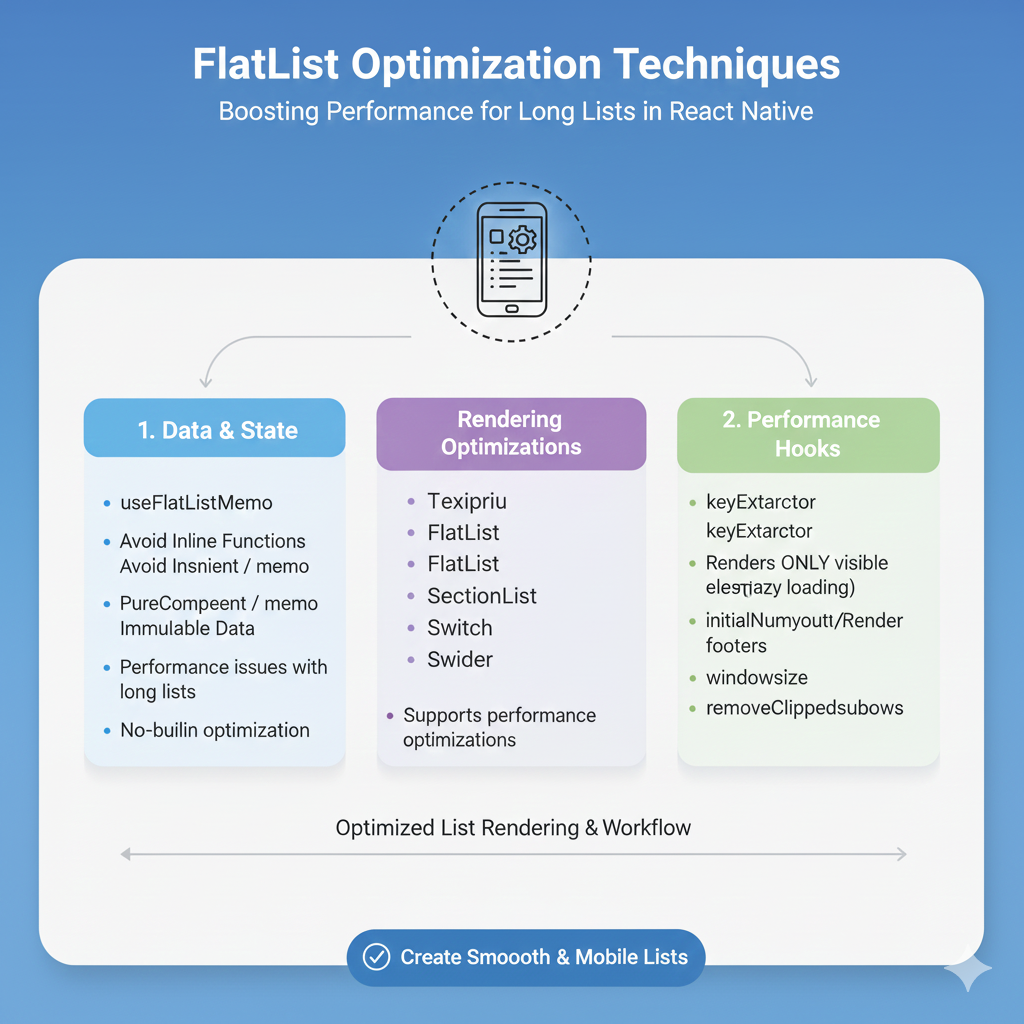
Level 1: The Non-Negotiable Basics (Get These Right First)
You wouldn't build a house on sand. Don't build your list without these.
1. The keyExtractor That Actually Works
Don't let FlatList guess keys using the array index. This is React 101, but it's shocking how many skip it. Index-based keys cause insane re-render bugs when items are added, removed, or sorted.
javascript
// ❌ The Noob Trap
<FlatList
  data={posts}
  renderItem={renderPost}
/>

// ✅ The Pro Move
<FlatList
  data={posts}
  keyExtractor={(item) => item.id} // Use a UNIQUE, STABLE string
  renderItem={renderPost}
/>
2. getItemLayout – Your Secret Weapon for Fixed-Height Items
This is the single biggest unlock for performance. If your items (or sections) have a known, fixed height, tell the FlatList! It bypasses all the on-the-fly measurement, making scroll jumps and scrollbar behavior instant.
javascript
<FlatList
  data={messages}
  getItemLayout={(data, index) => ({
    length: 80, // The fixed height of each item
    offset: 80 * index, // This is cumulative: item 2 starts at 160px
    index,
  })}
  renderItem={renderMessage}
/>
Real-World Use: Chat bubbles, notification rows, settings menu items. Instant scroll-to-bottom? This makes it possible.
3. removeClippedSubviews: A Double-Edged Sword
removeClippedSubviews={true} literally unmounts items that are off-screen. This is fantastic for memory management in very long lists (like a news feed with 1000+ items). But beware! If your items are super complex to mount/unmount, or you have lots of async image loading, the slight hiccup when scrolling fast might not be worth it. Test this one for your specific case.
Level 2: The Game Changers (Where the Magic Happens)
You've got the basics down. Now, let's make it fly.
1. Master the windowSize Prop
This is the MVP of advanced optimization. windowSize controls how many screen heights of content are rendered at once. The default is 21 (10 above, 10 below, 1 in view). That's often overkill.
javascript
<FlatList
  data={products}
  windowSize={5} // Renders only 2 screens above + 2 below + current screen.
  renderItem={renderProduct}
/>
Think of it like this: A windowSize of 5 means you're only ever rendering ~5 screens worth of items total. Less rendering = smoother JS thread. Perfect for heavy, media-rich items.
2. maxToRenderPerBatch & updateCellsBatchingPeriod
Control the rendering chunk size.
maxToRenderPerBatch: How many items are rendered in one JS loop. Lower = more responsive, but might feel slower to fill. Default is 10.updateCellsBatchingPeriod: Delay between rendering batches (in ms). Increase for less UI thread blocking.
Tweak these together when you have a list that feels "chunky" during initial load or fast scrolls.
3. The Holy Trinity: initialNumToRender, onEndReachedThreshold, onEndReached
Pagination done right:
initialNumToRender: Start small. Don't render 100 items at launch. Render just enough to fill the screen (e.g., 10).onEndReachedThreshold: How close to the end (in units of visible length) before triggeringonEndReached.0.5means "when you're half a screen from the end."onEndReached: Your fetch-more-data function. CRITICAL TIP: Debounce or guard this function! Scrolling triggers it multiple times.
javascript
const [isLoading, setIsLoading] = useState(false);

const handleLoadMore = useCallback(() => {
  if (!isLoading && hasMoreData) {
    setIsLoading(true);
    fetchMoreData().finally(() => setIsLoading(false));
  }
}, [isLoading, hasMoreData]);

<FlatList
  data={feed}
  initialNumToRender={10}
  onEndReachedThreshold={0.3}
  onEndReached={handleLoadMore}
  ListFooterComponent={isLoading ? <Spinner /> : null}
/>
Level 3: Nuclear Options & Best Practices
1. Memoize EVERYTHING
FlatList re-renders more than you think. Use React.memo for your list item components to prevent unnecessary updates.
javascript
const ProductItem = React.memo(({ item }) => {
  return <View><Text>{item.name}</Text></View>;
});

// Also, memoize your renderItem function itself!
const renderItem = useCallback(({ item }) => <ProductItem item={item} />, []);
2. Optimize Your data Prop
Pass stable data. If your data array is recreated on every parent render (like data={[...items]}), you're forcing a full list reconciliation. Use state or memoized references properly.
3. Images? Use a Optimized Library
Never use a vanilla <Image> for a list. Period. Use react-native-fast-image for cached, performant images. For avatars, consider a placeholder library.
4. Debug with the debug Prop
Stuck? <FlatList debug={true} /> will give you a screaming-red overlay with verbose logging about what it's rendering and why. It's ugly but incredibly informative.
Real-World Checklist Before You Ship
✅
keyExtractoris set with a unique key.✅ Fixed Height?
getItemLayoutis implemented.✅
windowSizeis tuned for your use case (try 5-7).✅
initialNumToRenderis just enough to fill the screen.✅
onEndReachedis debounced/guarded.✅ List Items are memoized with
React.memo.✅
renderItemis wrapped inuseCallback.✅ Images are optimized (FastImage, correct sizes).
✅ Heavy Components are offloaded with
useMemoinside items.
FAQs: Quickfire Round
Q: My list is still laggy on Android!
A: Check your image sizes and memory usage. Android often has stricter memory limits. removeClippedSubviews can help more here.
Q: getItemLayout is too hard with dynamic content!
A: It can be tricky. If items have dynamic heights but are similar, you can use an estimated average height with getItemLayout or rely on CellRendererComponent for more control. Sometimes, moving to SectionList for varying types can help.
Q: How do I handle 10,000+ items?
A: windowSize={3}, aggressive maxToRenderPerBatch, removeClippedSubviews, and rock-solid pagination on the backend. The user never needs all 10k at once.
Q: Why does scrolling feel disconnected sometimes?
A: That's the JS thread being blocked. Reduce work in renderItem. Use InteractionManager to delay non-critical operations until after interactions.
Wrapping It Up
Optimizing FlatList is a journey, not a one-time fix. It's about understanding the trade-offs: memory vs. speed, smoothness vs. load time. Start with the basics (keyExtractor, getItemLayout), then dial in the advanced props (windowSize, batching), and finally, enforce iron-clad best practices (memoization, image optimization).
When you get it right, the feeling is incredible. That buttery-smooth scroll, the instant feedback—it's what separates amateur apps from professional, polished products.
And speaking of becoming a pro, mastering these performance nuances is exactly what we focus on in our advanced modules. To learn professional software development courses such as Python Programming, Full-Stack Development, and the MERN Stack, where React Native performance is a core topic, visit and enroll today at codercrafter.in. We don't just teach you how to code; we teach you how to build apps that scale and perform.


