Mastering Angular Components: A Beginner's Guide with Real-Life

Demystify Angular Components! This in-depth guide explains what components are, how to build them, and their real-world use cases with practical examples. Start your Angular journey today!
Welcome, future developers! If you're stepping into the world of modern web development, you've undoubtedly heard of Angular. It's a powerful, feature-packed framework maintained by Google, used for building dynamic and sophisticated single-page applications (SPAs). But where do you even begin with such a vast ecosystem?
The answer is simple: you start with Components.
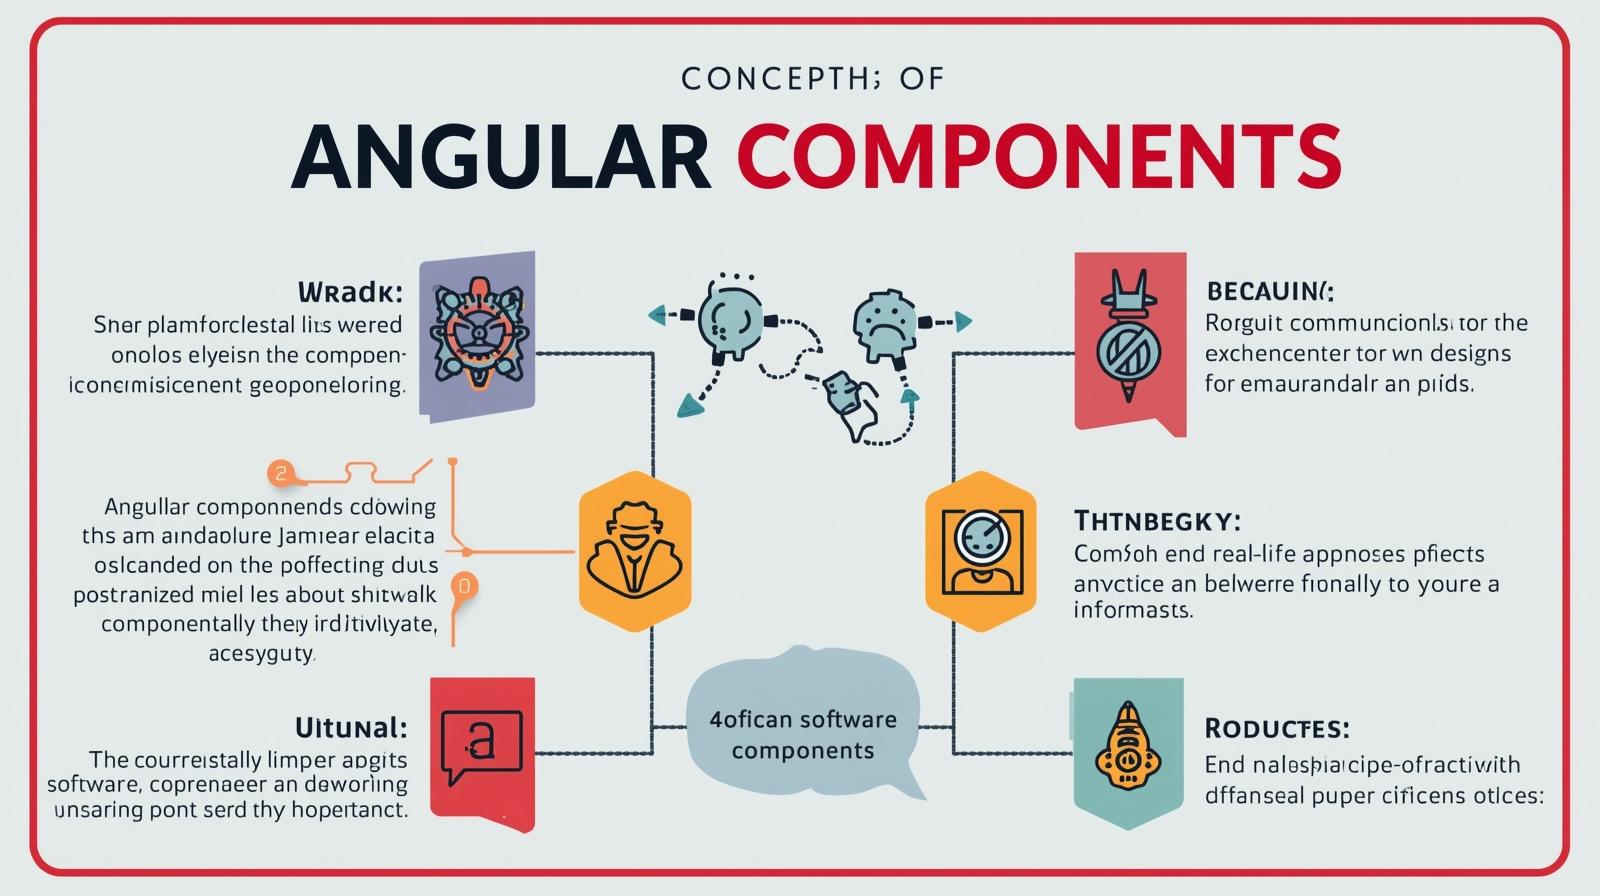
Think of building a house. You don't start by pouring the entire foundation at once. You start with bricks, windows, doors, and beams. In Angular, Components are the bricks and mortar of your application. They are the fundamental building blocks that you compose together to create a full-fledged, interactive user interface.
In this comprehensive guide, we're going to move beyond the textbook definitions. We'll deconstruct Angular components, understand their anatomy with practical code, relate them to real-world examples, and establish best practices that will set you on the path to becoming an Angular pro. To learn professional software development courses such as Python Programming, Full Stack Development, and MERN Stack, visit and enroll today at codercrafter.in.
What Exactly is an Angular Component? Let's Find an Analogy.
Before we dive into code, let's solidify the concept. Imagine you're looking at a popular e-commerce website, like Amazon.
What do you see?
A navigation bar at the top with a logo and search bar.
A product listing section showing images, names, and prices.
A shopping cart sidebar.
A product recommendation section at the bottom.
A footer with links.
In Angular, each of these distinct, reusable sections is a perfect candidate to be a Component.
The
ProductCardComponentwould be responsible for displaying the image, title, price, and "Add to Cart" button for a single product. You would use this component over and over for every product in a list.The
NavbarComponentwould handle the logo, navigation links, and the search functionality.The
ShoppingCartComponentwould manage the list of items in your cart, their quantities, and the total cost.
This component-based architecture is powerful because:
Reusability: Write once, use everywhere. Need a product card on the home page and the search results page? Use the same
ProductCardComponent.Maintainability: If you need to change how a product card looks, you only need to update one file (
product-card.component.html) and the change propagates everywhere the component is used.Testability: Isolating functionality into components makes it much easier to write unit tests for specific parts of your application.
Structure and Clarity: It forces you to think about your application in a modular way, leading to a cleaner, more organized codebase.
The Anatomy of an Angular Component: A Closer Look
An Angular Component is not a single file but a triad of files that work in harmony. Technically, it's a TypeScript class decorated with @Component that points to its HTML template and CSS styles.
Let's break down each part by building a simple UserProfileComponent.
1. The TypeScript Class (user-profile.component.ts) - The Brain
This is the core. It's a simple TypeScript class where you define your component's behavior. This is the "brain" – it holds the data (properties) and the logic (methods) that your template will use.
typescript
// user-profile.component.ts
import { Component } from '@angular/core';

@Component({
  selector: 'app-user-profile', // This is the custom HTML tag we'll use
  templateUrl: './user-profile.component.html', // Path to the HTML template
  styleUrls: ['./user-profile.component.css'] // Path to the CSS styles
})
export class UserProfileComponent {
  // Component Properties (Data)
  userName: string = 'Sarah Chen';
  userAge: number = 28;
  userOccupation: string = 'Software Engineer';
  isOnline: boolean = true;

  // Component Method (Logic)
  toggleStatus(): void {
    this.isOnline = !this.isOnline;
  }

  updateUserName(newName: string): void {
    this.userName = newName;
  }
}
Key Points:
@ComponentDecorator: This is a function that adds metadata to the class. It tells Angular, "Hey, this isn't just a regular class; it's a component!" The decorator's configuration object is crucial.selector: This is the name of the custom HTML tag you will use to insert this component into other templates. Theapp-prefix is a common convention to avoid conflicts with standard HTML tags.templateUrl&styleUrls: These point to the respective HTML and CSS files.
2. The HTML Template (user-profile.component.html) - The Skeleton
This file defines the structure and content that will be rendered on the page. It's standard HTML, supercharged with Angular's template syntax to display dynamic data from the class.
html
<!-- user-profile.component.html -->
<div class="user-card">
  <h2>User Profile</h2>
  <img src="/assets/user-avatar.jpg" alt="{{ userName }}" class="avatar">

  <div class="user-info">
    <p><strong>Name:</strong> {{ userName }}</p> <!-- Interpolation -->
    <p><strong>Age:</strong> {{ userAge }}</p>
    <p><strong>Occupation:</strong> {{ userOccupation }}</p>
    <p>
      <strong>Status:</strong>
      <span [class.online]="isOnline" [class.offline]="!isOnline">
        {{ isOnline ? '🟢 Online' : '🔴 Offline' }}
      </span>
    </p>
  </div>

  <!-- Event Binding -->
  <button (click)="toggleStatus()">Toggle Status</button>

  <!-- Two-way Data Binding Example -->
  <div>
    <label for="nameInput">Update Name: </label>
    <input id="nameInput" type="text" [(ngModel)]="userName">
  </div>
</div>
Key Points:
Interpolation
{{ }}: This is how you display properties from your component class. Angular will replace{{ userName }}with the value of theuserNameproperty ("Sarah Chen").Property Binding
[ ]: This lets you set properties of HTML elements or directives based on your component's data. Here,[class.online]="isOnline"dynamically adds the CSS classonlineif theisOnlineproperty is true.Event Binding
( ): This lets you listen for user events (like clicks, keystrokes).(click)="toggleStatus()"calls thetoggleStatus()method in the class when the button is clicked.Two-way Data Binding
[( )]: The[(ngModel)]syntax (which requires theFormsModule) keeps the template input and the component property in sync. When you type in the input field,userNameupdates automatically, and vice-versa.
3. The CSS Styles (user-profile.component.css) - The Skin
This file contains the styles that are scoped specifically to this component. Thanks to Angular's view encapsulation, styles defined here generally only apply to this component's template, preventing CSS conflicts across your app.
css
/* user-profile.component.css */
.user-card {
  border: 1px solid #ccc;
  border-radius: 8px;
  padding: 20px;
  max-width: 300px;
  margin: 20px auto;
  text-align: center;
  font-family: sans-serif;
}

.avatar {
  width: 80px;
  height: 80px;
  border-radius: 50%;
}

.user-info {
  margin: 15px 0;
}

.online {
  color: green;
  font-weight: bold;
}

.offline {
  color: red;
  font-weight: bold;
}

button {
  background-color: #007bff;
  color: white;
  border: none;
  padding: 8px 16px;
  border-radius: 4px;
  cursor: pointer;
}

button:hover {
  background-color: #0056b3;
}
Putting It All Together: Using the Component
Now, how do we actually see our UserProfileComponent on the screen? You use its selector as a custom HTML tag in another template, typically the root component's template (app.component.html).
html
<!-- app.component.html -->
<header>
  <h1>Welcome to My Angular App</h1>
</header>

<main>
  <!-- Our custom component tag! -->
  <app-user-profile></app-user-profile>
</main>

<footer>
  <p>© 2023 My App</p>
</footer>
When the application runs, Angular sees the <app-user-profile> tag, finds the corresponding component, and renders its template (the HTML) with its associated styles and logic in that spot.
Diving Deeper: Component Lifecycle Hooks
Components have a life cycle: they are created, rendered, change, and are destroyed. Angular provides Lifecycle Hooks—methods you can define in your component class to tap into key moments in this lifecycle.
Some of the most important hooks are:
ngOnInit(): This is one of the most commonly used hooks. It runs after Angular has set up the component (after the constructor and after it has set the input properties). It's the perfect place to perform initializations like fetching data from a server. The constructor should only be used for dependency injection.ngOnChanges(): Called whenever an input property (data passed from a parent component) changes. It's useful for reacting to external data changes.ngOnDestroy(): Called just before Angular destroys the component. This is critical for cleanup tasks like unsubscribing from observables to prevent memory leaks.
Example using ngOnInit:
typescript
// product-list.component.ts
import { Component, OnInit } from '@angular/core';

@Component({
  selector: 'app-product-list',
  templateUrl: './product-list.component.html'
})
export class ProductListComponent implements OnInit {
  products: any[] = [];

  // This runs after the component is initialized
  ngOnInit() {
    // Simulating a data fetch from a service
    this.products = this.getProductsFromServer();
    console.log('Product list fetched and component initialized!');
  }

  getProductsFromServer() {
    // In reality, this would be an HTTP call
    return [
      { id: 1, name: 'Laptop', price: 999 },
      { id: 2, name: 'Mouse', price: 25 }
    ];
  }
}
Real-World Use Case: Building a Task Manager App
Let's apply our knowledge to a more realistic scenario: a simple Task Manager. We'll identify the components.
TaskListComponent: The main container that holds the list of tasks. It manages the overall list (adding, deleting).TaskItemComponent: A component responsible for displaying a single task. It receives ataskobject as input from theTaskListComponentand displays its title, due date, etc. It also emits an event when it's deleted.AddTaskComponent: A component with a form to input a new task's details. When submitted, it sends the new task data up to theTaskListComponent.
This parent-child component relationship is central to Angular. Data flows down via @Input() properties, and events flow up via @Output() emitters.
task-item.component.ts (Child):
typescript
import { Component, Input, Output, EventEmitter } from '@angular/core';

@Component({
  selector: 'app-task-item',
  template: `
    <div class="task-item">
      <h3>{{ task.title }}</h3>
      <p>Due: {{ task.dueDate }}</p>
      <button (click)="onDelete()">Delete</button>
    </div>
  `
})
export class TaskItemComponent {
  @Input() task: any; // This task is passed down from the parent
  @Output() taskDeleted = new EventEmitter<number>(); // Event to send to parent

  onDelete() {
    this.taskDeleted.emit(this.task.id); // Emit the task's ID when delete is clicked
  }
}
task-list.component.ts (Parent):
typescript
import { Component } from '@angular/core';

@Component({
  selector: 'app-task-list',
  template: `
    <h2>My Tasks</h2>
    <app-add-task (taskAdded)="addTask($event)"></app-add-task>

    <div *ngFor="let task of tasks">
      <!-- Pass data down using property binding [task] -->
      <!-- Listen for events up using event binding (taskDeleted) -->
      <app-task-item
        [task]="task"
        (taskDeleted)="deleteTask($event)">
      </app-task-item>
    </div>
  `
})
export class TaskListComponent {
  tasks = [ /* ... initial tasks ... */ ];

  deleteTask(taskId: number) {
    this.tasks = this.tasks.filter(task => task.id !== taskId);
  }

  addTask(newTask: any) {
    this.tasks.push({ id: this.tasks.length + 1, ...newTask });
  }
}
This pattern of communication is essential for building scalable Angular applications. Mastering this is a key step in your journey. If you're looking to master these concepts with structured guidance and real-world projects, our Full Stack Development course at codercrafter.in covers Angular in exhaustive detail.
Best Practices for Solid Angular Components
Writing a component that works is one thing; writing a component that is clean, maintainable, and performant is another.
Keep Components Focused (Single Responsibility Principle): A component should do one thing and do it well. If your component is handling a form, displaying a list, and managing user authentication, it's time to break it down.
Use Smart vs. Dumb Components: Separate your components into two categories.
Smart/Container Components: These are usually top-level components (like
TaskListComponent) that know how to interact with services, manage state, and fetch data. They are "smart" about the application's logic.Dumb/Presentational Components: These are reusable components (like
TaskItemComponent) that only care about how they look. They receive data via@Input()and communicate via@Output(). They don't know where the data comes from. This makes them incredibly reusable and easy to test.
Avoid Complex Logic in Templates: Keep your HTML templates clean. Instead of writing complex expressions inside
{{ }}, move the logic to your component class and call a method or use a getter property. For example, use{{ fullName }}instead of{{ user.firstName + ' ' + user.lastName }}, and calculatefullNamein the class.Use OnPush Change Detection for Dumb Components: This is an advanced but crucial performance optimization. Setting
changeDetection: ChangeDetectionStrategy.OnPushin the@Componentdecorator tells Angular to only check this component for changes when its@Input()properties change or an event is emitted from within it. This can dramatically improve performance in large applications.Always Unsubscribe in
ngOnDestroy: If your component subscribes to observables (e.g., from a service), you must unsubscribe in thengOnDestroyhook to prevent memory leaks.
Frequently Asked Questions (FAQs)
Q1: What's the difference between a Component and a Directive?
A: A Component is a directive with a template. Directives without templates (like *ngIf and *ngFor) are used to add behavior to existing DOM elements. Think of Components as custom HTML elements and Directives as special attributes you add to existing elements.
Q2: Can a component be used in multiple modules?
A: A component must be declared in one, and only one, Angular module (NgModule). However, if you want to use it in other modules, you can export it from its home module and then import that module into the other modules that need it. This is a common practice with Shared Modules.
Q3: How do I share data between components that are not parent-child?
A: For components that are not directly related, the recommended approach is to use a Service. A service is a singleton class that can hold and manage shared state, which can be injected into any component that needs it.
Q4: When should I create a new component?
A: A good rule of thumb is to create a new component when a part of your UI can be logically separated, is meant to be reused, or when a single component's file is becoming too large and complex (e.g., over 100 lines of template or class code).
Conclusion: Your Foundation is Set
Congratulations! You've just taken a deep dive into the heart of Angular. Understanding components is not just the first step—it's the most critical one. You've learned what they are (the building blocks), their anatomy (Class, Template, Styles), how they communicate (@Input and @Output), and how to structure them for success (best practices).
Remember, the component-based architecture is what makes frameworks like Angular, React, and Vue so powerful for modern web development. It encourages reusable, maintainable, and scalable code.
This is just the beginning. The next steps involve learning about Angular Modules (NgModule), Services and Dependency Injection (for sharing data and logic), Routing (for navigation), and working with HTTP to communicate with backend servers.
The world of Angular is vast and exciting, and a strong grasp of components is your key to unlocking it. Ready to build the next generation of web applications? To learn professional software development courses such as Python Programming, Full Stack Development, and MERN Stack, visit and enroll today at codercrafter.in. Let's build something amazing together


