Struggling to understand Dependency Injection in Angular? This in-depth guide explains the DI concept, how Angular's Injector works, provides practical examples, and shares best practices to write clean, testable code. Master Angular fundamentals today!
If you've spent any time in the Angular world, you've undoubtedly heard the term "Dependency Injection" or DI. It’s not just a fancy phrase; it's a fundamental, core design pattern that Angular is built upon. Understanding DI is not optional for an Angular developer—it's essential.
But what exactly is it? Why does Angular use it so heavily? And how can you, as a developer, leverage its power to write cleaner, more modular, and highly testable code?
In this comprehensive guide, we're going to demystify Dependency Injection in Angular. We'll start from the very basics, walk through practical, real-world examples, discuss best practices, and answer common questions. By the end of this article, you'll not only understand DI but also appreciate the elegance it brings to software design.
Ready to level up your Angular skills? Let's dive in.
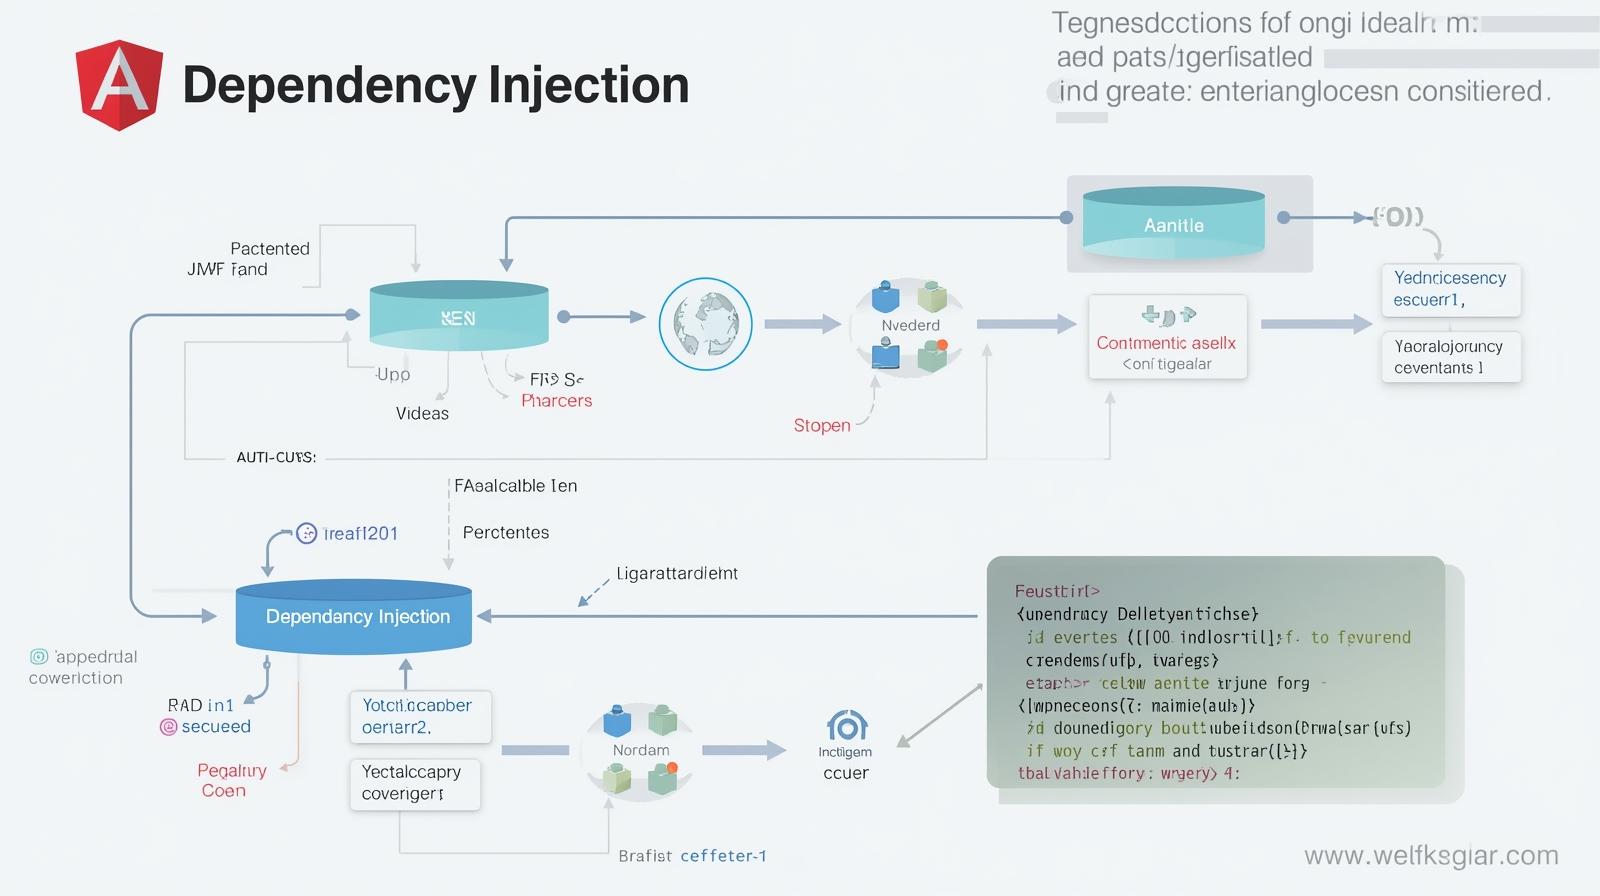
What is Dependency Injection? The "What" Before the "How"
At its heart, Dependency Injection is a coding pattern in which a class receives its dependencies from an external source rather than creating them itself.
Let's break that down with a simple analogy.
Imagine you're a chef in a kitchen (your class). You need a knife (a dependency) to chop vegetables. One way is to forge the knife yourself every time you need one. This is inefficient, time-consuming, and ties you down to a specific type of knife. The better way? A "Knife Supplier" (the Injector) provides you with a sharp, ready-to-use knife. You don't care where it came from or how it was made; you just use it.
In software terms:
Dependency: A dependency is a service, object, or function that a class (or component) needs to perform its job. Common examples include logging services, data services, HTTP clients, or configuration objects.
Injection: Instead of the class using the
newkeyword to create an instance of its dependency (this.httpService = new HttpService()), the dependency is "injected" into the class, typically through its constructor.
The Problem DI Solves: Tight Coupling
To appreciate DI, let's first look at the problem it solves: tight coupling.
Consider this code without DI:
typescript
// Without Dependency Injection - Tightly Coupled
export class ProductService {
  private httpService: HttpService;

  constructor() {
    this.httpService = new HttpService(); // Creating the dependency internally
  }

  getProducts() {
    return this.httpService.get('/api/products');
  }
}

export class ProductListComponent {
  private productService: ProductService;

  constructor() {
    this.productService = new ProductService(); // Again, creating internally
  }

  ngOnInit() {
    this.productService.getProducts().subscribe(products => {
      // ... use products
    });
  }
}
What's wrong with this?
Testing Nightmare: How would you test
ProductListComponentwithout making real HTTP calls? It's nearly impossible becauseProductListComponentis tightly coupled toProductService, which is itself tightly coupled toHttpService.Inflexibility: What if you need a
MockProductServicefor testing or a differentAdvancedProductServicefor a premium user? You'd have to go inside theProductListComponentand change thenew ProductService()line, which is error-prone and violates the Open/Closed Principle.Duplication: If multiple parts of your app need the
HttpService, each one would create its own instance, wasting memory and resources.
The Solution: Dependency Injection
Now, let's see the same code with Angular's Dependency Injection:
typescript
// With Dependency Injection - Loosely Coupled
import { Injectable } from '@angular/core';
import { HttpClient } from '@angular/common/http';

@Injectable({
  providedIn: 'root', // This is the key part!
})
export class ProductService {
  constructor(private http: HttpClient) { } // HttpClient is injected

  getProducts() {
    return this.http.get('/api/products');
  }
}

export class ProductListComponent {
  // ProductService is injected
  constructor(private productService: ProductService) { }

  ngOnInit() {
    this.productService.getProducts().subscribe(products => {
      // ... use products
    });
  }
}
See the difference? The classes don't create their dependencies. They simply declare what they need in their constructor. Angular's DI system takes care of the rest. This leads to:
Loose Coupling: Classes are independent of how their dependencies are created.
Easier Testing: You can easily pass a mock
ProductServiceduring testing.Greater Maintainability: Changing implementations is much easier.
Reusability: Services can be shared across the entire application.
The Mechanics: How Angular's DI System Works
Angular's DI framework is like a sophisticated "super-supplier." It needs to know three things for every dependency:
What to inject? (The Dependency Token)
How to create it? (The Provider)
Where to inject it? (The Injector)
Let's explore each part.
1. The Injector: The Dependency Manager
The Injector is the core mechanism. It's a container that holds a list of providers and is responsible for creating and delivering dependency instances. You don't typically create injectors yourself; Angular creates a hierarchical tree of injectors for you.
Application-wide Injector (Root Injector): Created when the application starts. Services provided here (
providedIn: 'root') are singleton instances available across the entire app.Module-level Injector: Created for eagerly-loaded NgModules (less common with the rise of
providedIn: 'root').Component-level Injector: Created for each component instance. Services provided at the component level are specific to that component and its child components. This is useful for state that should be isolated.
2. Providers: The Blueprint for Creation
A provider is like a recipe that tells the Injector how to create an instance of a dependency. The most common way to provide a service is using the @Injectable decorator.
typescript
@Injectable({
  providedIn: 'root' // This is a provider configuration
})
export class LoggerService {
  log(message: string) {
    console.log(`LOG: ${message}`);
  }
}
The providedIn: 'root' is a shorthand that makes the service a singleton available application-wide.
You can also provide services in NgModules (traditional way) or directly in components.
NgModule Provider (less common now):
typescript
@NgModule({
  providers: [LoggerService], // Provided at the module level
})
export class AppModule { }
Component Provider:
typescript
@Component({
  selector: 'app-user-profile',
  templateUrl: './user-profile.component.html',
  providers: [UserService] // A new instance of UserService is created for each instance of this component
})
export class UserProfileComponent {
  constructor(private userService: UserService) {}
}
3. Injection Tokens: The Identifier
The Injector needs a key to identify what dependency to provide. For classes, the class itself acts as the token (ProductService). But what if you want to inject a non-class value, like a string, a configuration object, or an interface? This is where InjectionToken comes in.
typescript
// Create an InjectionToken
import { InjectionToken } from '@angular/core';

export const API_URL = new InjectionToken<string>('api.url');

// Now, provide a value for this token
@NgModule({
  providers: [
    { provide: API_URL, useValue: 'https://api.mysite.com/v1' }
  ]
})
export class AppModule { }

// Inject the value using @Inject decorator
export class ProductService {
  constructor(private http: HttpClient, @Inject(API_URL) private apiUrl: string) { }

  getProducts() {
    return this.http.get(`${this.apiUrl}/products`); // Uses the injected value
  }
}
Real-World Use Cases and Examples
Let's move beyond theory and see how DI is used in practical scenarios.
Use Case 1: Centralized Logging Service
A logging service is a perfect candidate for a singleton, application-wide service.
typescript
// logger.service.ts
@Injectable({
  providedIn: 'root'
})
export class LoggerService {
  log(level: 'error' | 'warn' | 'info', message: string, source?: string) {
    // In a real app, this might send logs to a server
    console.log(`[${level.toUpperCase()}] ${source ? `[${source}]` : ''}: ${message}`);
  }

  error(message: string, source?: string) { this.log('error', message, source); }
  warn(message: string, source?: string) { this.log('warn', message, source); }
  info(message: string, source?: string) { this.log('info', message, source); }
}

// product.service.ts
@Injectable({
  providedIn: 'root'
})
export class ProductService {
  constructor(private http: HttpClient, private logger: LoggerService) {}

  getProducts() {
    this.logger.info('Fetching products...', 'ProductService');
    return this.http.get('/api/products').pipe(
      catchError(error => {
        this.logger.error(`Failed to fetch products: ${error.message}`, 'ProductService');
        return throwError(() => new Error(error));
      })
    );
  }
}
Use Case 2: Environment-Specific Configuration
Using InjectionToken to manage environment-specific variables keeps your code clean and configurable.
typescript
// config.ts
export interface AppConfig {
  apiUrl: string;
  enableDebug: boolean;
  version: string;
}

export const APP_CONFIG = new InjectionToken<AppConfig>('app.config');

// environment.ts (development)
export const environment: AppConfig = {
  apiUrl: 'https://dev.api.codercrafter.in',
  enableDebug: true,
  version: '1.0.0-dev'
};

// environment.prod.ts (production)
export const environment: AppConfig = {
  apiUrl: 'https://api.codercrafter.in',
  enableDebug: false,
  version: '1.0.0'
};

// app.module.ts
import { environment } from '../environments/environment';

@NgModule({
  providers: [
    { provide: APP_CONFIG, useValue: environment } // Provide the correct config based on environment
  ]
})
export class AppModule { }

// any.service.ts
@Injectable({
  providedIn: 'root'
})
export class DataService {
  constructor(private http: HttpClient, @Inject(APP_CONFIG) private config: AppConfig) {}

  getData() {
    const url = `${this.config.apiUrl}/data`; // Uses the injected config
    if(this.config.enableDebug) {
      console.log('Making request to:', url);
    }
    return this.http.get(url);
  }
}
Use Case 3: Component-Level Service for Isolated State
Imagine a CartService that should hold the state for a specific shopping cart, isolated to a particular component branch (e.g., the checkout process). Providing it at the component level ensures a fresh instance.
typescript
// cart.service.ts
@Injectable() // Notice: no 'providedIn' here. We'll provide it manually.
export class CartService {
  private items: Product[] = [];

  addItem(product: Product) {
    this.items.push(product);
  }

  getItems(): Product[] {
    return this.items;
  }

  clear() {
    this.items = [];
  }
}

// checkout.component.ts
@Component({
  selector: 'app-checkout',
  templateUrl: './checkout.component.html',
  providers: [CartService] // A new instance of CartService is created for this component and its children
})
export class CheckoutComponent {
  constructor(public cartService: CartService) {} // This gets the instance specific to this checkout flow
}

// cart-summary.component.ts (a child of checkout)
@Component({
  selector: 'app-cart-summary',
  templateUrl: './cart-summary.component.html'
})
export class CartSummaryComponent {
  constructor(public cartService: CartService) {} // This gets the SAME instance as the parent CheckoutComponent
}
Best Practices for Using Dependency Injection in Angular
Always Use
providedIn: 'root'for Singleton Services: This is the modern, tree-shakable approach. If a service should be a single instance shared across the app, this is the way to go.Use
InjectionTokenfor Non-Class Dependencies: For configuration objects, API endpoints, or feature flags, always useInjectionTokeninstead of relying on global variables.Leverage Component-Level Providers for Scoped Services: When you need a service's state to be isolated to a specific part of your component tree, provide the service at the highest relevant component.
Keep Constructors Clean: Use the constructor only for injecting dependencies. Avoid any significant logic inside the constructor. This makes testing straightforward.
Favor Interface Segregation: Instead of having one giant "God Service," create smaller, more focused services. This makes them easier to test, maintain, and reason about. For instance, have a separate
UserAuthService,UserProfileService, etc., rather than one monolithicUserService.Master Hierarchical Injectors: Understand the injector hierarchy (Root -> Module -> Component) as it is crucial for debugging and designing your application's architecture.
Frequently Asked Questions (FAQs)
Q1: What is the difference between providedIn: 'root' and providing in AppModule?
In practice, for singletons, they achieve a similar result. However, providedIn: 'root' is tree-shakable. This means that if your service is never injected anywhere in the application, the Angular compiler can remove it from the final bundle, resulting in a smaller app size. Providing it in AppModule does not offer this optimization.
Q2: When should I use a component-level provider?
Use a component-level provider when you need a service instance that is local to a specific component and its children. Classic examples include:
Stateful services for a specific feature (like our
CartServiceexample).Services that should be re-initialized when a new instance of a component is created (e.g., a service that holds form state for a modal dialog).
Q3: How does DI improve testability?
DI is a cornerstone of testable code. In your unit tests, you can easily provide mock or stub versions of dependencies. For example, when testing a component that uses ProductService, you can provide a MockProductService that returns fake data, allowing you to test the component's logic in complete isolation from the real backend and HTTP layer.
Q4: Can I inject a service into another service?
Absolutely! This is very common. As long as the service being injected is provided (usually with providedIn: 'root'), you can inject it into any other class (component, service, directive, etc.) that is managed by Angular's DI system. Our ProductService injecting HttpClient and LoggerService is a prime example.
Conclusion: DI is Your Superpower
Dependency Injection is not just a feature of Angular; it's the architectural backbone that makes Angular applications modular, scalable, and a joy to test. By delegating the responsibility of dependency creation to the framework, you write code that is focused, declarative, and loosely coupled.
We've covered a lot of ground—from the basic "what" and "why" to the mechanics of Injectors, Providers, and Tokens, and finally to real-world use cases and best practices. The key takeaway is to embrace the pattern: declare your dependencies, let Angular handle the wiring, and reap the benefits of a clean, maintainable codebase.
Mastering concepts like Dependency Injection is what separates hobbyist developers from professional software engineers. It's a pattern used across modern frameworks and backend development.
To learn professional software development courses such as Python Programming, Full Stack Development, and MERN Stack, which dive deep into these fundamental concepts and more, visit and enroll today at codercrafter.in. Build the skills that industry demands.