CSS Animations: A No-Fluff Guide to Making Your Website Pop

Tired of static, boring websites? Master CSS Animations with this beginner-friendly guide. Learn keyframes, transitions, and real-world examples to level up your front-end skills
CSS Animations: A No-Fluff Guide to Making Your Website Pop
CSS Animations: The Ultimate Guide to Making Your Website Anything But Basic
Let's be real. The internet in the 90s was a blast, but we've moved on from blinking text and static, soulless pages. Today's web is alive. It’s dynamic, interactive, and honestly, it has a certain flow to it. You know what I'm talking about—that smooth button hover, that slick loading animation, the way a new section just glides into view.
That magic? A huge chunk of it is powered by CSS Animations.
If you're a budding developer and the thought of animations makes you sweat, thinking it's some complex wizardry, take a deep breath. I'm here to tell you it's not only accessible but also ridiculously fun. This guide is your no-fluff, straight-to-the-point manual to understanding and using CSS Animations like a pro. Let's dive in.
First Things First: What Even Are CSS Animations?
In the simplest terms, CSS Animations let you change an element's style from one state to another, over a period of time. Think of it like instructing your browser: "Hey, see this button? I want you to gently change its background color from blue to purple, and make it slightly bigger, over half a second."
It’s the difference between:
This:
background-color: blue;->background-color: purple;(An instant, jarring change)And This:
background-color: blue;-> ...smooth transition... ->background-color: purple;(A pleasing, gradual change)
This might seem like a small detail, but it’s these details that separate an amateur-looking site from a polished, professional one. It guides the user's eye, provides feedback, and makes the entire experience feel more intuitive.
The Two Pillars of Movement: Transitions vs. Animations
Before we get our hands dirty, it's crucial to understand the two main tools in your animation toolbox.
1. CSS Transitions: The Simple Go-To
Transitions are your best friend for simple, from-A-to-B state changes. They're what you use for hover effects, focus states, or active states.
How they work: You define a property you want to animate (like color or transform), set a duration for the change, and maybe add a timing function (like ease-in).
Let's Code a Simple Transition:
css
.button {
  background-color: #4CAF50; /* Green */
  padding: 15px 32px;
  border: none;
  color: white;
  transition: background-color 0.3s ease; /* The magic line */
}

.button:hover {
  background-color: #45a049; /* Darker Green */
}
See that transition property? It's saying: "If the background-color ever changes, don't do it instantly. Take 0.3 seconds, and use an ease function to make the speed change naturally."
Key Transition Properties:
transition-property: What do you want to animate? (all,background-color,transform, etc.)transition-duration: How long should it take? (e.g.,0.3s,500ms)transition-timing-function: How does the speed change? (ease,linear,ease-in-out)transition-delay: Should it wait before starting?
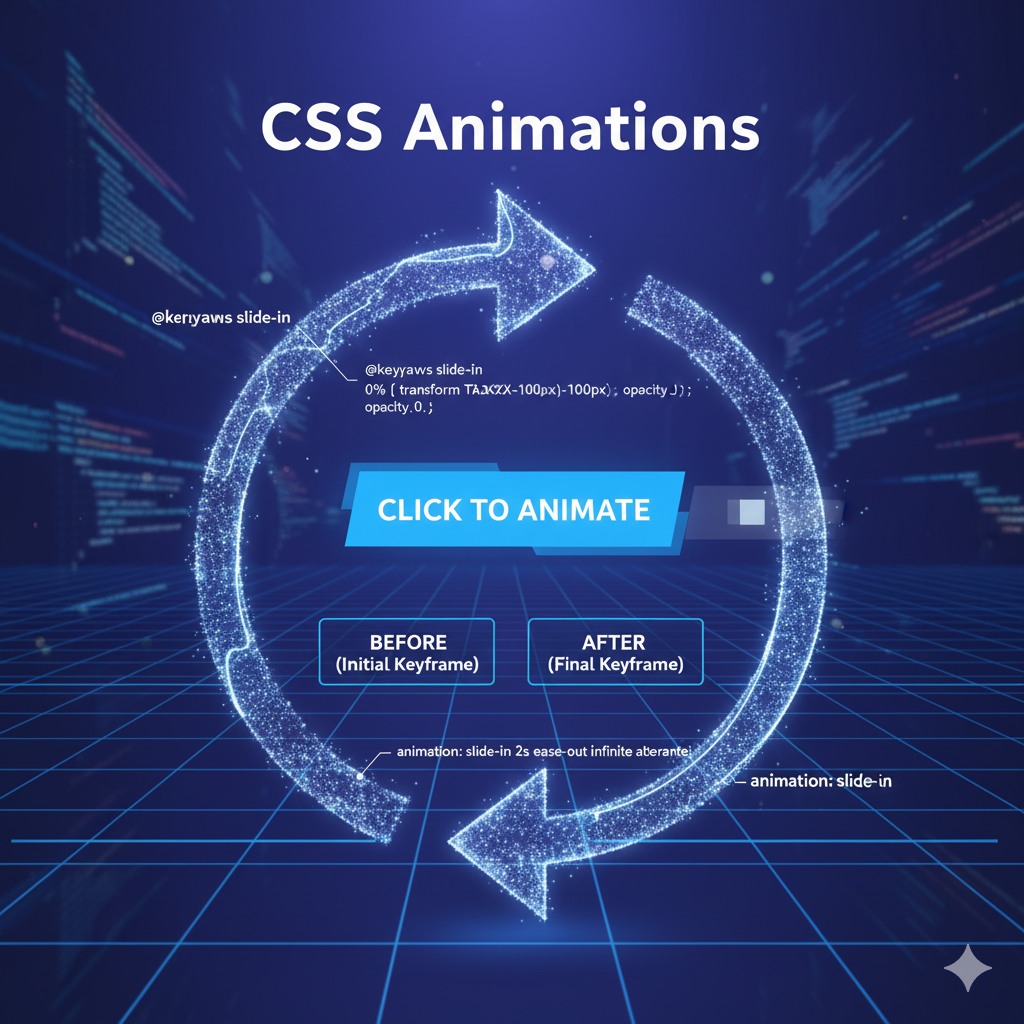
2. CSS Animations (@keyframes): For the Complex Stuff
While transitions are great for two states, what if you want to create a looping loading spinner, a bouncing ball, or a multi-step sequence? Enter @keyframes.
@keyframes are the powerhouse. They allow you to define exactly what happens at specific points during the animation sequence. You create a custom "animation clip" and then assign it to an element.
How they work: You define a set of keyframes (like 0%, 50%, 100%) and the styles at each point. Then, you call that animation using the animation property.
Let's Create a Bouncing Loader:
css
/* First, define the animation sequence */
@keyframes bounce {
  0%   { transform: translateY(0); }
  50%  { transform: translateY(-30px); }
  100% { transform: translateY(0); }
}

/* Now, apply it to an element */
.loader {
  width: 50px;
  height: 50px;
  background-color: #ff6b6b;
  border-radius: 50%;
  animation: bounce 0.6s infinite ease-in-out;
}
Let's break down the animation shorthand:
bounce: The name of our@keyframesrule.0.6s: The duration of one cycle.infinite: How many times it should run (forever!).ease-in-out: The timing function.
Boom! You now have a bouncing circle.
Key Animation Properties:
animation-name: The name of your@keyframesrule.animation-duration: How long one cycle lasts.animation-timing-function: Speed curve.animation-delay: Start delay.animation-iteration-count: How many times it runs (1,infinite).animation-direction:normal,reverse,alternate(great for bounce effects).
Real-World Use Cases: Where to Actually Use This Power
Okay, cool, you can make things bounce. But where does this fit in a real project? Everywhere!
Micro-Interactions: Hover effects on buttons and cards, focus states on form inputs, active states on navigation links. This is UX 101.
Loading States: Instead of a static "Loading..." text, use a spinning circle, a pulsating dot, or a sleek skeleton screen. It makes waiting feel shorter.
Page Entrances & Scroll Animations: Animate content as it scrolls into view. It breaks the monotony and keeps users engaged as they explore.
Attention-Grabbing CTAs: Gently pulsing a "Buy Now" or "Sign Up" button can significantly improve conversion rates (but don't overdo it!).
Status Indicators: A success checkmark that draws itself, a progress bar that fills up, or a shaking animation for a login error.
Best Practices: Don't Be That Website from the 90s
With great power comes great responsibility. Bad animations can ruin a user's experience. Here’s how to get it right:
Performance is King: Always animate properties that are cheap for the browser. The golden rule is to stick to
opacityandtransform(for moving, scaling, rotating). Avoid animatingwidth,height, ormargin, as they cause the browser to do expensive layout recalculations.Less is More: Your site shouldn't look like a disco. Use animations to enhance, not to distract. A few subtle touches go a long way.
Mind the Motion-Sensitive: Use the
prefers-reduced-motionmedia query to tone down or disable animations for users who have expressed a preference for less motion. It's a critical accessibility practice.css
@media (prefers-reduced-motion: reduce) {
  * {
    animation-duration: 0.01ms !important;
    animation-iteration-count: 1 !important;
    transition-duration: 0.01ms !important;
  }
}
Keep it Smooth: Use appropriate timing functions.
ease-outis often great for elements entering the screen, whileease-inis good for elements leaving.
FAQs: Quick-Fire Answers to Your Burning Questions
Q1: Can I use CSS to animate any property?
Technically, most properties that have numerical or color values can be animated (e.g., width, color, font-size). But for performance, always prefer transform and opacity.
Q2: My animation isn't working! What do I do?
Ah, the classic. Check this list:
Did you spell the
@keyframesname correctly?Did you define the
animation-duration? (It defaults to 0s, so it won't run without it).Are your browser prefixes up to date? For modern browsers, you rarely need them, but it's something to check for older support.
Q3: How is this different from JavaScript animations?
CSS animations are generally more performant for simple, self-contained UI interactions. JavaScript (with libraries like GSAP) gives you far more control—complex sequences, dynamic starts/stops, and physics-based animations. Use CSS for the bulk of your UI flourishes, and JS for the heavy lifting.
Q4: Where can I get inspiration for animations?
Sites like CodePen are fantastic. You can see the code and play with it live. Also, look at the animations on popular design system websites like Material Design.
Conclusion: Your Journey to a Dynamic Web Starts Now
And there you have it. You've just leveled up from thinking animations are magic to understanding the core principles that make them tick. You now know the difference between a simple transition and a powerful @keyframes animation, and you've got a mental toolkit of where and how to use them effectively.
Remember, the key is to start small. Add a subtle hover effect to your next project. Create a simple loading spinner. Experiment, break things, and see what feels good. This hands-on practice is how you internalize these concepts and develop your own style.
The world of front-end development is vibrant and constantly evolving, and mastering visual details like CSS animations is what will make your portfolios and projects stand out.
Ready to go from following tutorials to building professional, production-ready applications? This is just the beginning. To learn in-demand, professional software development courses such as Python Programming, Full Stack Development, and the MERN Stack, visit and enroll today at codercrafter.in. We'll help you build the skills and the portfolio to launch your tech career.