Beyond If/Else: A Friendly Guide to the JavaScript Switch Statement
Tired of endless if/else chains? Learn how to use the JavaScript switch statement to write cleaner, more organized, and readable code for multiple conditions.
We've all been there. You're writing a function, and suddenly you find yourself deep in a nested if/else forest, trying to figure out which path your code will take. It might look something like this:
javascript
function getDrink(type) {
  if (type === 'coke') {
    return 'Coca-Cola';
  } else if (type === 'pepsi') {
    return 'Pepsi';
  } else if (type === 'lemonade') {
    return 'Lemonade';
  } else {
    return 'Just a glass of water, please.';
  }
}
It works, but it's a bit clunky, right? What if you have ten different conditions? It becomes hard to read and maintain.
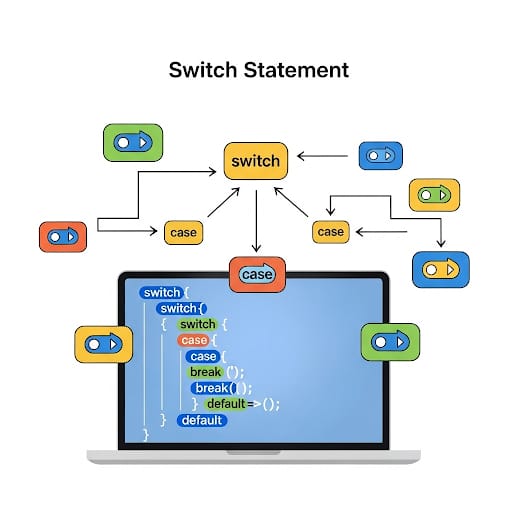
Enter the switch statement—JavaScript's built-in tool for handling multiple conditions in a way that's often much cleaner and more organized. Think of it as a traffic cop for your code, neatly directing flow based on a specific value.
How the Switch Statement Works: A Simple Analogy
Imagine you're at a old-fashioned ice cream parlor with a menu board. You tell the server your choice ("One scoop of chocolate, please!").
The server doesn't ask you "Is it vanilla?" then "Is it chocolate?" then "Is it strawberry?". They just look at your choice, find the matching label on their scooping station, and give you exactly what you asked for.
A switch statement does the same thing for your code.
You provide a value to evaluate (e.g.,
type).It looks for a
caselabel that matches that value exactly.It executes the code for that case until it hits a
break.If no matches are found, it runs the
defaultcase (the "just give me a glass of water" option).
Let's rewrite our drink function with a switch:
javascript
function getDrink(type) {
  let drink;
  switch (type) {
    case 'coke':
      drink = 'Coca-Cola';
      break;
    case 'pepsi':
      drink = 'Pepsi';
      break;
    case 'lemonade':
      drink = 'Lemonade';
      break;
    default:
      drink = 'Just a glass of water, please.';
  }
  return drink;
}

console.log(getDrink('coke')); // Output: Coca-Cola
console.log(getDrink('juice')); // Output: Just a glass of water, please.
See how much more structured that looks? It's like a neat menu for your code.
The Non-Negotiable Break Keyword
Here's the part that trips up every beginner (including me, way back when!). The break keyword is absolutely crucial.
Without it, the switch statement will experience "fall-through." This means it will execute the matching case and every single case after it until it hits a break or the end of the switch.
This is usually a bug, but it can be used intentionally for multiple cases that should trigger the same code:
javascript
function getFruitColor(fruit) {
  let color;
  switch (fruit) {
    case 'strawberry':
    case 'apple':
      color = 'red';
      break;
    case 'banana':
    case 'lemon':
      color = 'yellow';
      break;
    case 'blueberry':
      color = 'blue';
      break;
    default:
      color = 'unknown';
  }
  return color;
}

console.log(getFruitColor('apple')); // Output: red
console.log(getFruitColor('lemon')); // Output: yellow
Notice how 'strawberry' and 'apple' both fall through to the same color = 'red'; line? This is a powerful and valid use case. Just always remember to control the flow with break.


